forked from baumgarr/nixnote2
-
Notifications
You must be signed in to change notification settings - Fork 32
HowTo Run AppImage
Robert Spiegel edited this page Oct 10, 2018
·
15 revisions
- For Ubuntu users its recommended to install from NixNote PPA (but of course the AppImage will also work)
- Download AppImage file - e.g. stable build - NixNote2-x86_64.AppImage
- Mark as executable
- e.g. in file manager
- or from command line by executing
chmod a+x NixNote*.AppImage
- See intro on appimage.org - https://youtu.be/nzZ6Ikc7juw
- Optional: rename & move to some directory on your $PATH
- Optional: create desktop icon ... or you can even put in in $HOME/Desktop
- In case you want to "uninstall" ... just delete the downloaded "AppImage" file
- in case it doesn't work read further bellow - or check FAQ
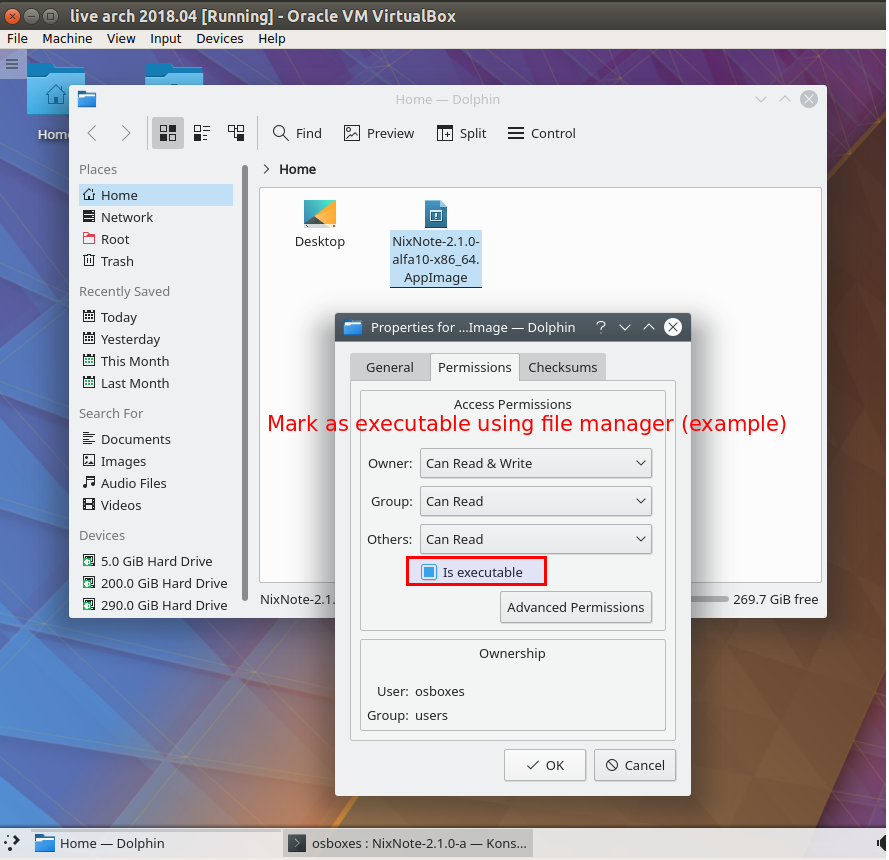
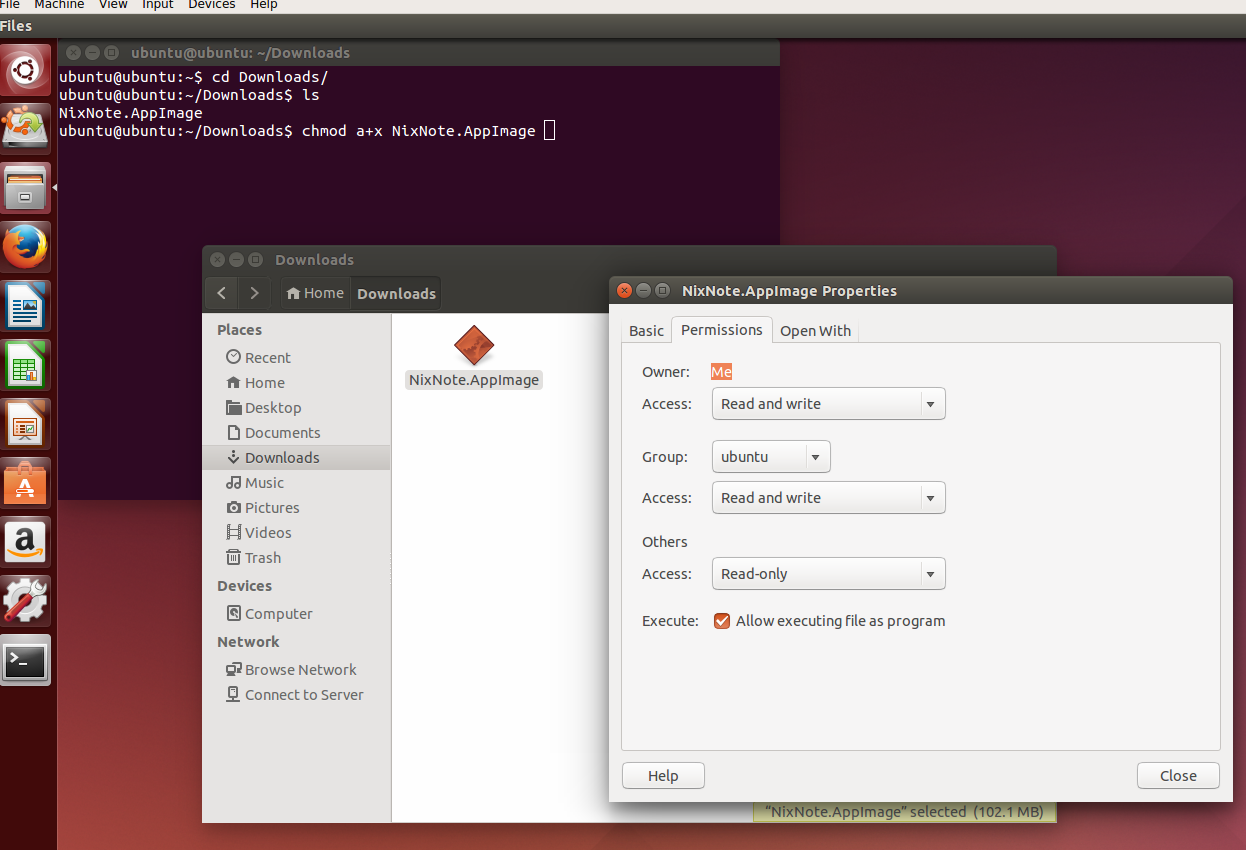
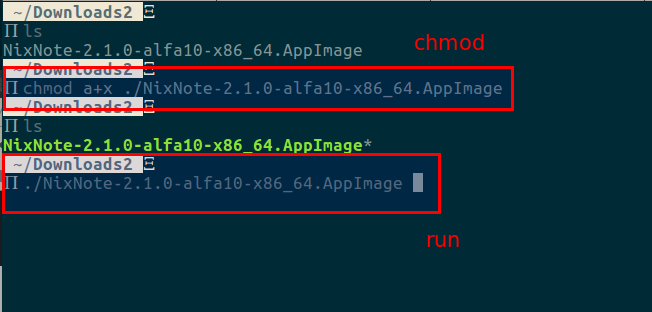
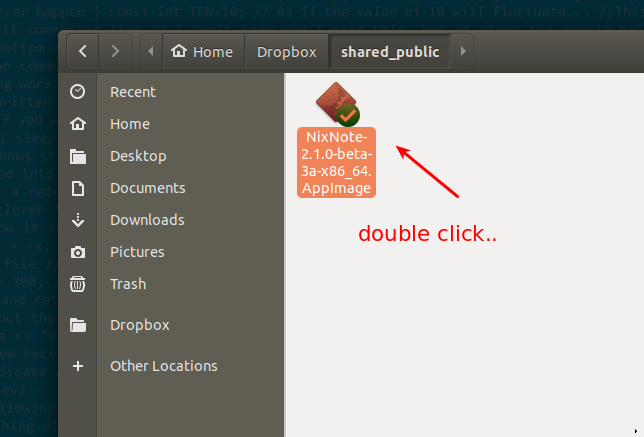
Simple as: ./NixNote-2.1.0-x86_64.AppImage (or just double click on it in file manager :) )
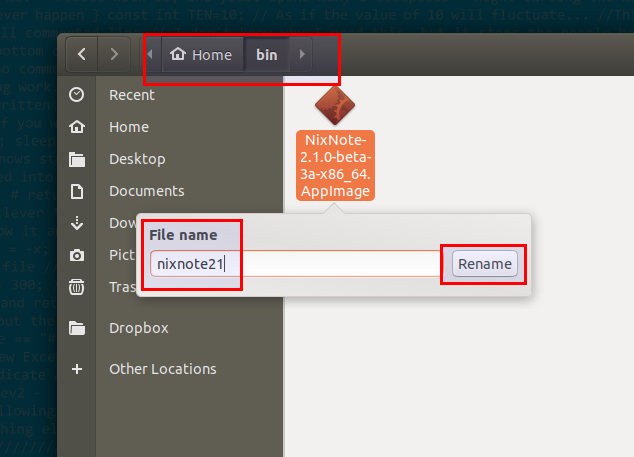
Optional step: move somewhere you like it. You may remove the "AppImage" extension or let it there - its up to you. Has no influence on the app.
Command line: mv NixNote-2.1.0-x86_64.AppImage $HOME/bin/nixnote2
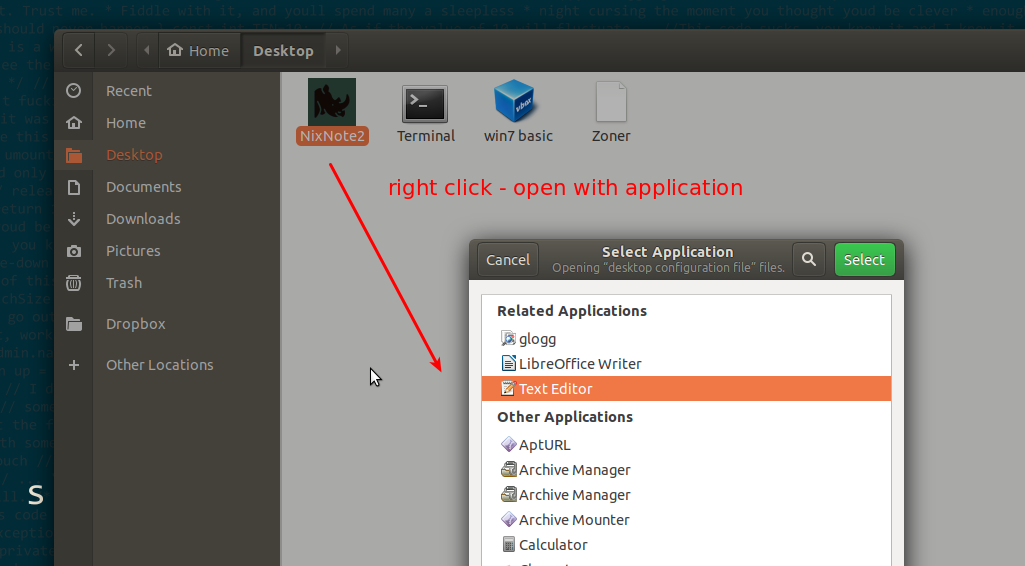
Optional step: create desktop icon. Note following part is for Ubuntu, but should be similar for other linux distributions (there should be plenty howto's online..).
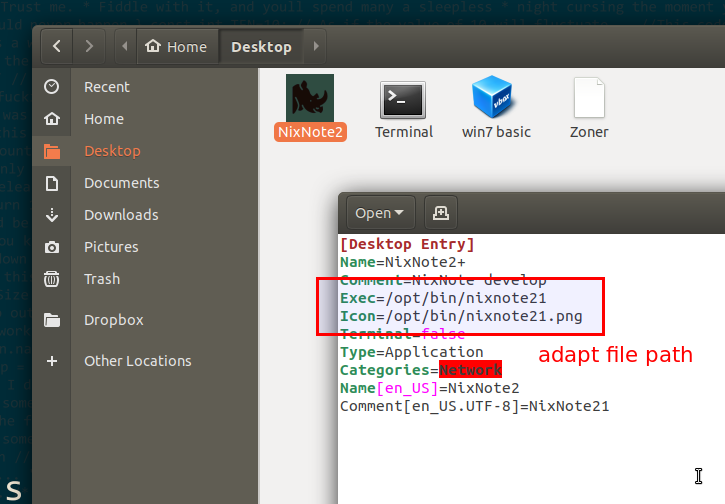
Create/open file $HOME/Desktop/NixNote2.desktop in your text editor (e.g. gedit). Suggested content:
Name=NixNote v2.1
Comment=NixNote v2.1
Exec=/opt/bin/nixnote2
Icon=/opt/bin/nixnote2.png
Terminal=false
Type=Application
Categories=Network
Name[en_US]=NixNote2
Comment[en_US.UTF-8]=NixNote2
- Download nixnote2.png - icon file and save it in the same directory as you put the AppImage binary.
- Change
/opt/bin/in the example, to the real path where you did put the binary and icon
Wiki Index ** FAQ ** Getting started ** Features