-
Notifications
You must be signed in to change notification settings - Fork 21
Example application guide
As the first step, you will need to have an Application with Push enabled set up in Infobip Portal for your account. If you already have it, then you can skip this section, otherwise:
-
Prepare your App ID, provisioning profiles and APNs certificate (APNs Certificate Guide).
-
Prepare your Infobip account (https://portal.infobip.com/push/applications) to get your Application Code:
- Create new application on Infobip Push portal.
- Navigate to your Application where you will get the Application Code.
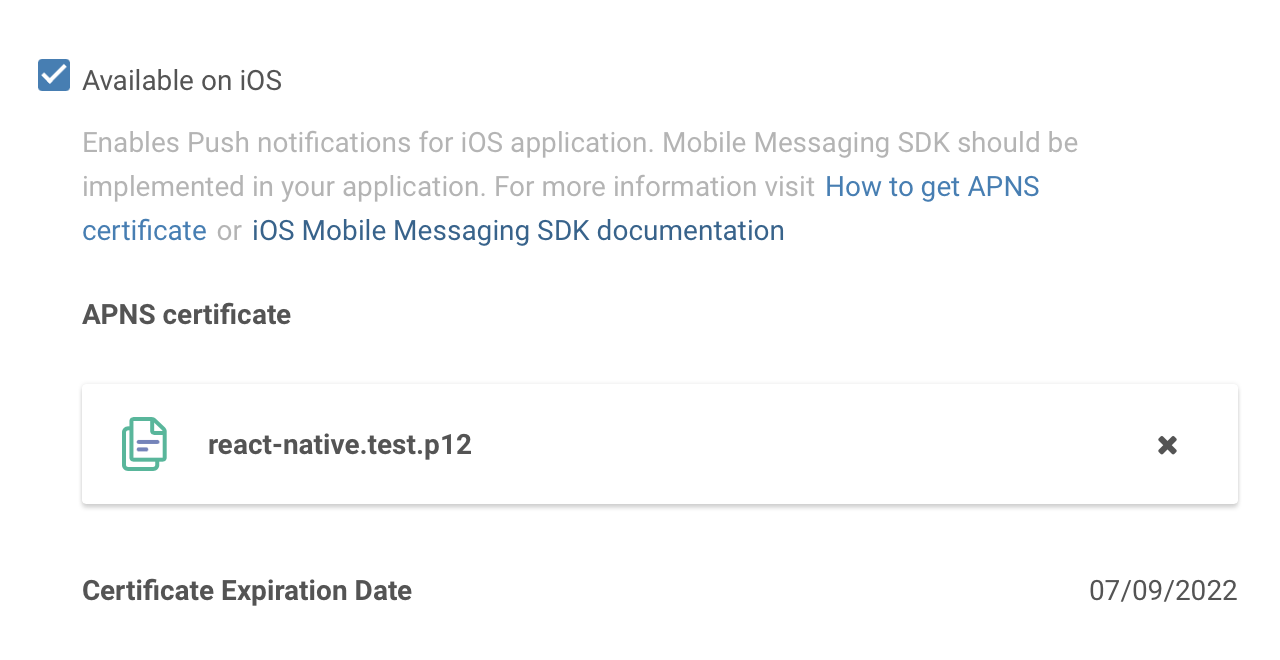
- Mark the "Available on iOS" checkbox.
- Mark the "Sandbox" checkbox if you are using sandbox environment for the application.
- Click on "UPLOAD" under "APNS Certificates" and locate the .p12 certificate you exported from your Keychain earlier.

First you will need to clone the SDK repository and install all dependencies for the app. So please go into ChatExample directory and run pod install:
$ cd infobip-mobile-messaging-ios/ChatExample
$ pod install
Now open MobileChatExample.xcworkspace and add your application code to AppDelegate.swift:
MobileMessaging
    .withApplicationCode("your-application-code", notificationType: .alert)?
    .withMobileChat()
    .start()
Then you can run the application on real device. Once application starts, you will be able to send and receive messages.

You can use Chat HTTP APIs to receive messages in your backend and send messages from your backend. Use push registration ID of this device for targeting. All communication between your backend and this device will be stored on device.
If you have any questions or suggestions, feel free to send an email to [email protected] or create an issue.
- Library events
- Server errors
- Users and installations
- Messages and notifications management
- Inbox
- Geofencing service
- Privacy settings
- In-app chat
- WebRTC Calls and UI