-
Notifications
You must be signed in to change notification settings - Fork 19
Quick Start
The
mpmd_marlin_1.1.xfirmware is NOT designed for the V2 model of the Monoprice Mini Delta 3D printer. Monoprice recently began selling a V2 model of the printer, and I doubt that this firmware is compatible. Please, do NOT try to install this firmware on the Monoprice Mini Delta V2 printer.
Here is an overview of the process to install the mpmd_marlin_1.1.x firmware
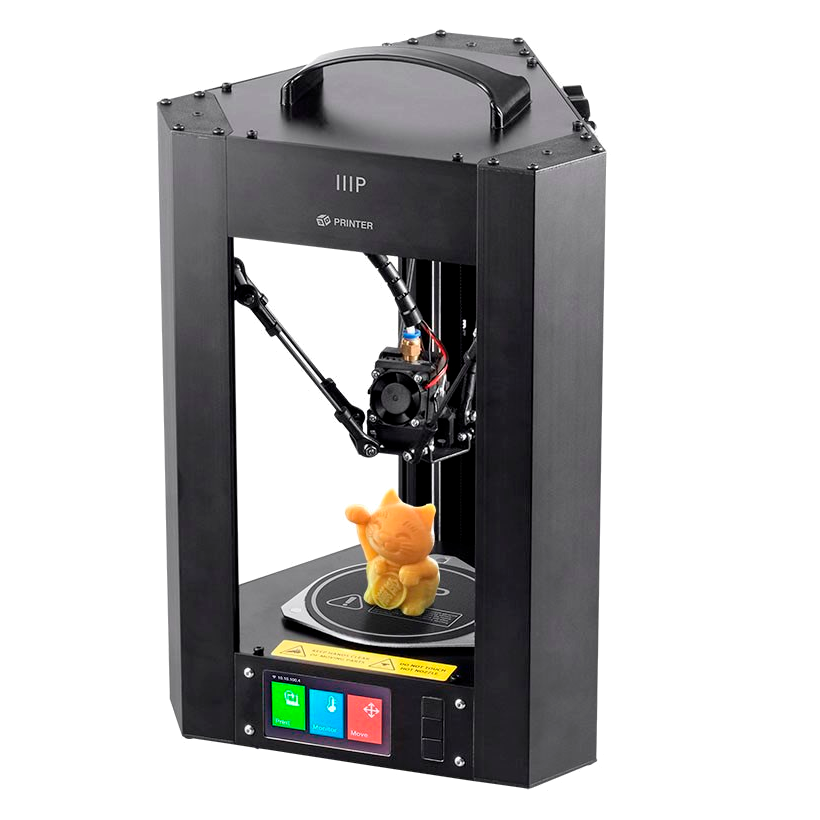
onto the Monoprice MP Mini Delta 3d printer. Follow these steps to convert the
"stock" MP Mini Delta printer into an "open-source" MP Mini Delta printer.
You may also find this reference useful -- @PurpleHullPeas' Alternate Firmware Flashing Instructions
-
Step 1. Install the firmware (see Installing the Firmware)
assembling the micro SD card
- prepare a compatible micro SD card (see micro SD card)
- rename the appropriate firmware file (see Which Firmware?) to
FIRMWARE.BIN - copy the file,
FIRMWARE.BIN, into the root directory of the SD card - unzip the files in
mpmd_marlin_1.1.x-119r??-uSDCard.zip(it's part of the release; it should be the first asset listed at the bottom of the release page) - copy the file,
FCUPDATE.FLG, into the root directory of the SD card - copy the folder,
setup_gcode, into the root directory of the SD card - copy the examples folder,
modelsinto the SD card's root directory
flashing the firmware
- place the micro SD in the printer, then power up the printer
- the LED quickly flashes white while programming
- the printer resets (after about 10 seconds)
- the LED flashes green once then remains solid white
- Congatulations, programming is complete!
- delete the file,
FCUPDATE.FLG, from the SD card
(this prevents the printer from continually updating its firmware)
if the firmware did not flash
- refer to micro SD card or use the original microSD card because the bootloader is picky
-
Step 2. Calibrate the printer (see Calibrating the Printer)
NOTE:If your printer is an older model (pre-2018?), please see "Calibrating the Printer" for important calibration instructions.Use the printer's
PRINTfunction to select the following commands:-
/setup_gcode/M502_FACTORY.gcode(reset EEPROM settings to clear possible corruption) -
/setup_gcode/M500_SAVE.gcode(save the settings to the flash memory) - Power Cycle the Printer (turn the printer off and then back on again)
-
/setup_gcode/AUTO_CALIBRATE.gcode(run a complete calibration with bed level)- You could instead run
/setup_gcode/CALIBRATE_25MM.gcodeif you run into this effector collision issue.
- You could instead run
-
/setup_gcode/M851_Z450.gcode(adjust the bed offset -- 0.450 is a good guess) -
/setup_gcode/M500_SAVE.gcode(save the settings to the flash memory)
-
-
Step 3. Print an Example Model
Use the printer's
PRINTfunction to select a model to print:-
/models/monoprice_cat.gcode(or other file in the models folder)
-
-
Step 4. Update Start G-Code and Print Other Models (see Configuring a Print)
Essentially, just choose one of the Start/End G-code examples to copy-paste it into your slicer.
@PurpleHullPeas "cuts to the chase":
There are a few small, but notable, differences between the recommended Start Gcode for stock firmware versus mpmd_marlin_1.1.x firmware;
a. You should delete any configuration lines (
M92,M665,M666,M301,M304,M500, etc.) from your Start Gcode, because they could interfere with other values calibrated earlier in the Quick-Start Guide. I.E., it is recommended that you store your configuration values to EEPROM.b. Your z-offset was set earlier using
M851in the "Calibrating the Printer" section of the Quick-Start Guide. Return to that section if you need to adjust it.c.
G29does not work the same way as stock firmware. Your mpmd_marlin_1.1.xG29line should just readG29 P0(see Start/End G-code examples) to do a single probe using the stored mesh from the "Calibrating the Printer" section of the Quick-Start Guide. Just runningG29will redo the entire 7x7 bed at the default 55 mm probe radius.d. There are very notable differences in temperature management, so choosing one of the Start/End G-code examples is a safer bet when it comes to initially heating the nozzle and bed.
slicing your own 3d models
* install a (Mini Delta) printer profile in your slicing program
* configure the print start and end G-code in your slicing program
* slice models, copy to and print from the micro SD card
-
Step 5. Frequently Asked Questions
-
Are you having trouble?
- Before posting a question to GitHub or social media, please check the FAQs for some of the most common questions related to mpmd_marlin_1.1.x.
- You could also try reading through the topics in the sidebar to see if it is covered elsewhere in this wiki.
-
Still cannot find your problem listed? The preferred platform for questions related to mpmd_marlin_1.1.x is GitHub.
- For firmware bugs, you can file an issue.
- For general troubleshooting questions, you can start a discussion.
-
