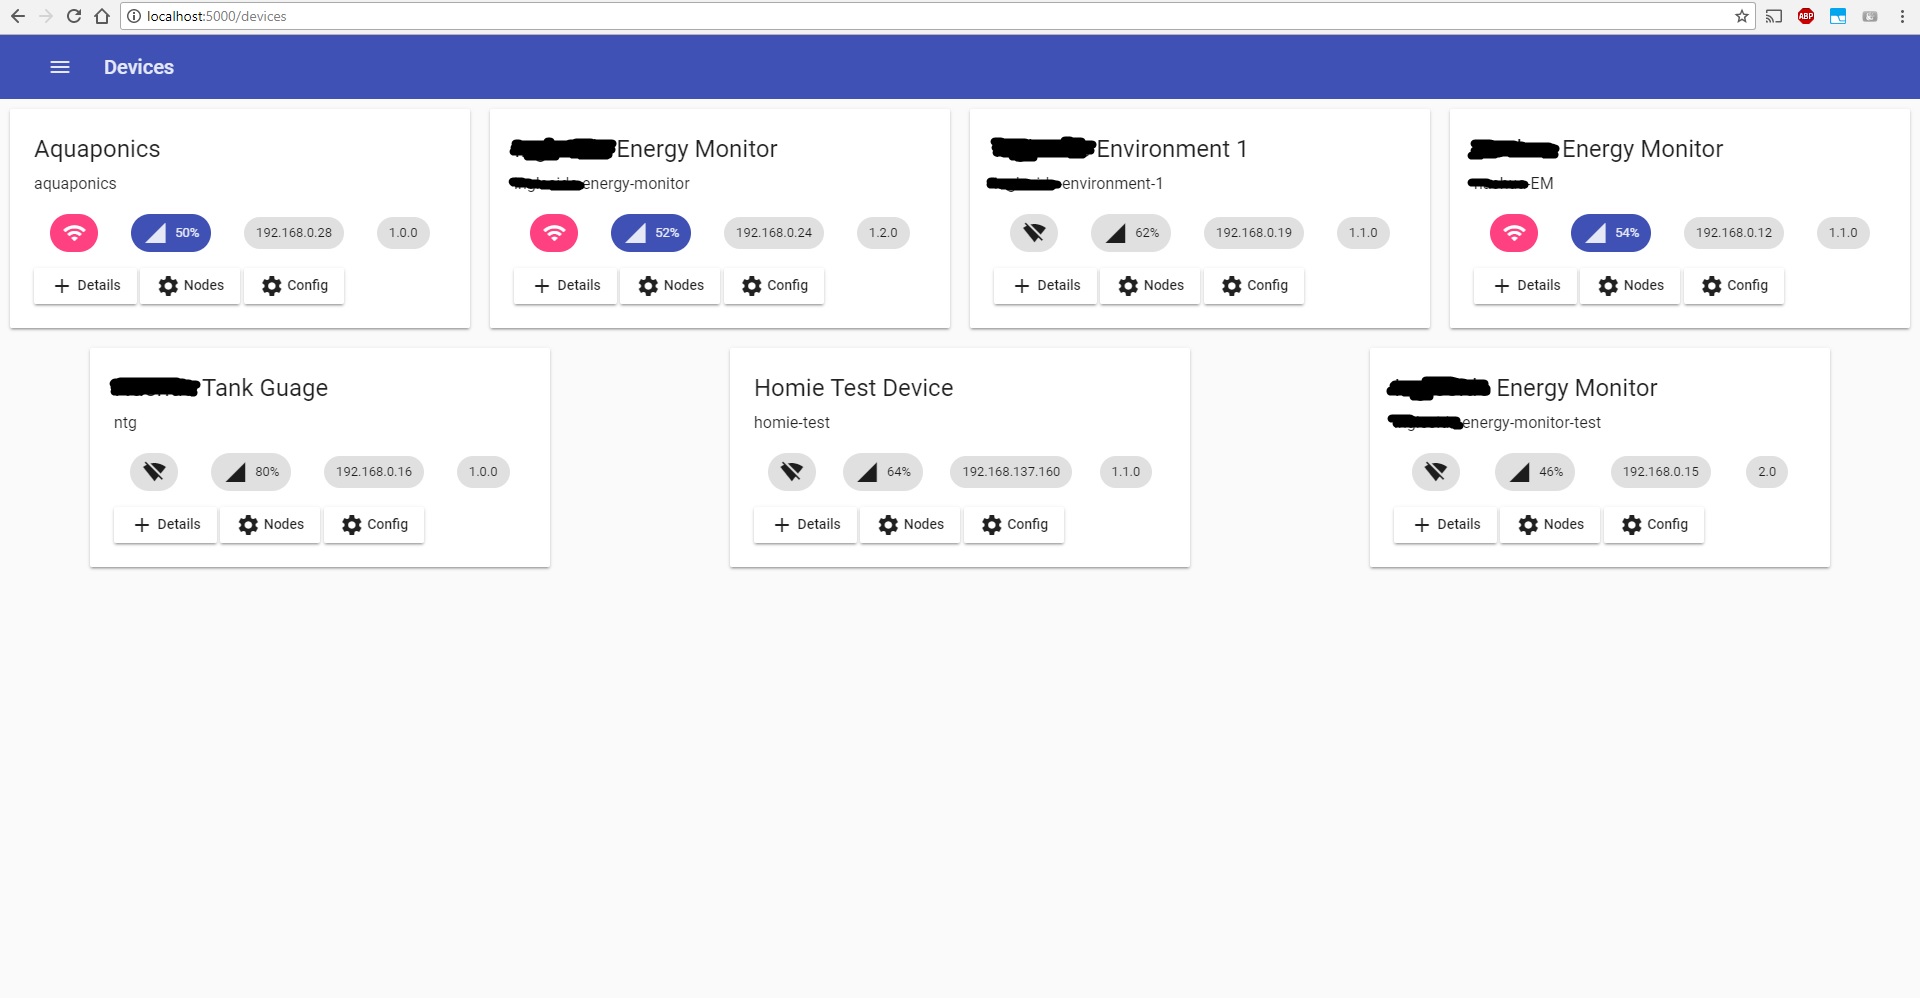
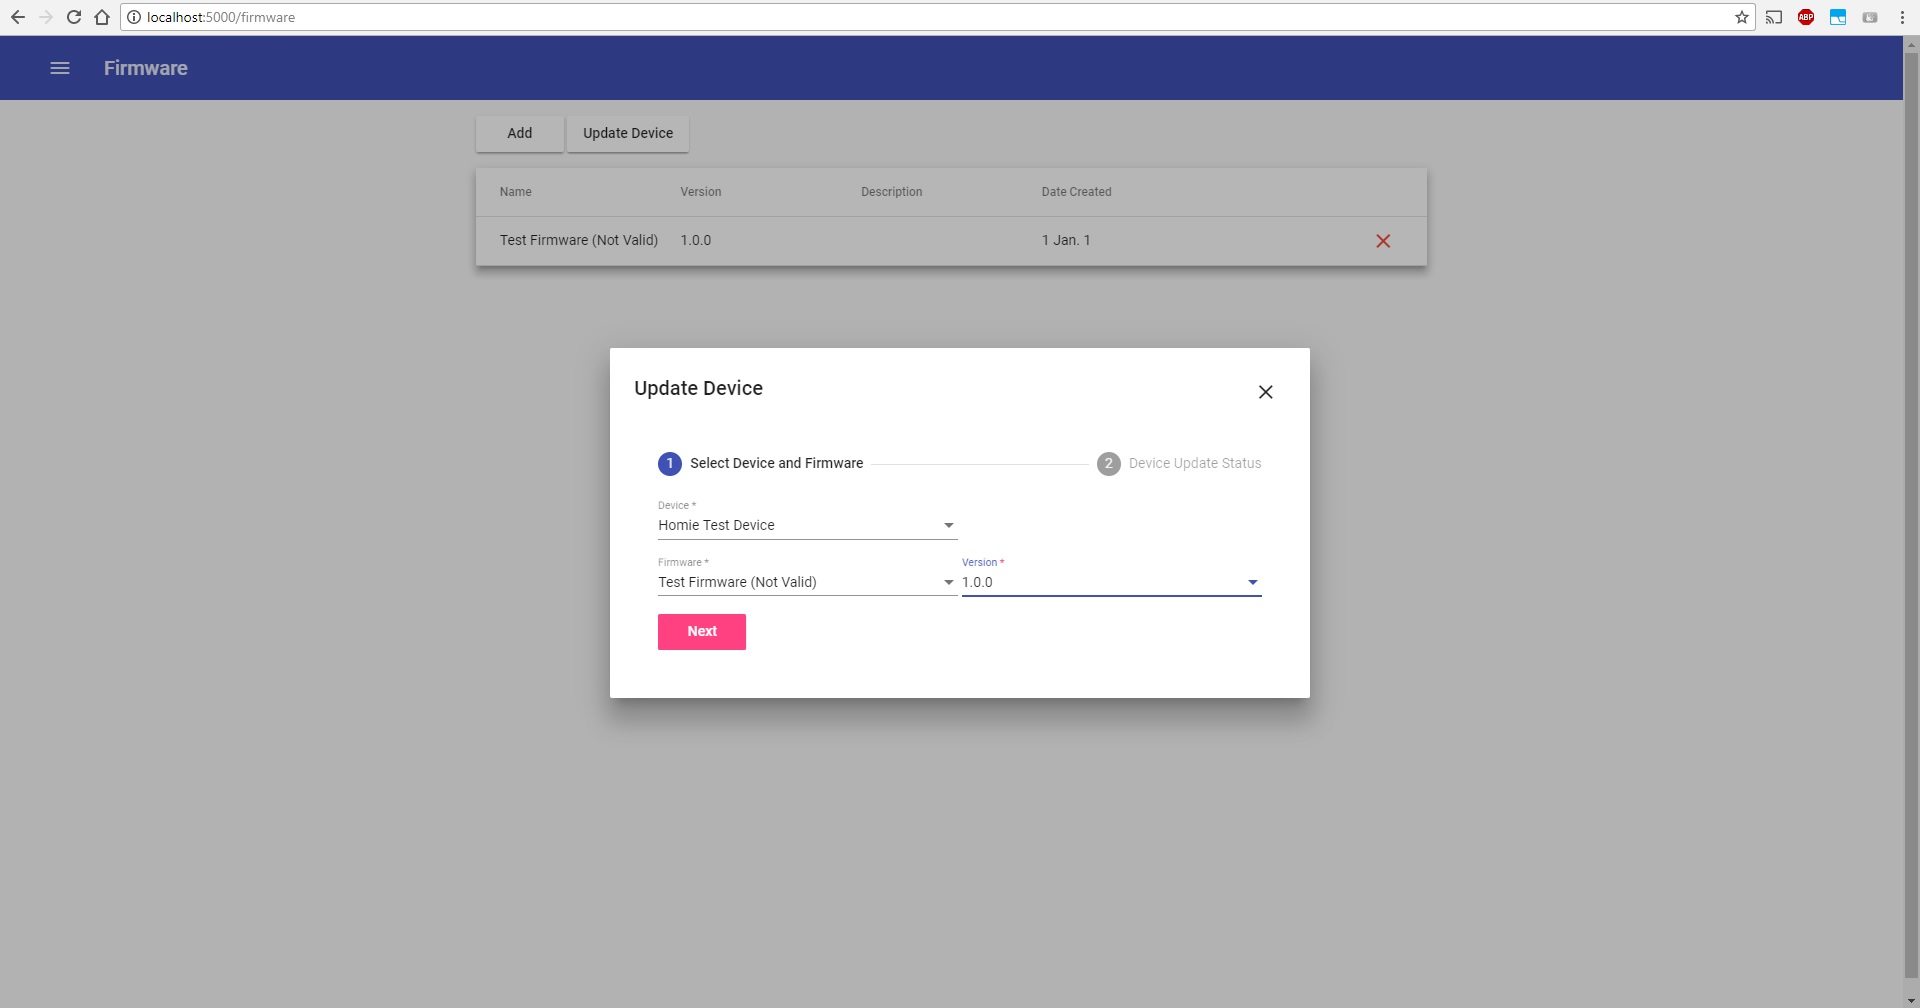
This project is a hobby project and has not suport. It is currently in its early developement. Basic functionality only.
This project is aimed to be a Homie Manager for configuring and managing your homie IoT devices.
Built in Visual Studio 2017 using Angular 4 and DotNet Core 2.0
- Angular 4
- Angular Material 2 (UI)
- DotNet Core 2.0
- Entity Framework Core
- SignalR Core (Coms -> Websockets)
- M2M MQTT Core Client
Note below is some basic instructions but im not yet ready to commit much time to supporting issues. So if you want to start using/developing this project it will be out of your time, sorry.
Run both frontend and back end independently
Youll need:
- DotNet Core 2.0 SDK
- NodeJs
- Visual Studio ? or Visual Studio Code ? (IDE)
For the frontend youll need to run npm install to restore the packages for anngular and dotnet restore for .net packages
Aditionally best to install angular cli globally by npm install -g --save @angular/cli
Using TaskRunner (Addon) in VS run start or in cmd run npm run start
Runs on port 4200 and has a proxy to backend (port 5000).
Using VS run using eather debug or non debug mode, or in cmd run dotnet run, his will run the poject in dev mode.
Runs on port 5000
Run ng build to build the project. Use the -prod flag for a production build. This builds the fronent as a static files in the wwwroot folder.
Then runing dotnet build to build the compiled .net code.
Build the Fronend as said above. This create the static html app files in the wwwroot folder which is inculded in a DotNet Publish, via dotnet publish
This is standard dotnet commands and if you want further information plase go to the help pages related to publishing.
run dotnet ef migrations add {verion eg. v1}
run dotnet ef database upgrade
Copy the AppConfig.default.json file as AppConfig.json and input your settings.
This is yet to be worked out...

