#Fiber Optic Temperature Measurement ###Operation Instructions #####For OS X 10.7+
This tutorial will walk you through the steps required to use the LumaSense Technolofies Luxtron FOT Lab Kit, CoolTerm application, and a Mac computer to collect accurate and precise temperature data for various applications.
The tutorial will deal with the software and hardware prerequisites, equipment unpacking and setup, operation of the CoolTerm software, and the logging of data to a text file that can be subsequently accessed through a number of software platforms.
##Prerequisites
In order to read the Luxtron temperature data, you will have to install CoolTerm.
- To install CoolTerm, go to [http://freeware.the-meiers.org/] (http://freeware.the-meiers.org/) and locate the CoolTerm application.
- Click on the link for Mac under the CoolTerm logo and download the zip file
- Extract the files from the dowloaded zip file
- Once extracted, the CoolTerm application can be run from the directory it was downloaded to
- Since Macs typically keep all applications in the Apllications folder, you may move either the entire extracted CoolTerm folder, or just the CoolTerm application to that folder on your computer. The application will run the same way.
In some cases, you may need to download the drivers for the USB-to-Serial cable in order to properly connect to the FOT. To do this, go to [http://plugable.com/drivers/prolific] (http://plugable.com/drivers/prolific) and click on the Mac link. Once the driver files have finished downloading, run the .pkg file. You will likely need to restart your computer in order to have these changes take effect, but once the computer is rebooted, all software should run fine.
The Luxtron FOT probes are very thin and very fragile. While they can be used in a variety of media, including water and aqueous solutions, great care must be taken to ensure the cables are not bent excessively or placed in a substance that could be corosive or become adhered to the end of the optic probe.
##Opening and Installing FOT Probes
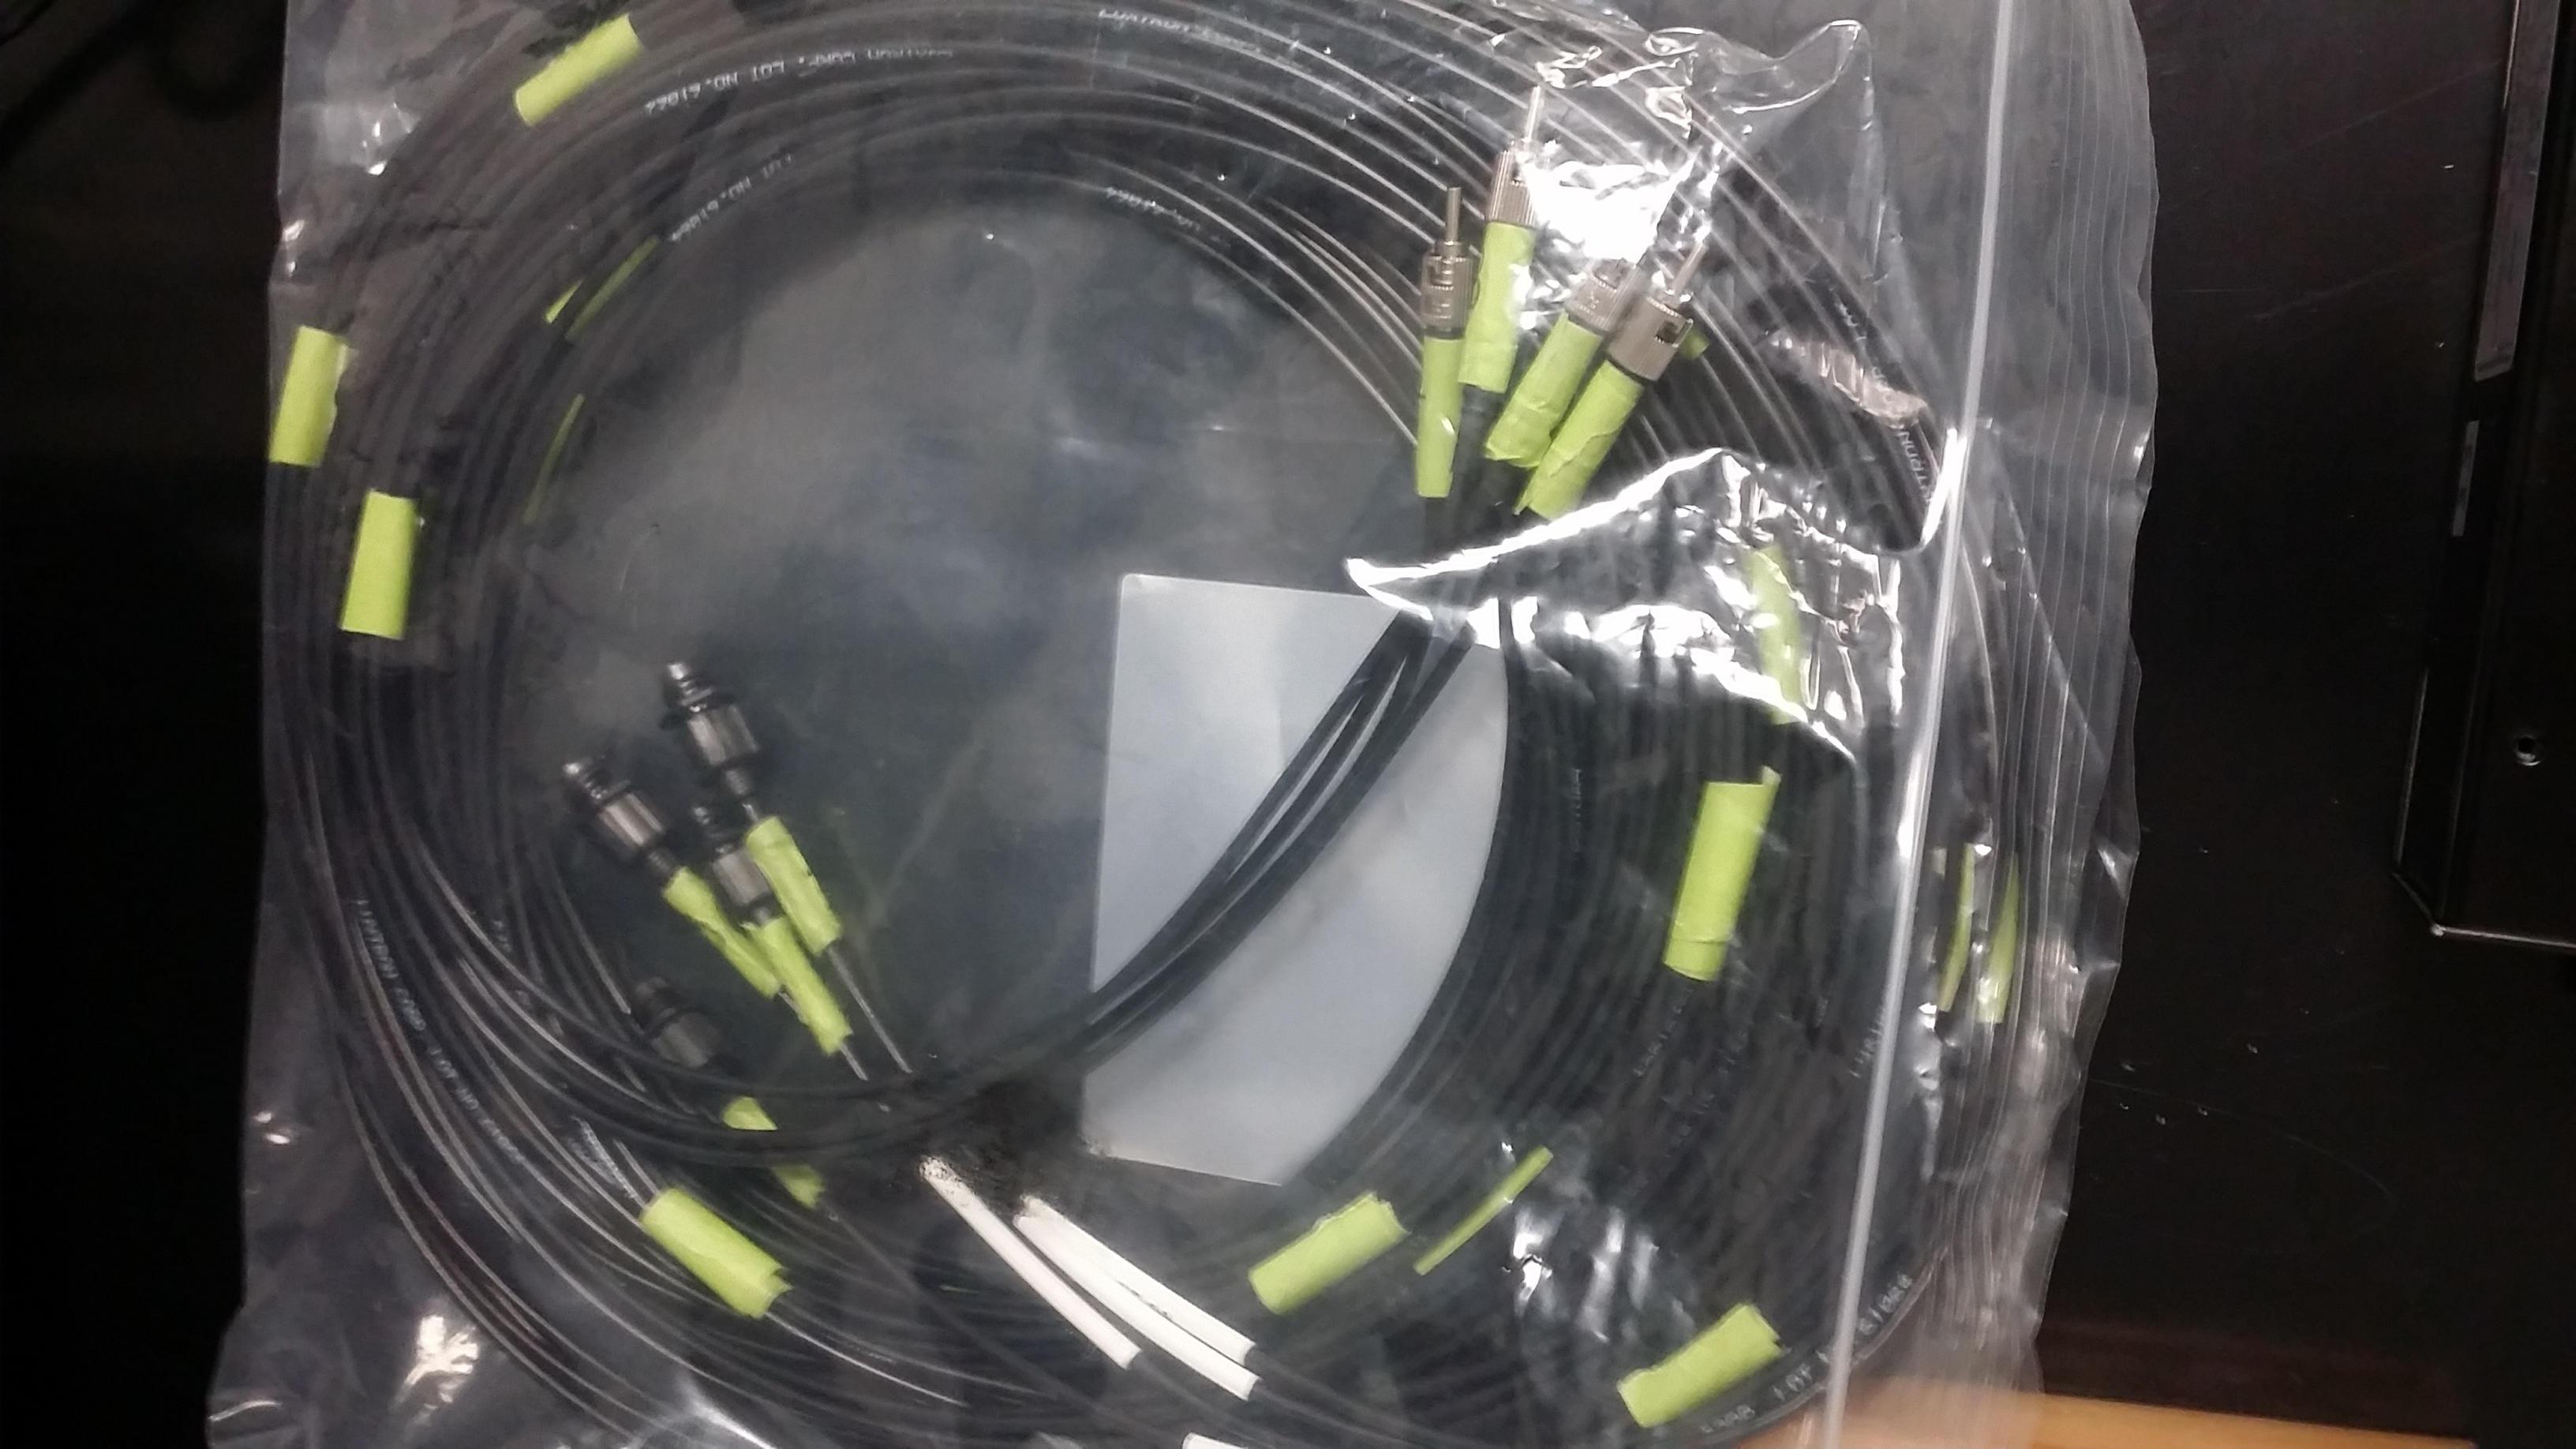
The optical cables themselves are kept in a white, Patient's Belongings bag (permanent home TBD). This bag also contains the cables that connect the probes to the data logger as well as the Serial to USB cable used to interface with the computer.
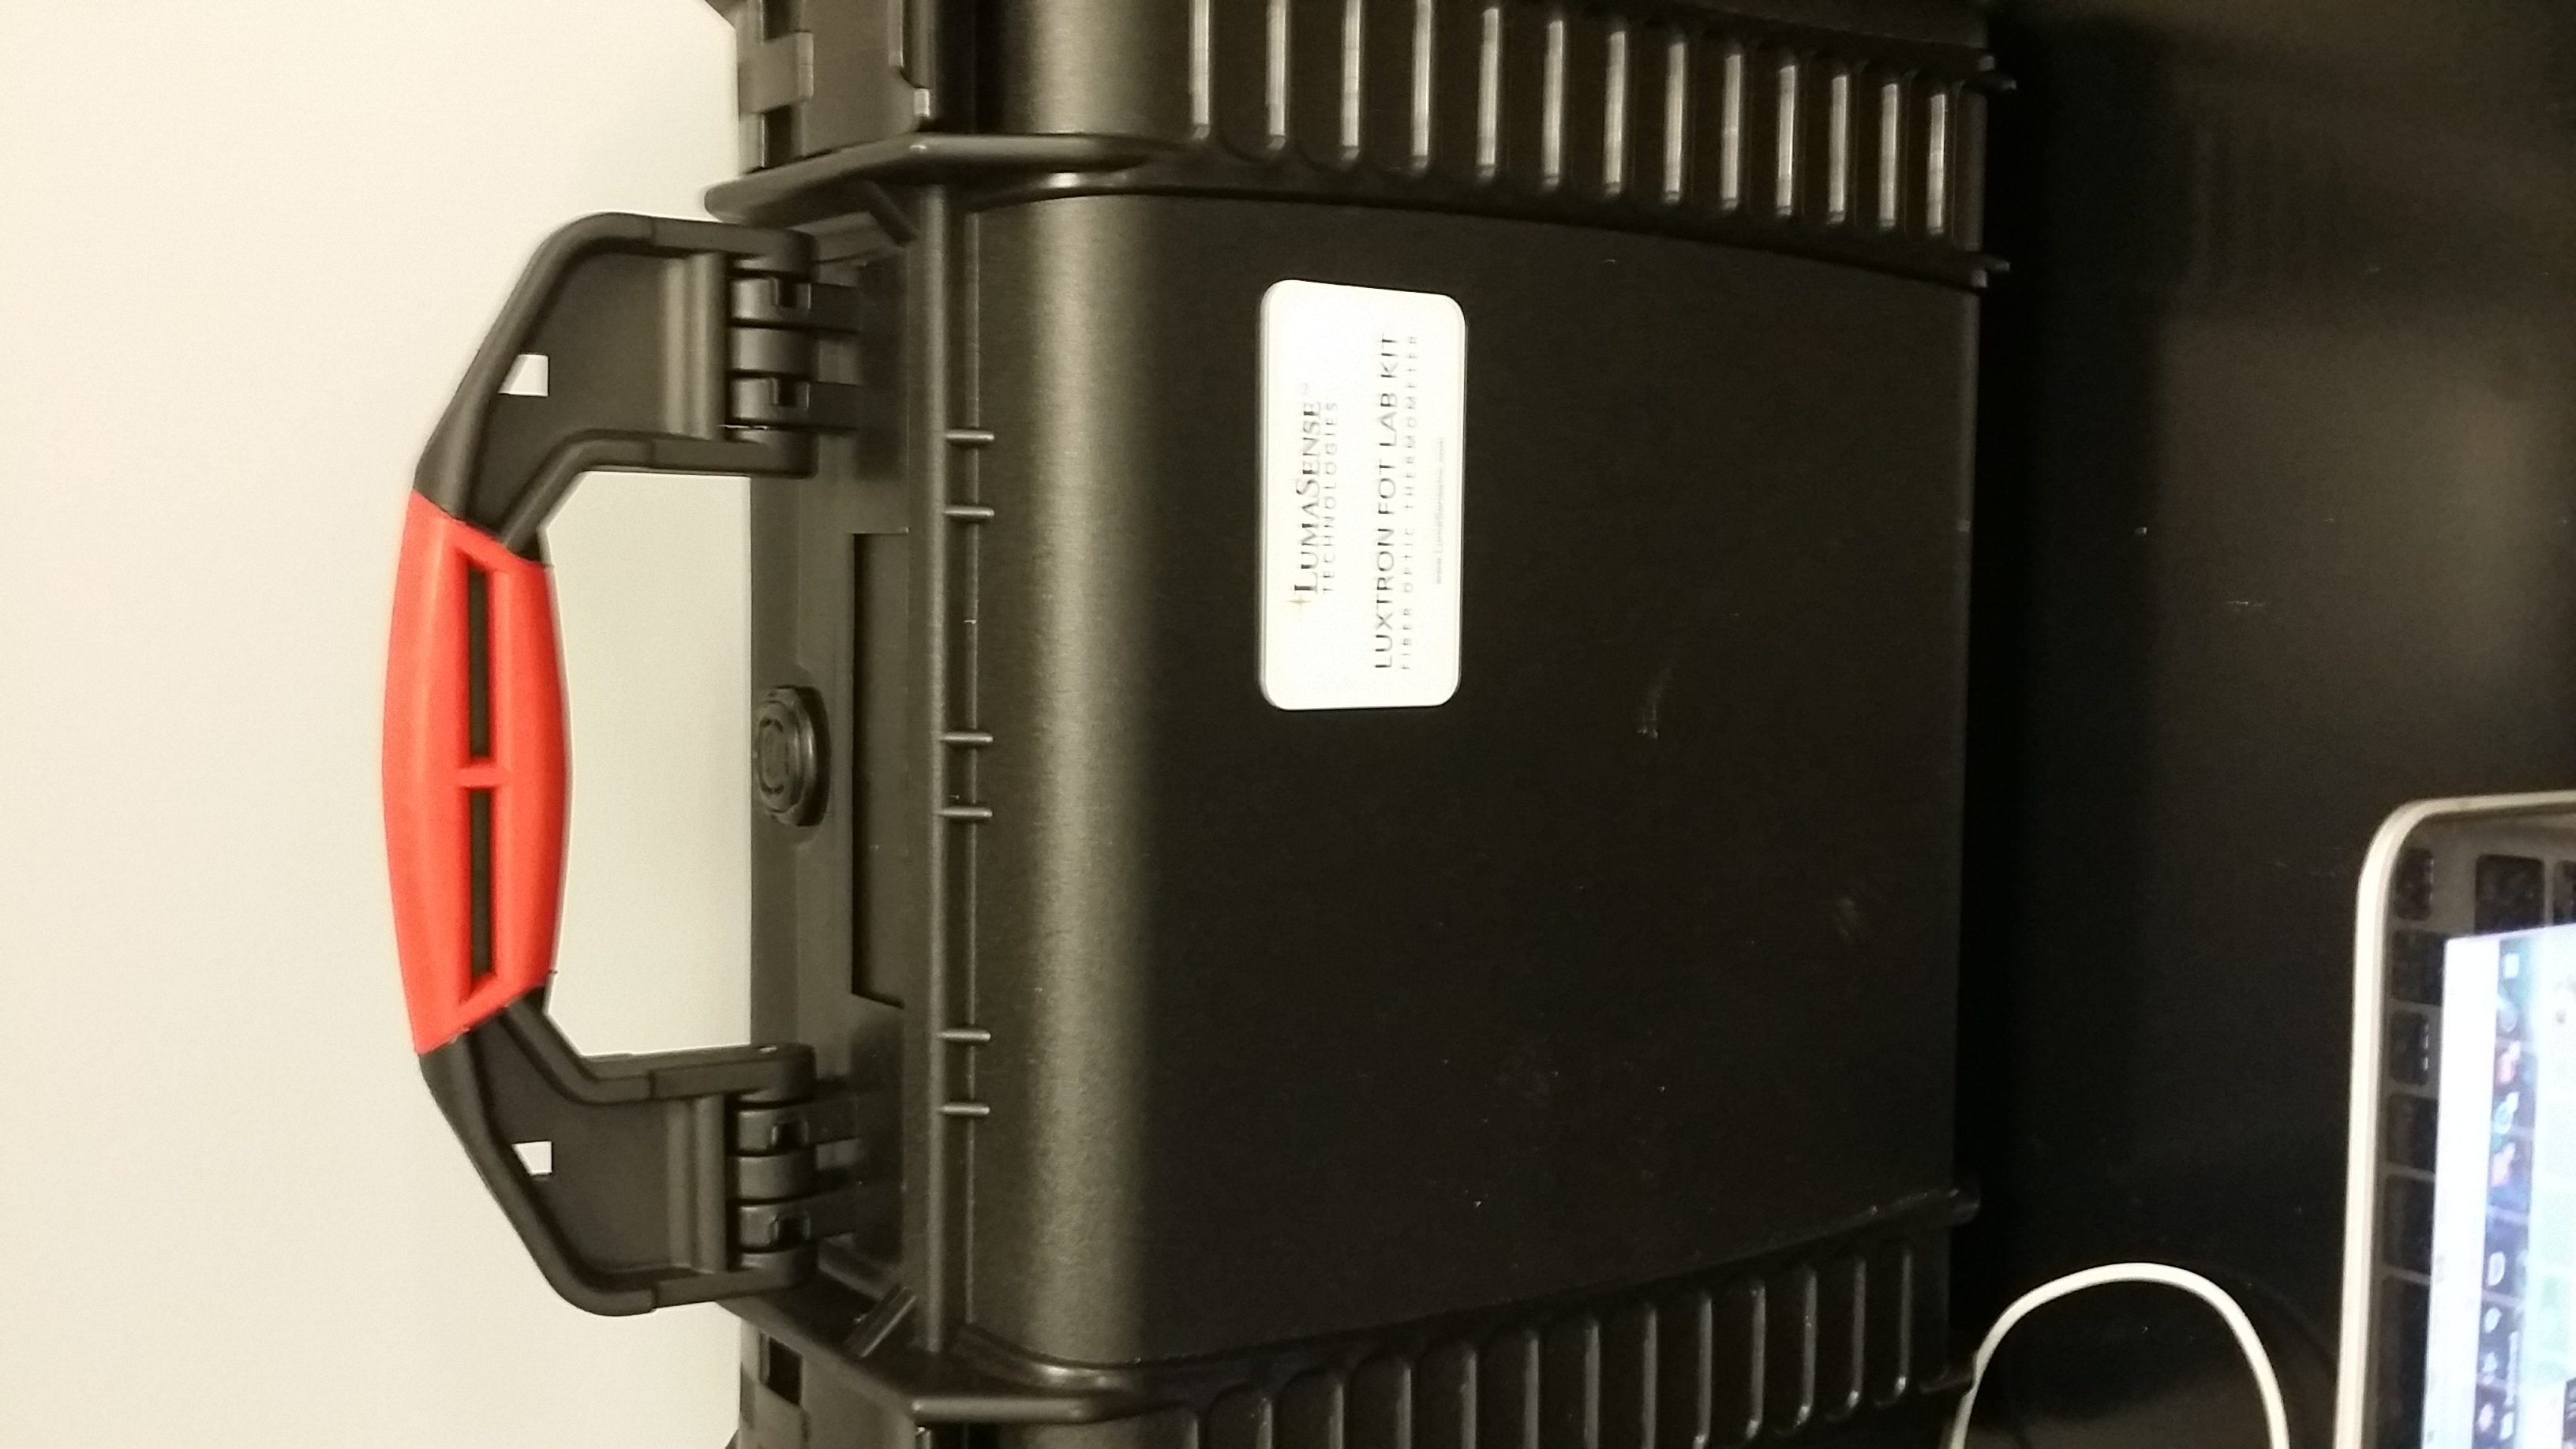
The main input hub is in a black Pelican case (permanent home TBD), which also contains the power cord for the device.
###Setup Procedure
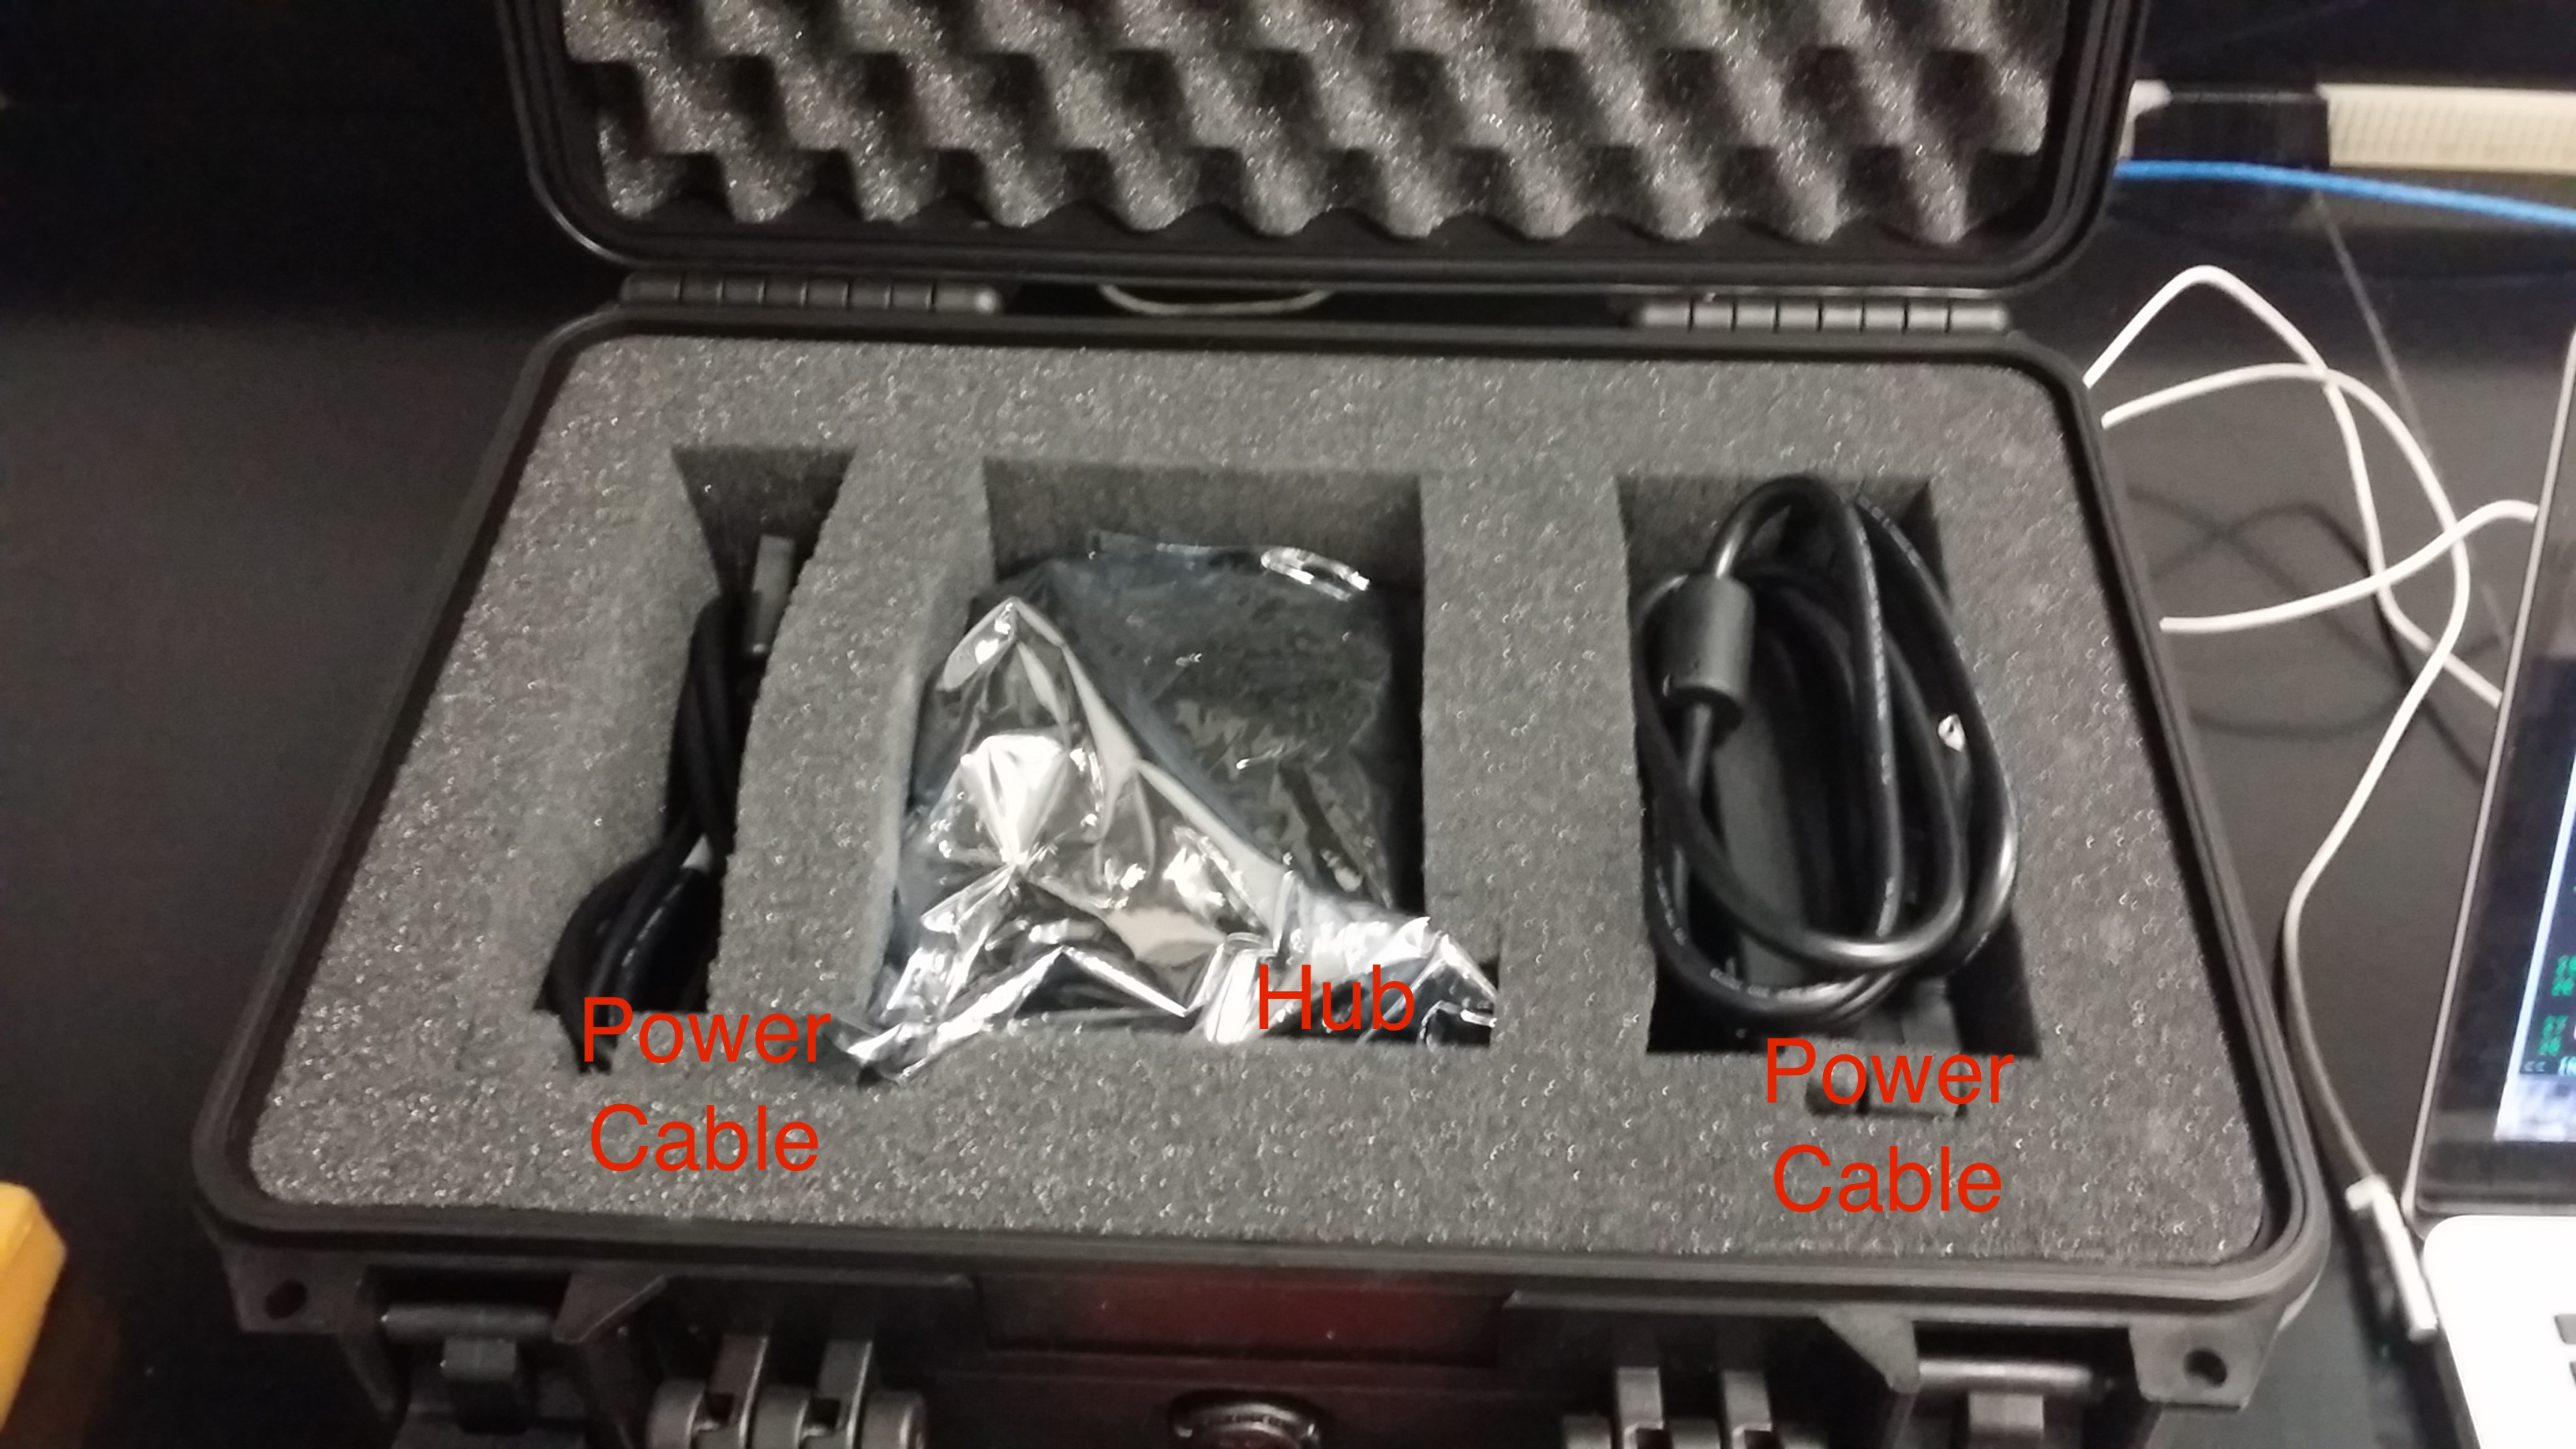
- Remove the hub and power cables from the case and connect them accordingly
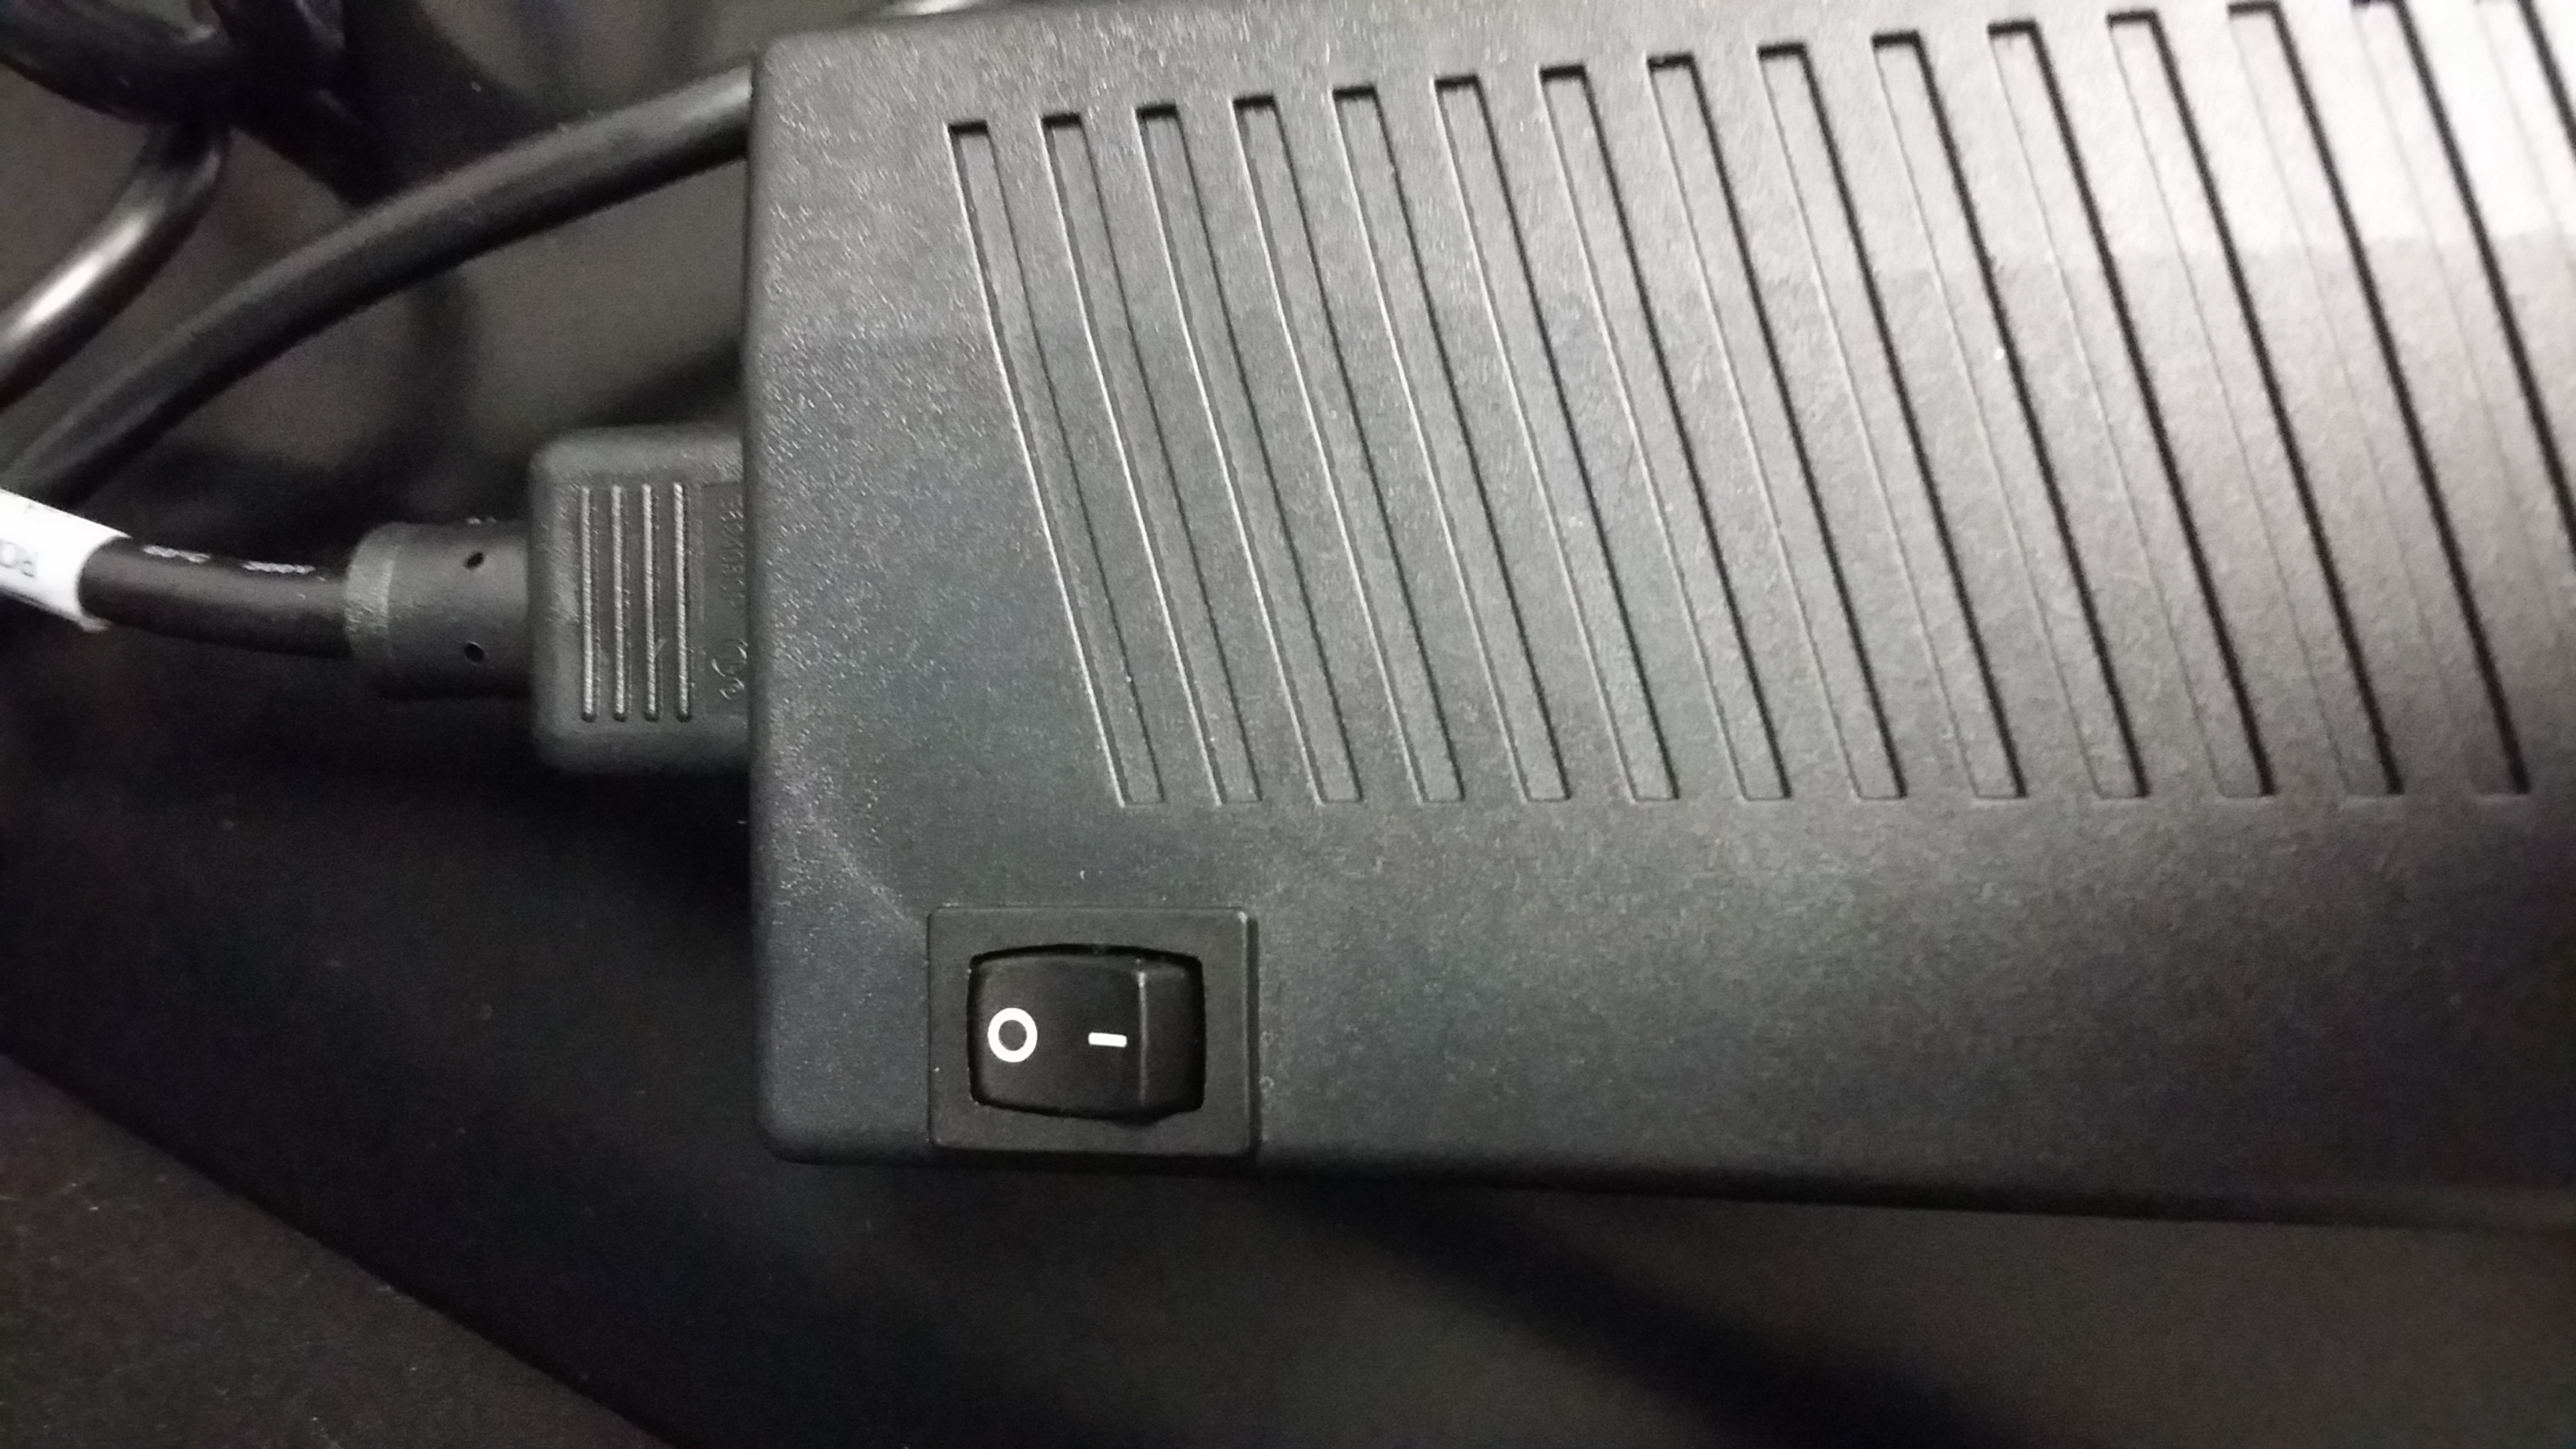
- The power cord may be plugged into the hub at this time, but ensure the power swtich on the cord is in the "off" (o) position.
- The cable that connects the optical probes and the hub can now be connected
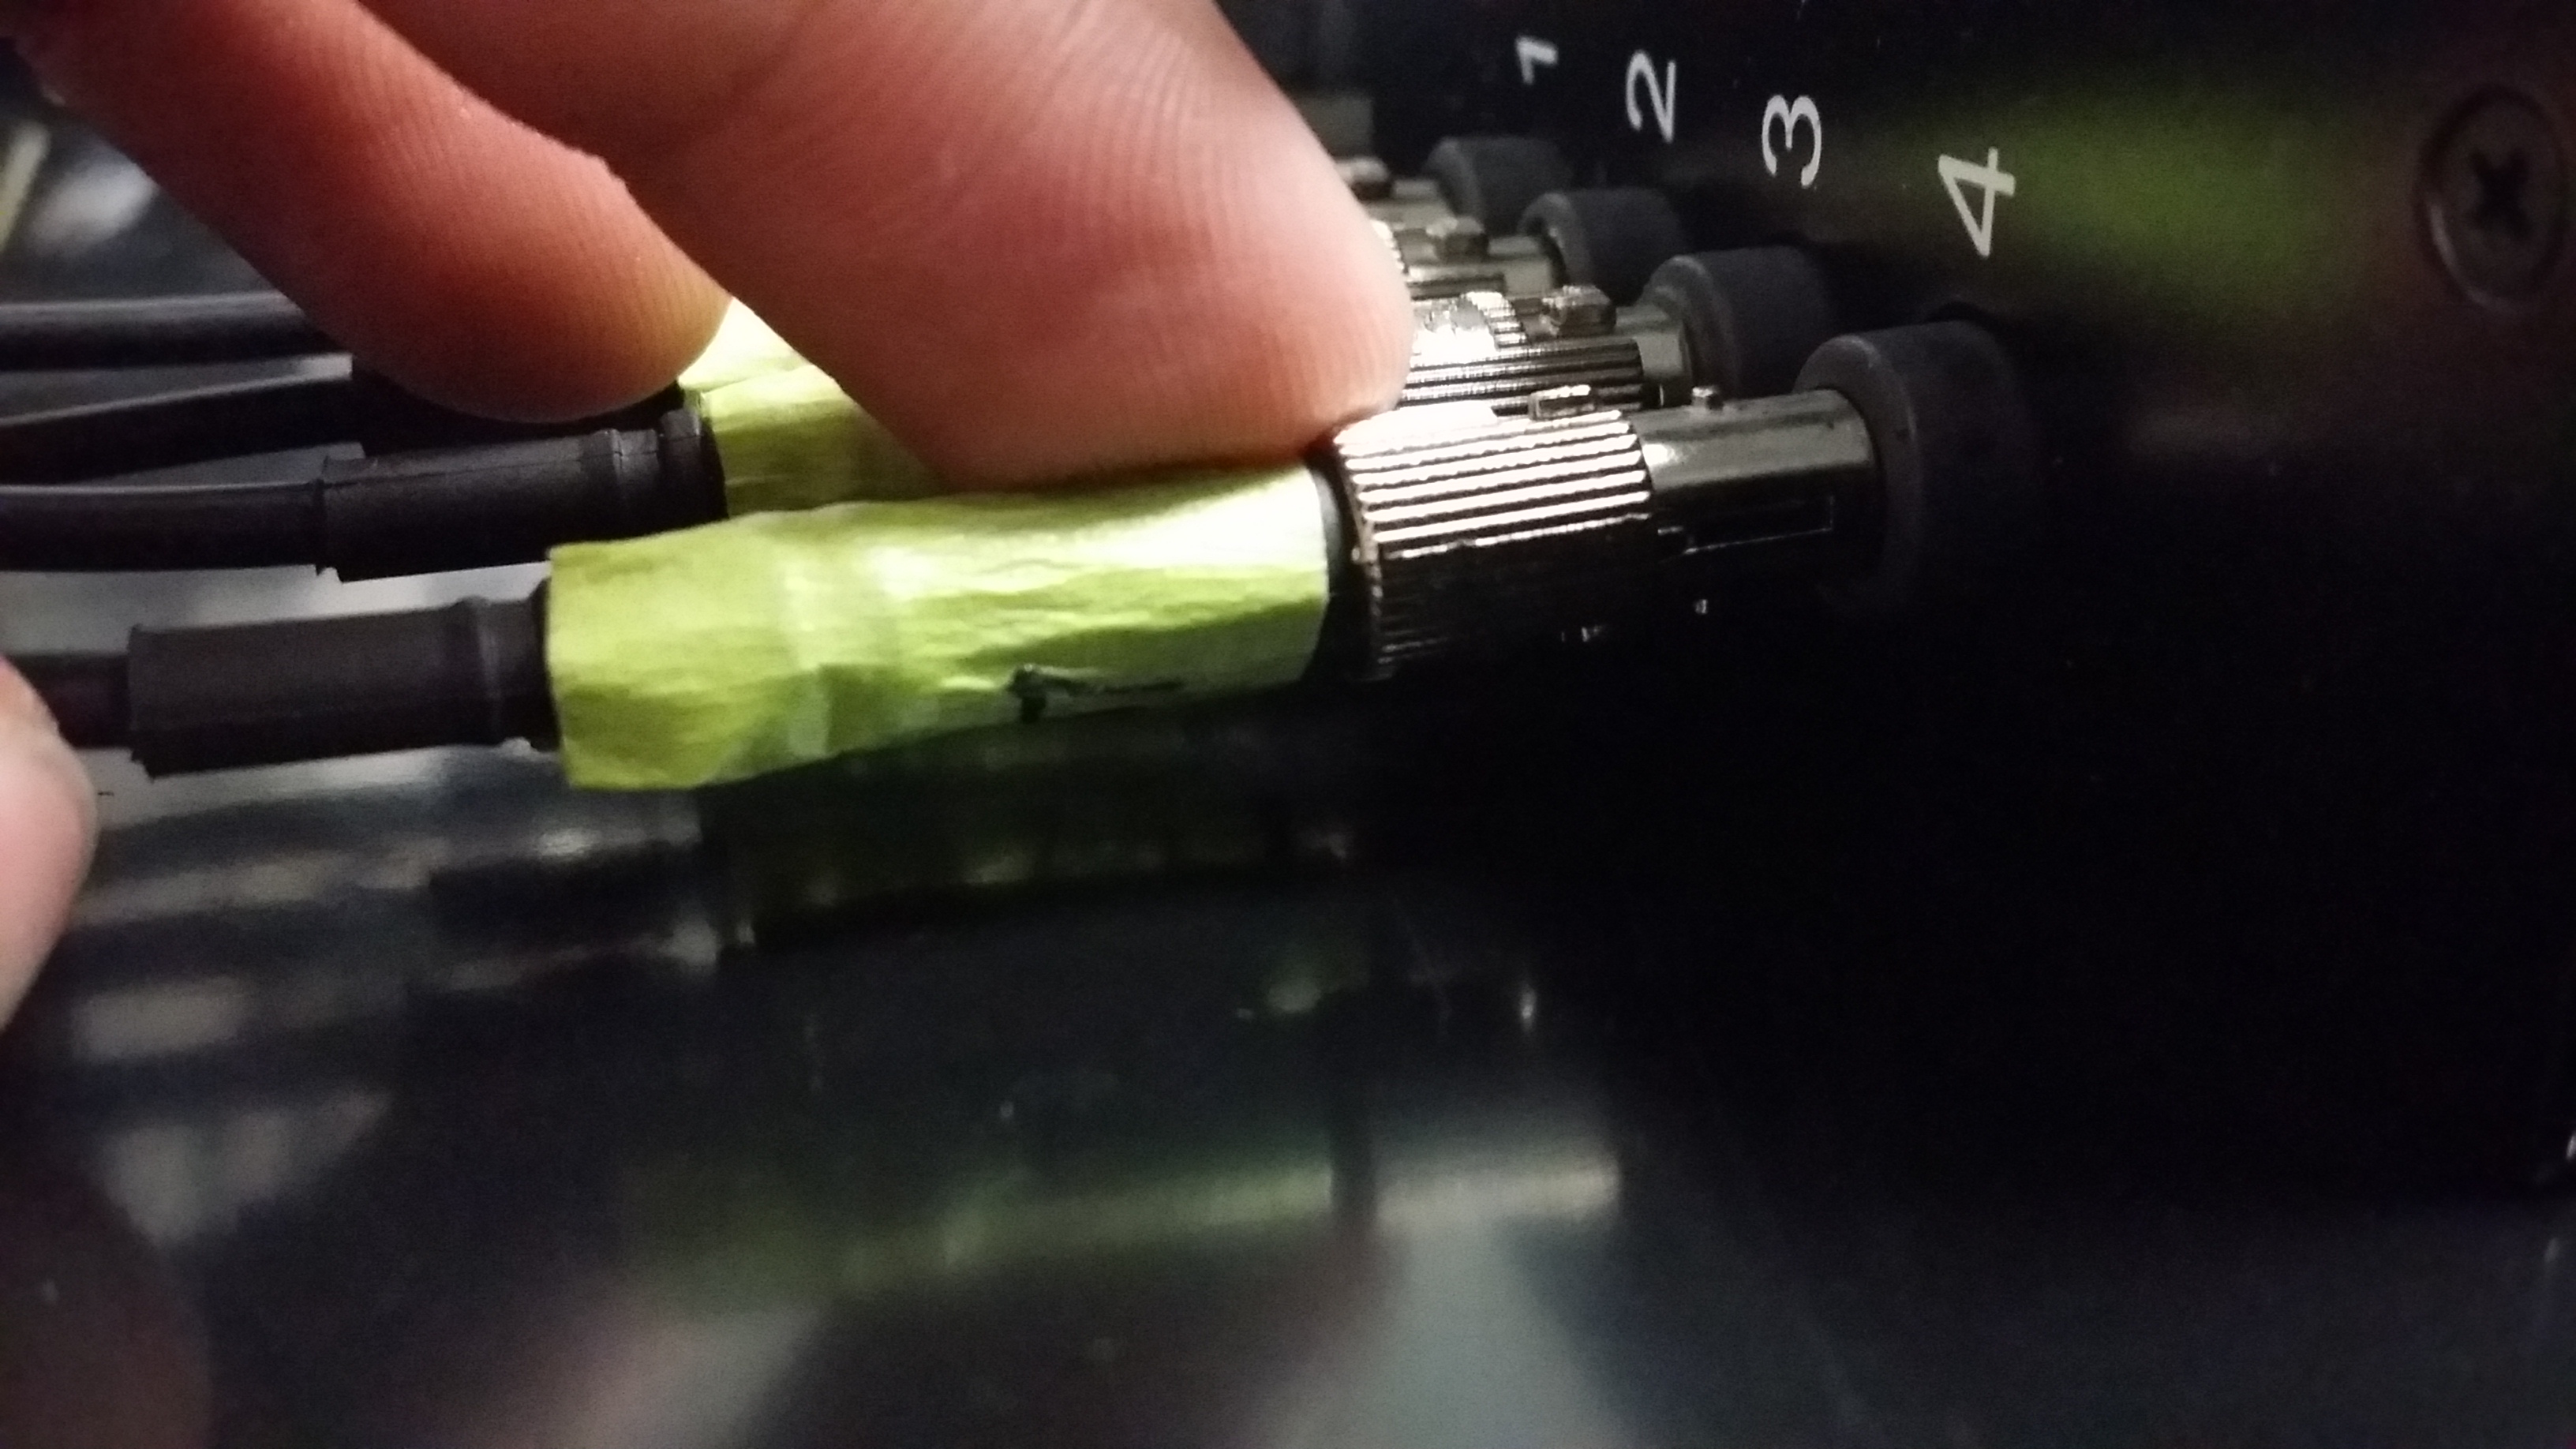
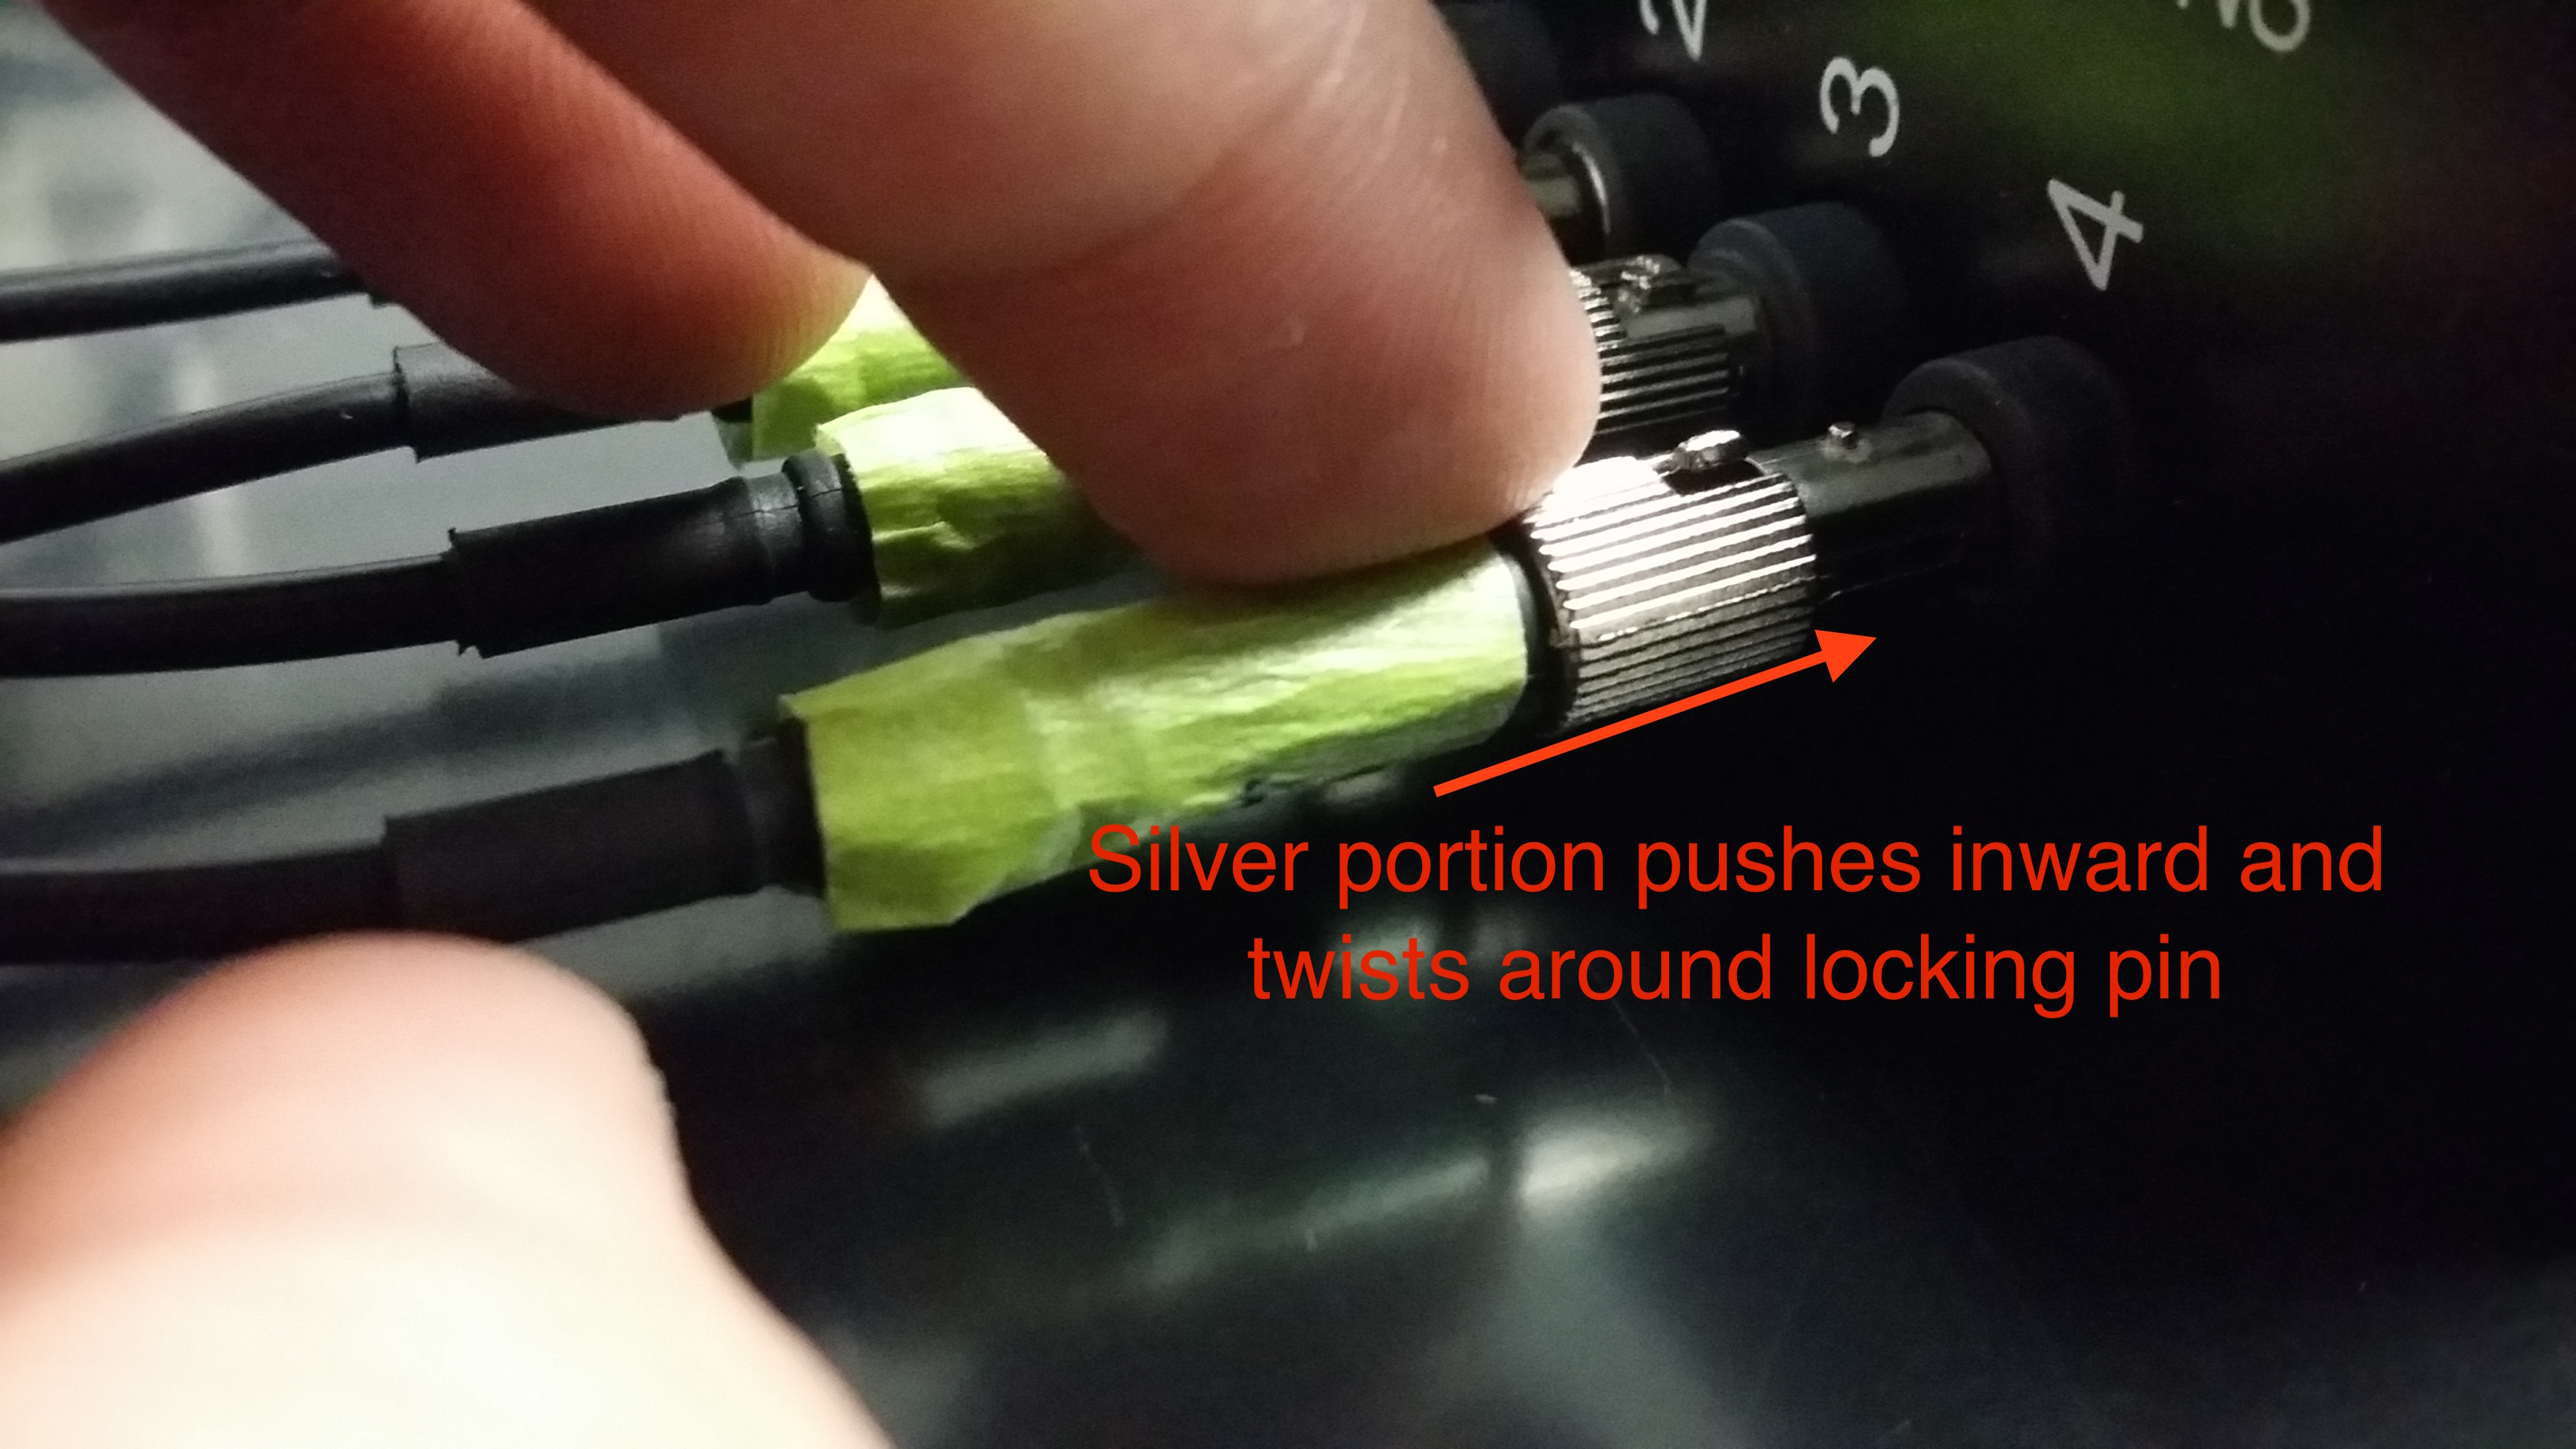
- This cable can only be connected in one orientation and is secured by a spring mechanism
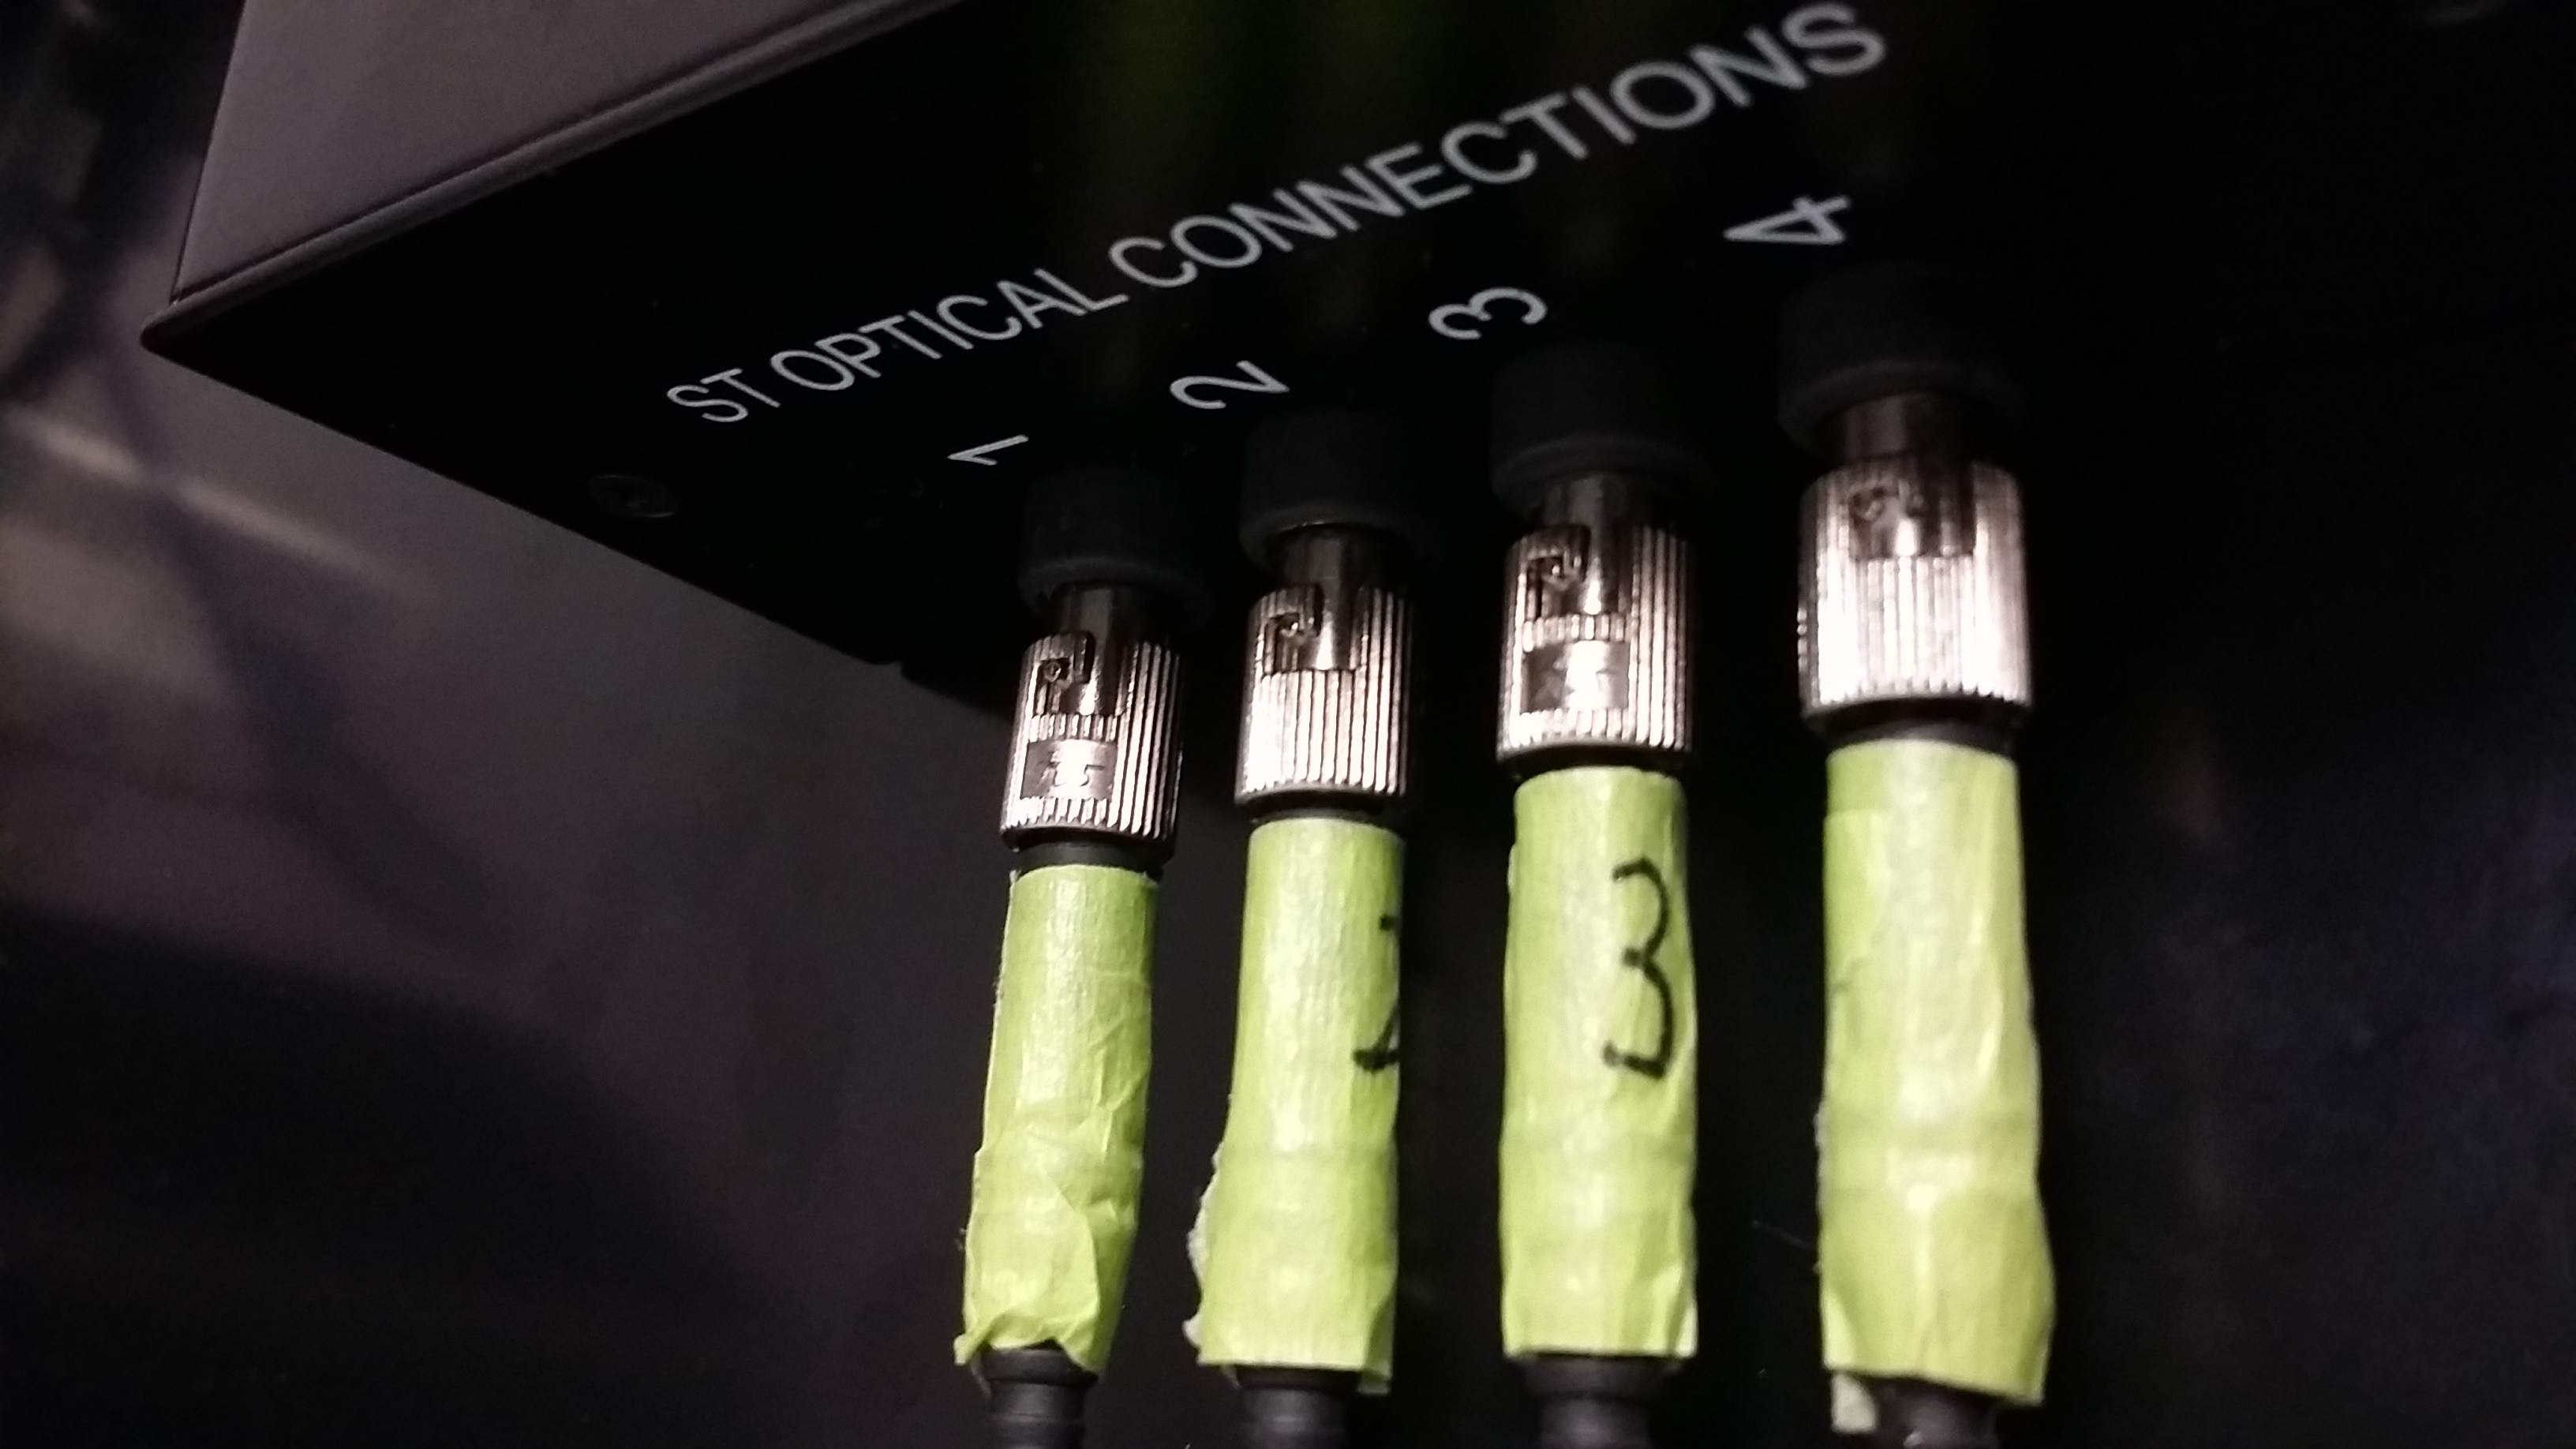
- When inserting the connecting cables, it is important to match the number of the cable (written on green tape) to the number of the input on the hub.
- The optical probes can now be removed from their cases and connected, taking great care not t crush or bend the probes
- The probes are not numerically labeled and can be attached to any numbered cable.
- The connection mechanism between the fiber optic probe and the cable has a flat surface on both components that must be aligned during connection in order to produce a complete connection. If the probe and cable are not connected in this manner, there is a strong chance the temperature data will not be collected or will be wrong.
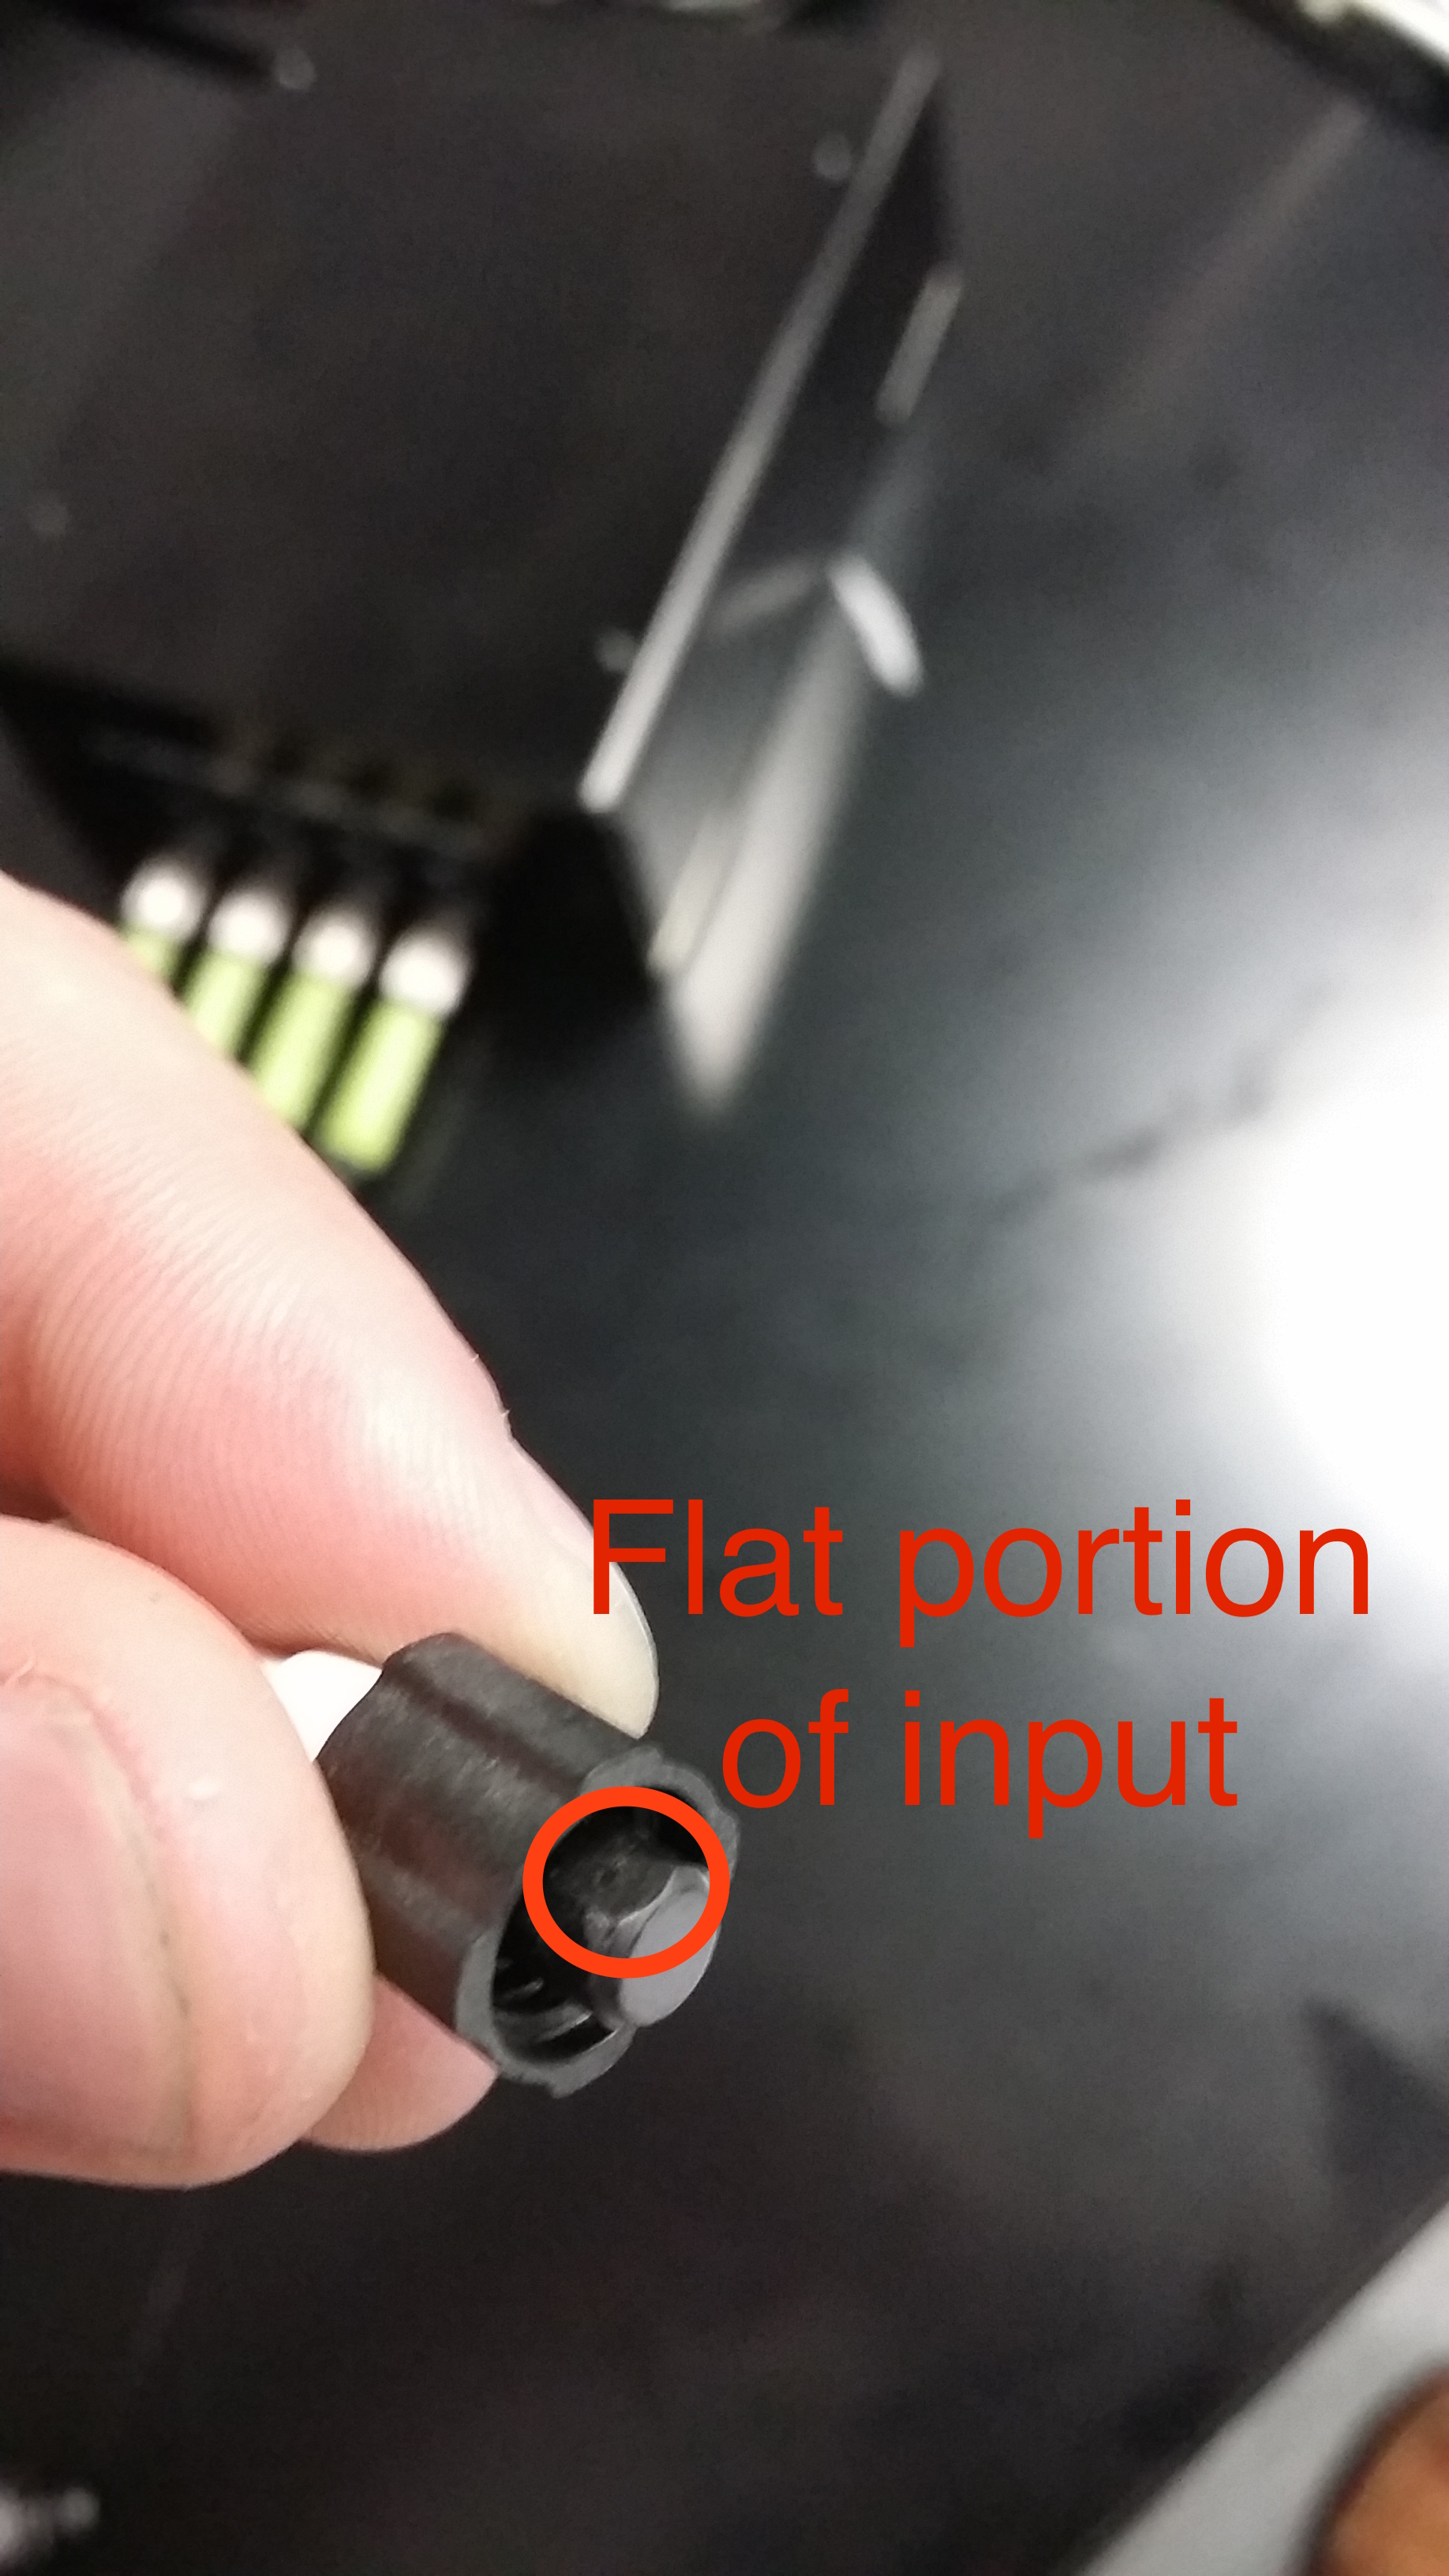
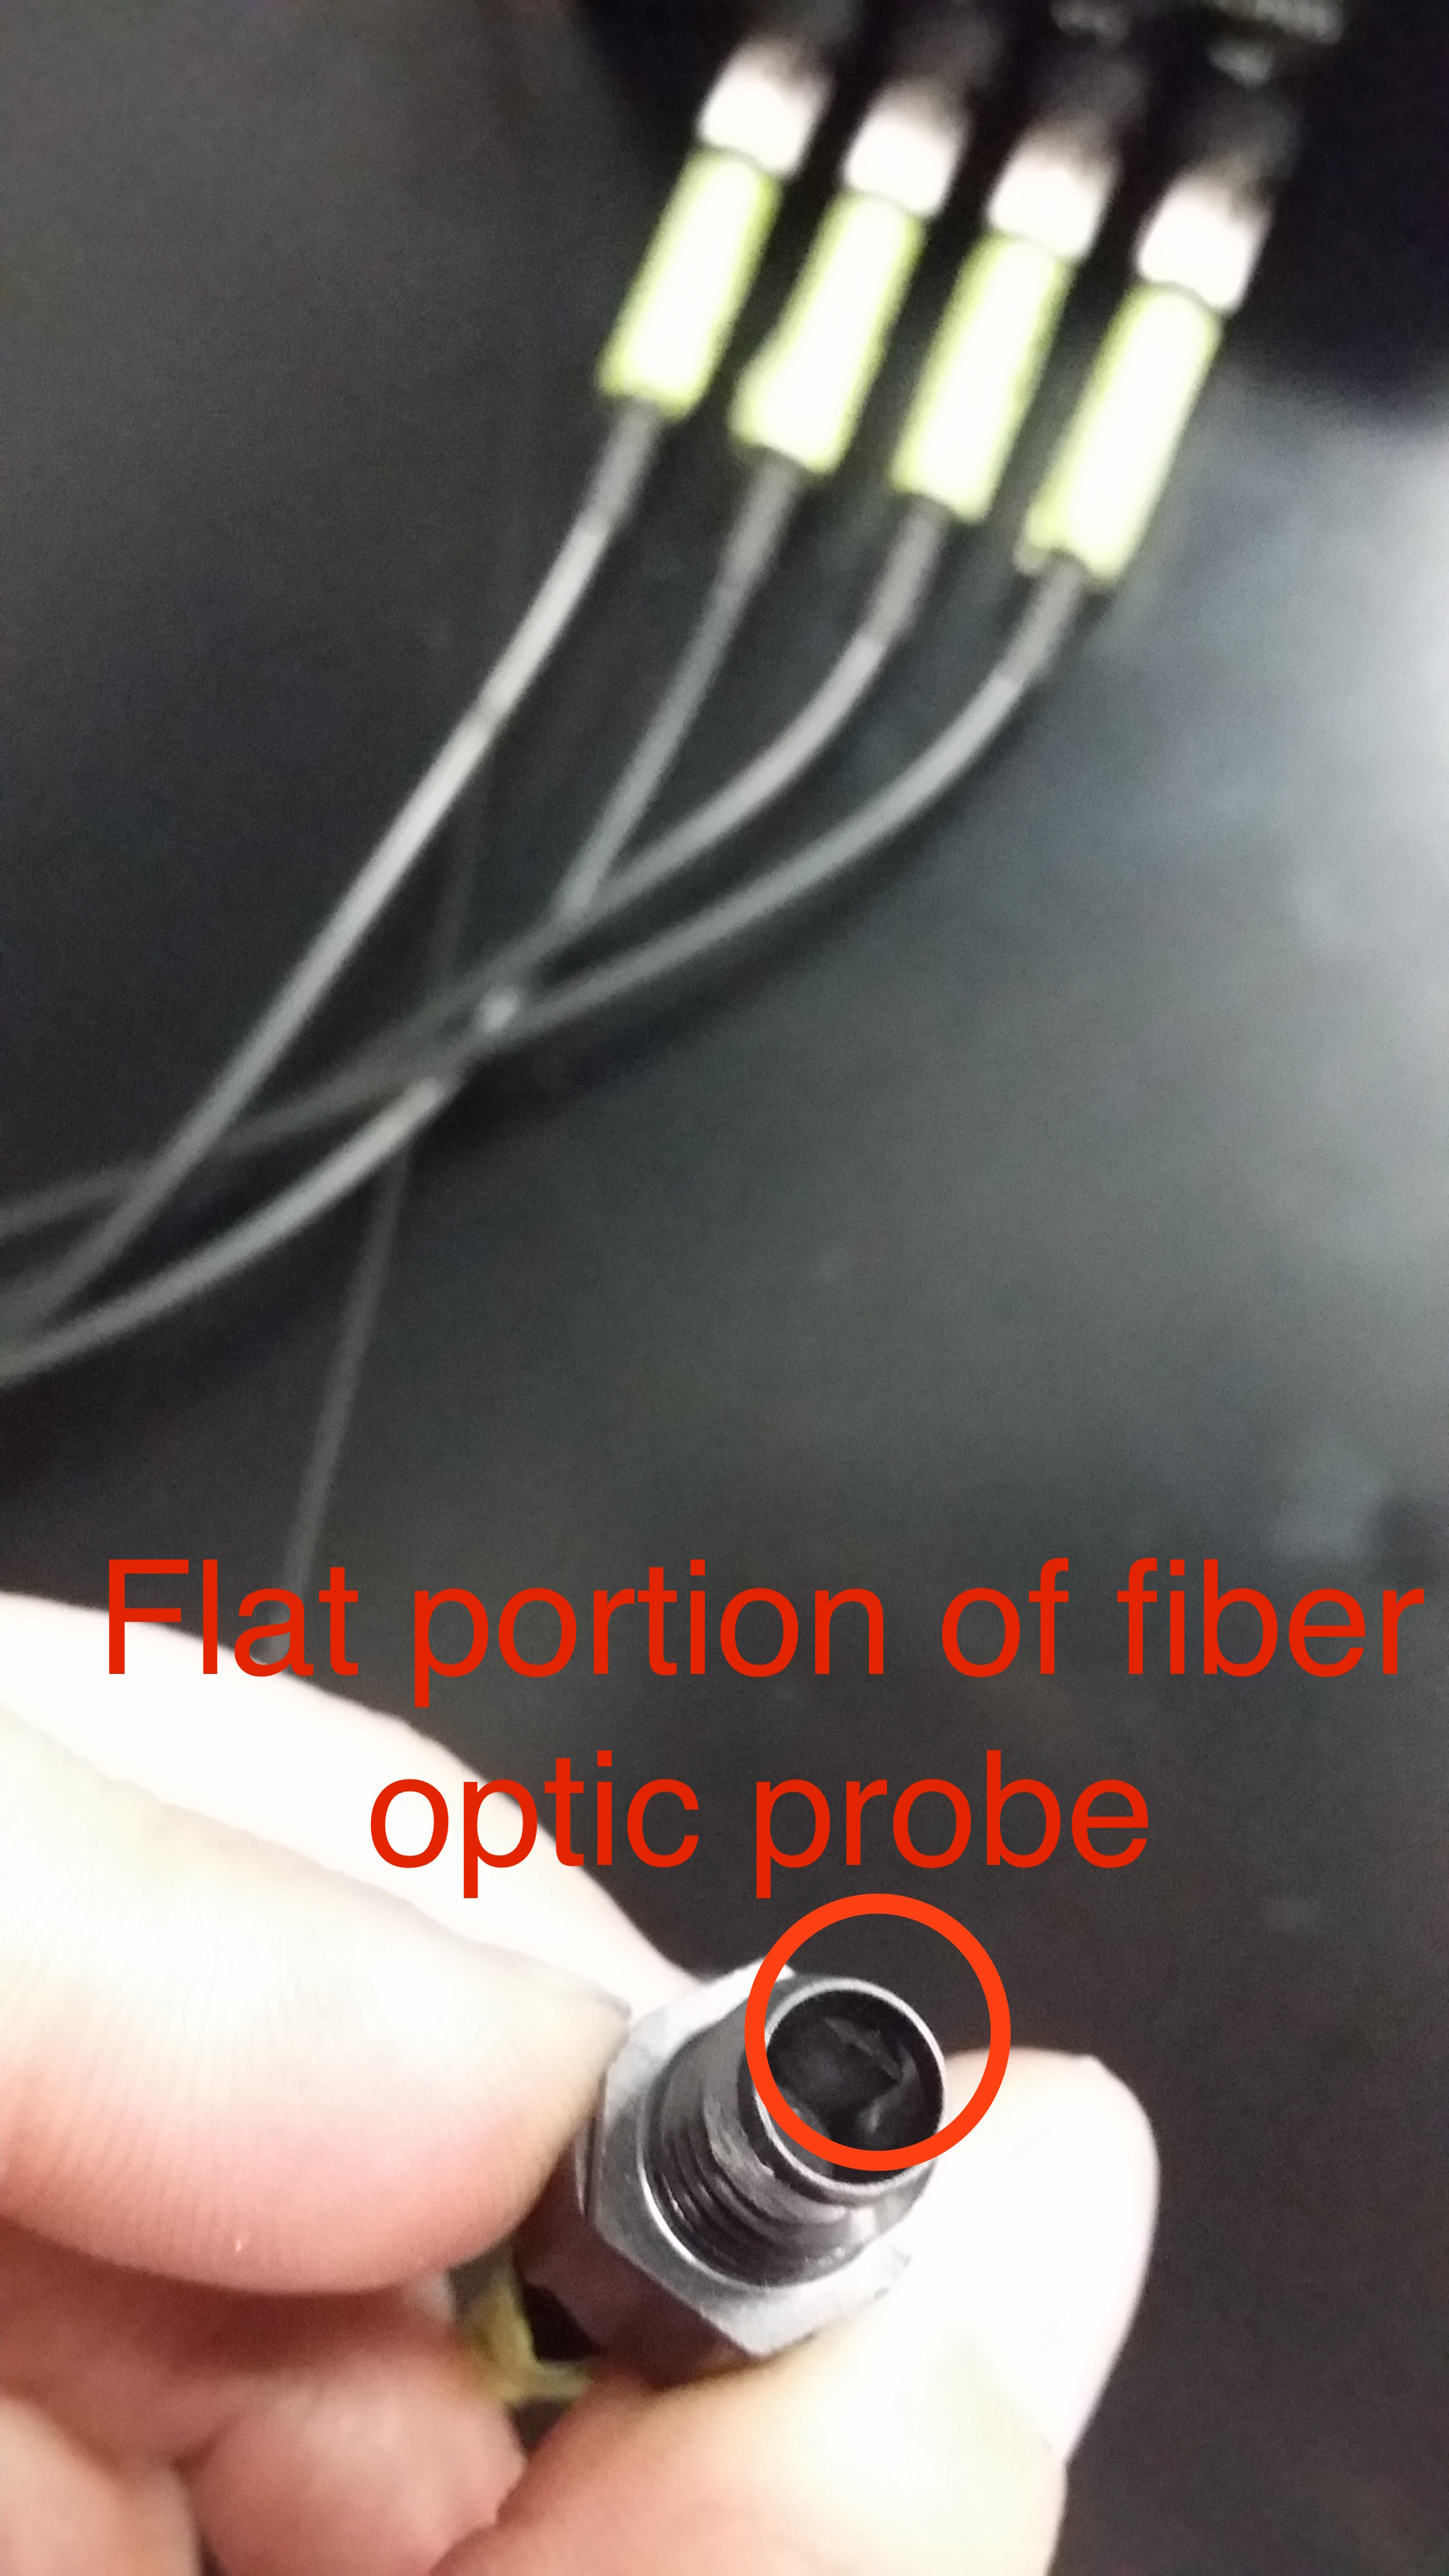
- The FOT can accomodate up to 4 inputs, however, fewer optical probes may be connected, depending on the needs of your study.
- After the probes are connected, connect the hub to your computer with the Serial to USB cable
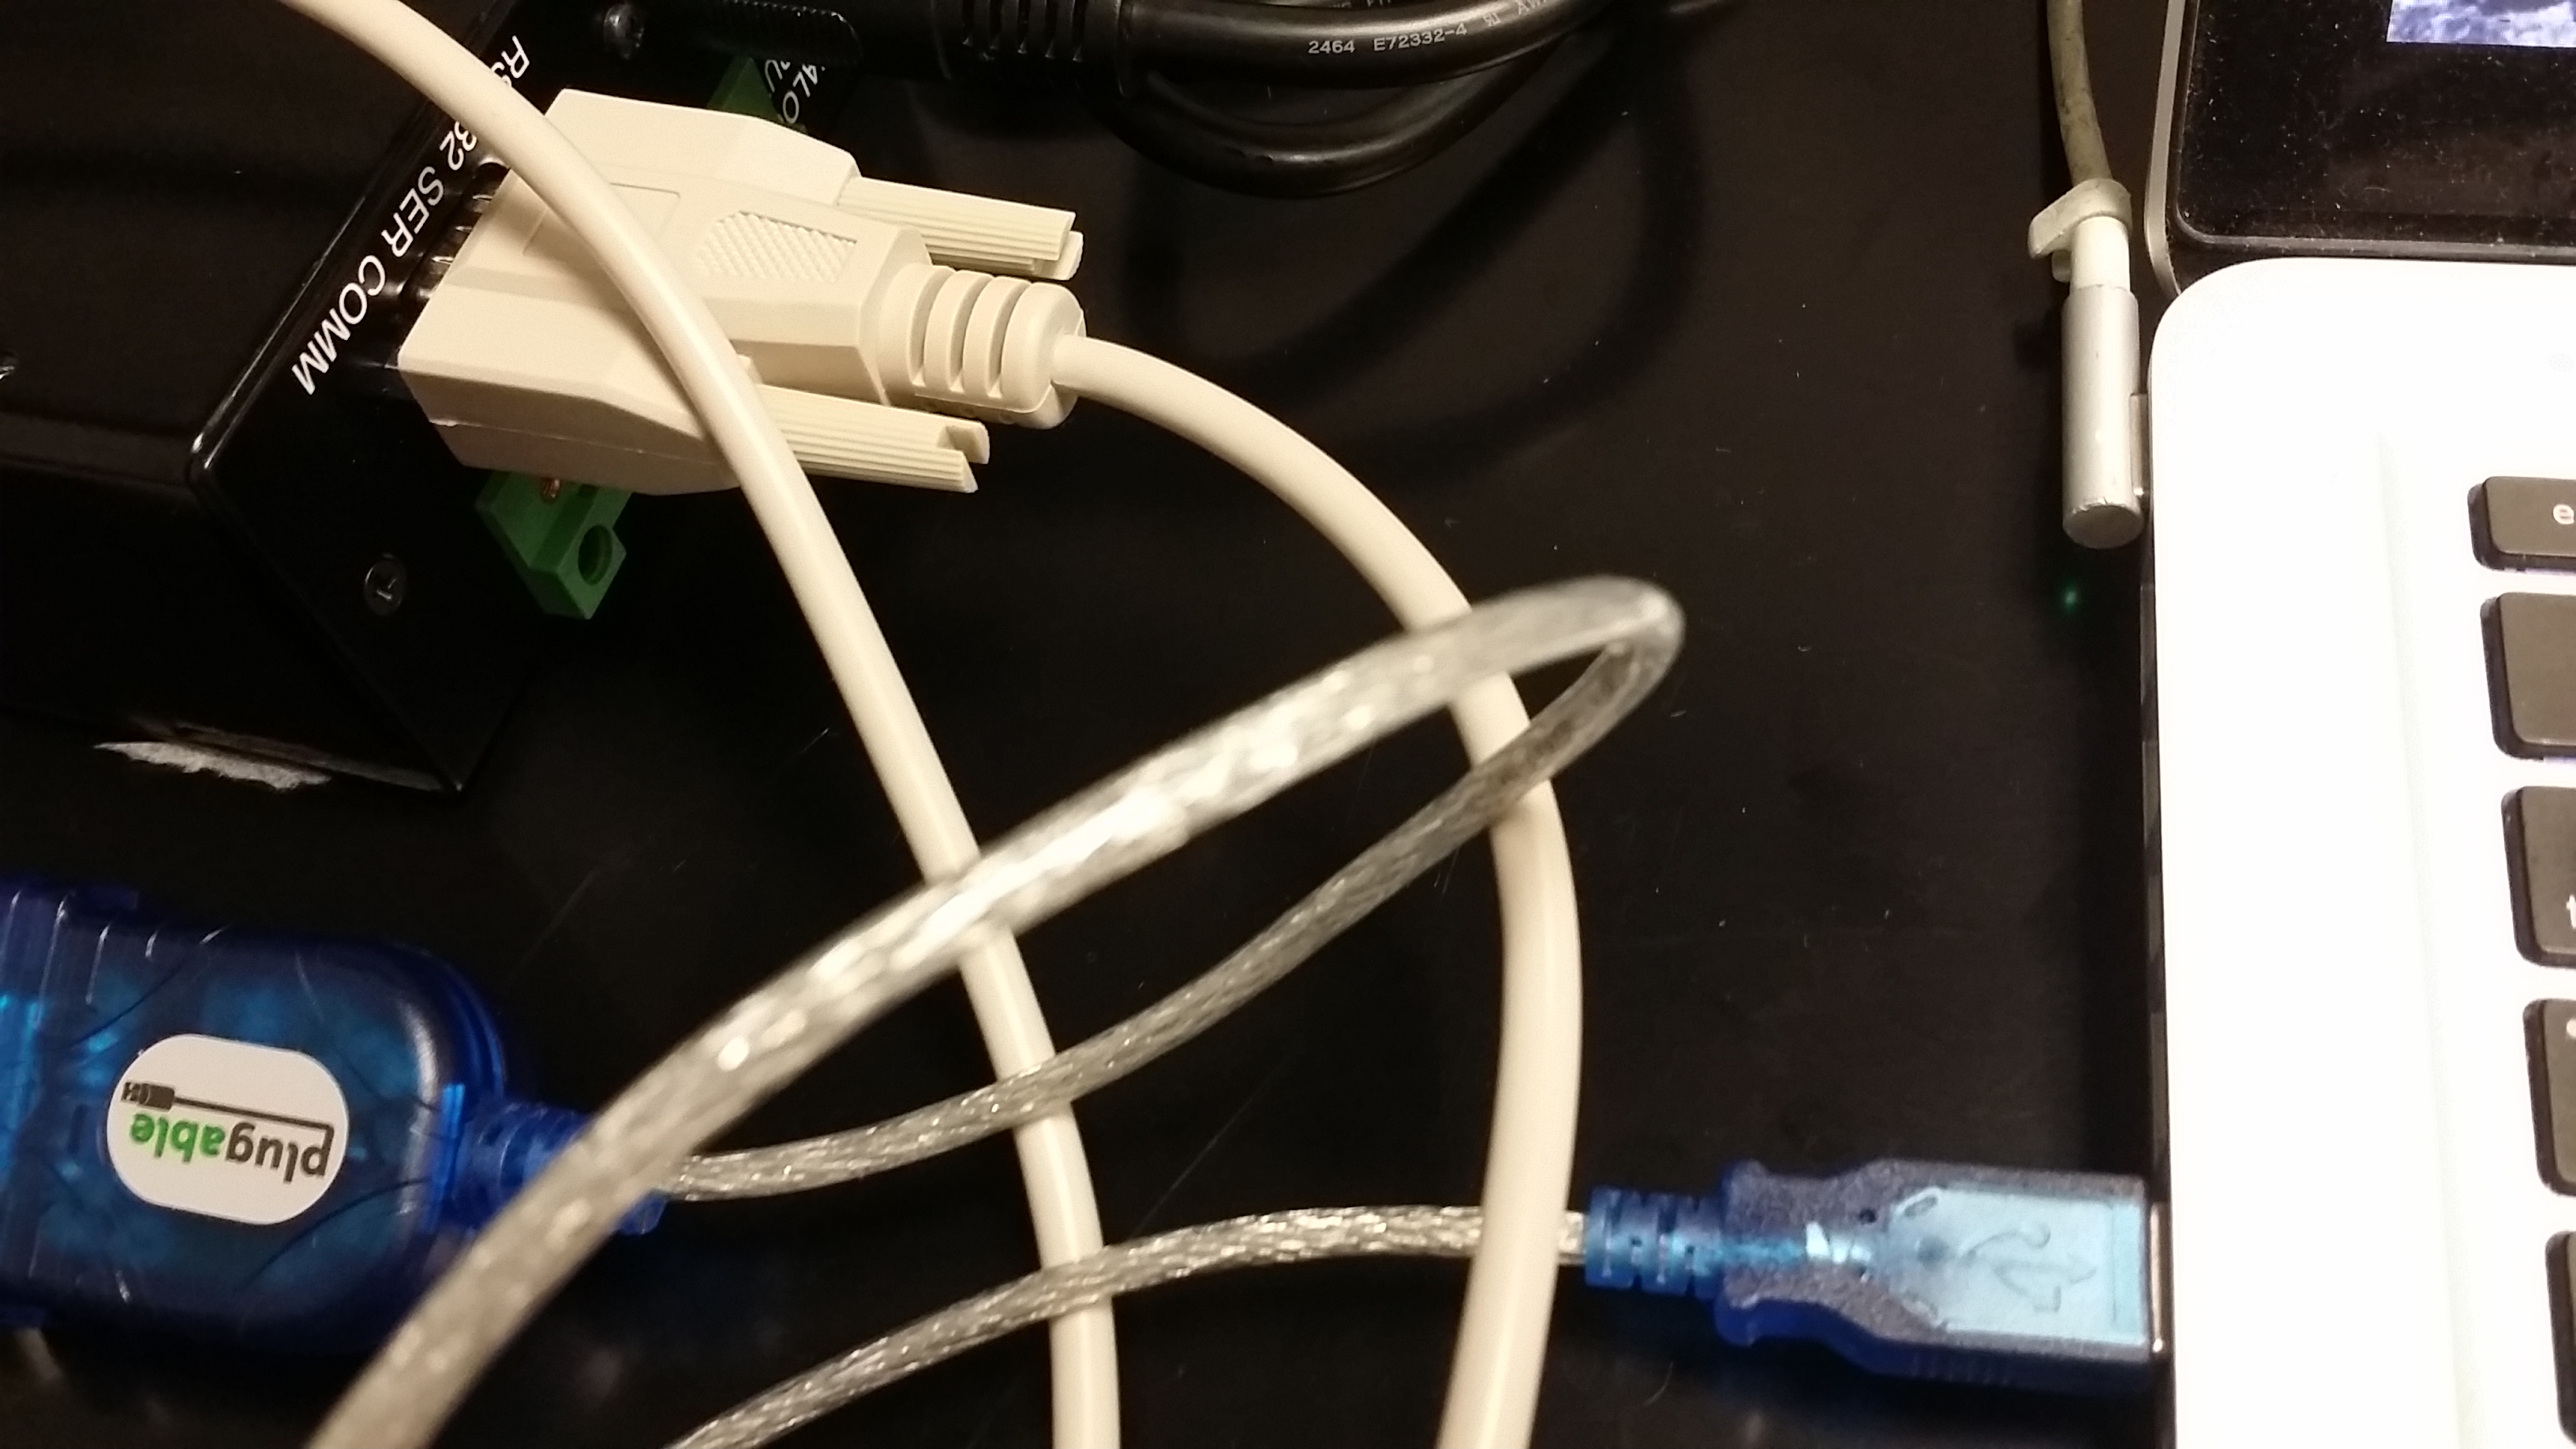
- The hub power switch can now be tunred on (|)
##Operating the CoolTerm software
- navigate to the CoolTerm application and launch it
- from the toolbar on top select Options...
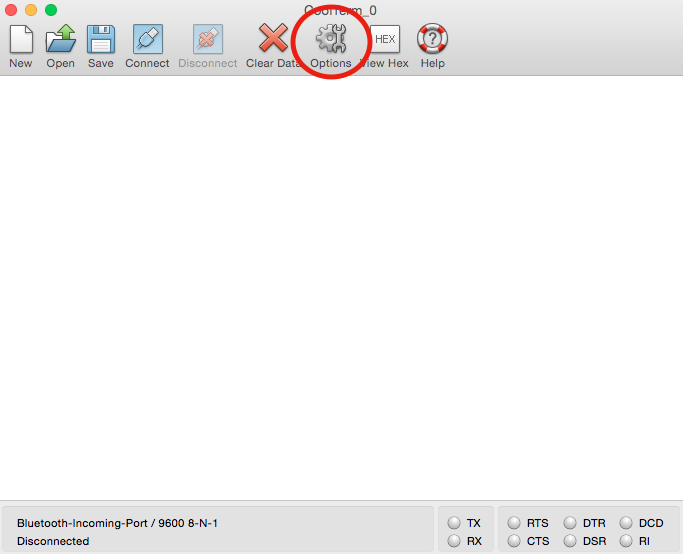
- under Serial Port Options, navigate to the Port dropdown menu and select usbserial
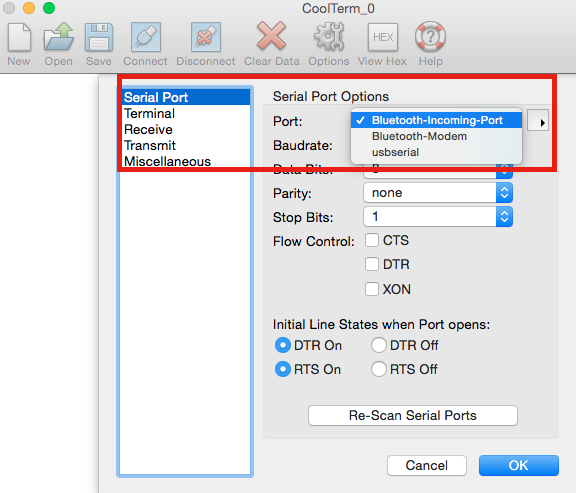
- if usbserial is not an option in the dropdown menu, disconnect the Serial-USB cable and close CoolTerm. Then reconnect the cable and run CoolTerm again.
- After selecting usbserial, click OK and return to the CoolTerm main window (no other Serial connection options need to be changed)
- To log data in a text file, click on Connection and then select Capture to Textfile and select Start. This can also be done using command-R.
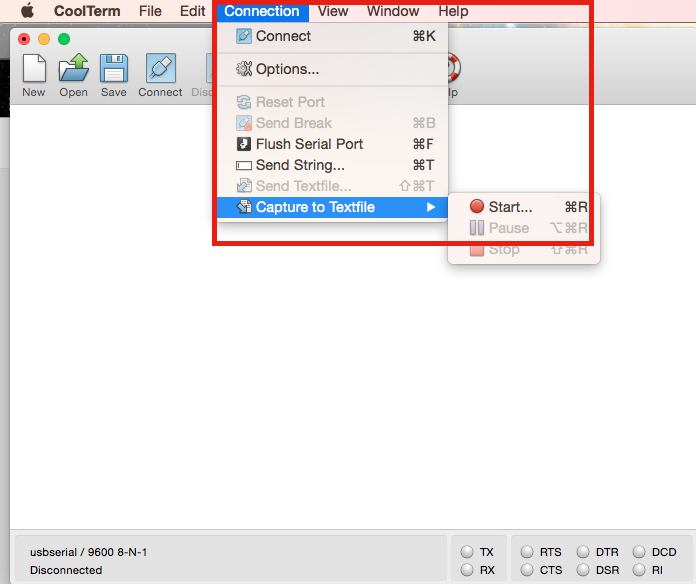
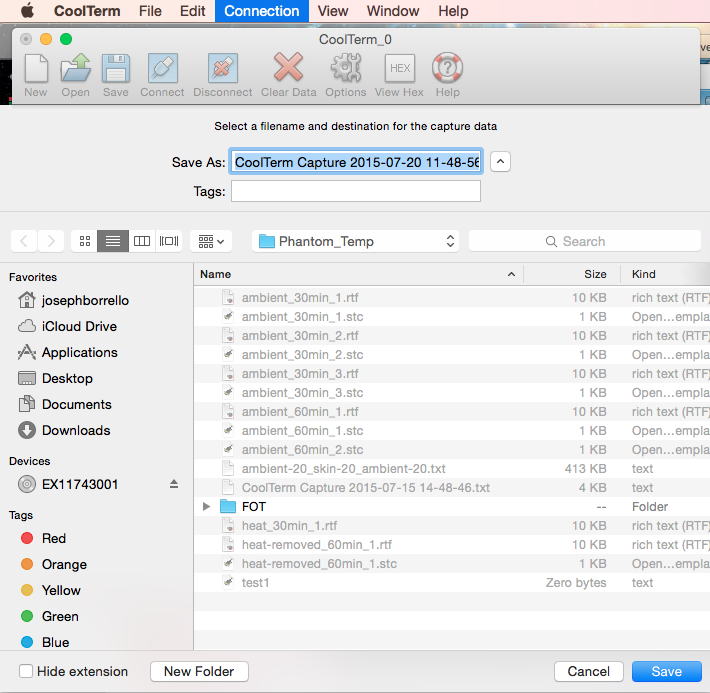
- Starting the data capture will prompt you to create a new text file where the data will be saved in a txt format.
- When the capture connection is opened, CoolTerm will not yet start logging data. In order to do that, click on the Connect button (an icon of a USB cable) in the CoolTerm toolbar.
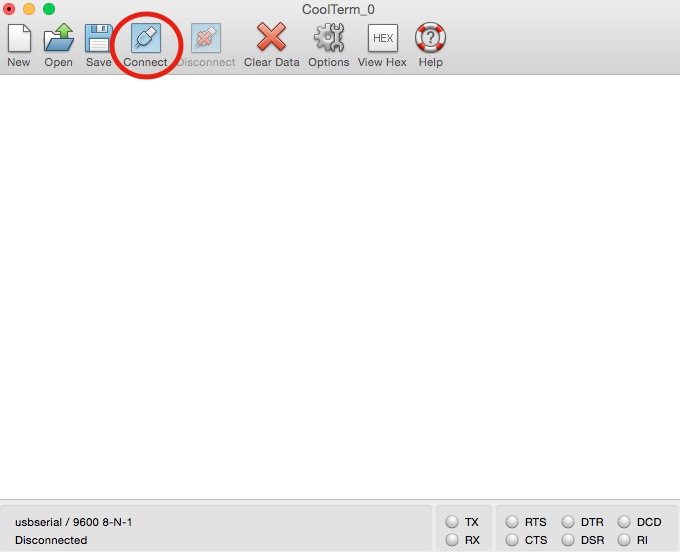
- CoolTerm will now start collecting temperature data. This data will be displayed in CoolTerm's main terminal window and will be simultaneously captured and logged in the txt file that was created earlier.
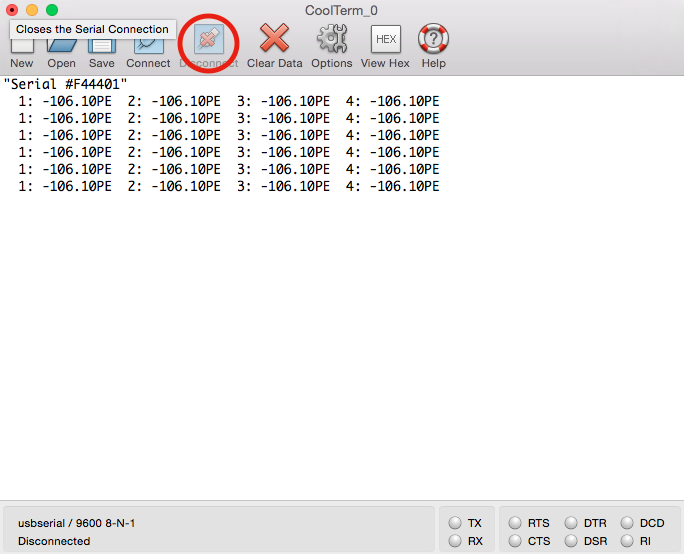
- The terminal readout in CoolTerm will show the measurements for each probe by displaying the number of that probe followed by the temperature reading
i.e - 1: 23.54 C 2: 24.23 C etc...
- If a reading is followed by C, then the data is being collected correctly and the reading is the measured temperature in celsius.
- If a reading is followed by PE, then there is a collection error and the data displayed is incorrect

Calibration of the FOT device may sometimes be necessary. Further information on this as well as many other CoolTerm features can be found in the CoolTerm readme, which can be opened by selecting Help from the toolbar.
- To end data collection, click Disconnect in the toolbar and stop Capture to Textfile (in the same location as the button to start it)
- You should now have a textfile populated with all the data that was collected by the FOT. The .txt file can then be used in an assortment of other software packages for data analysis and processing.
