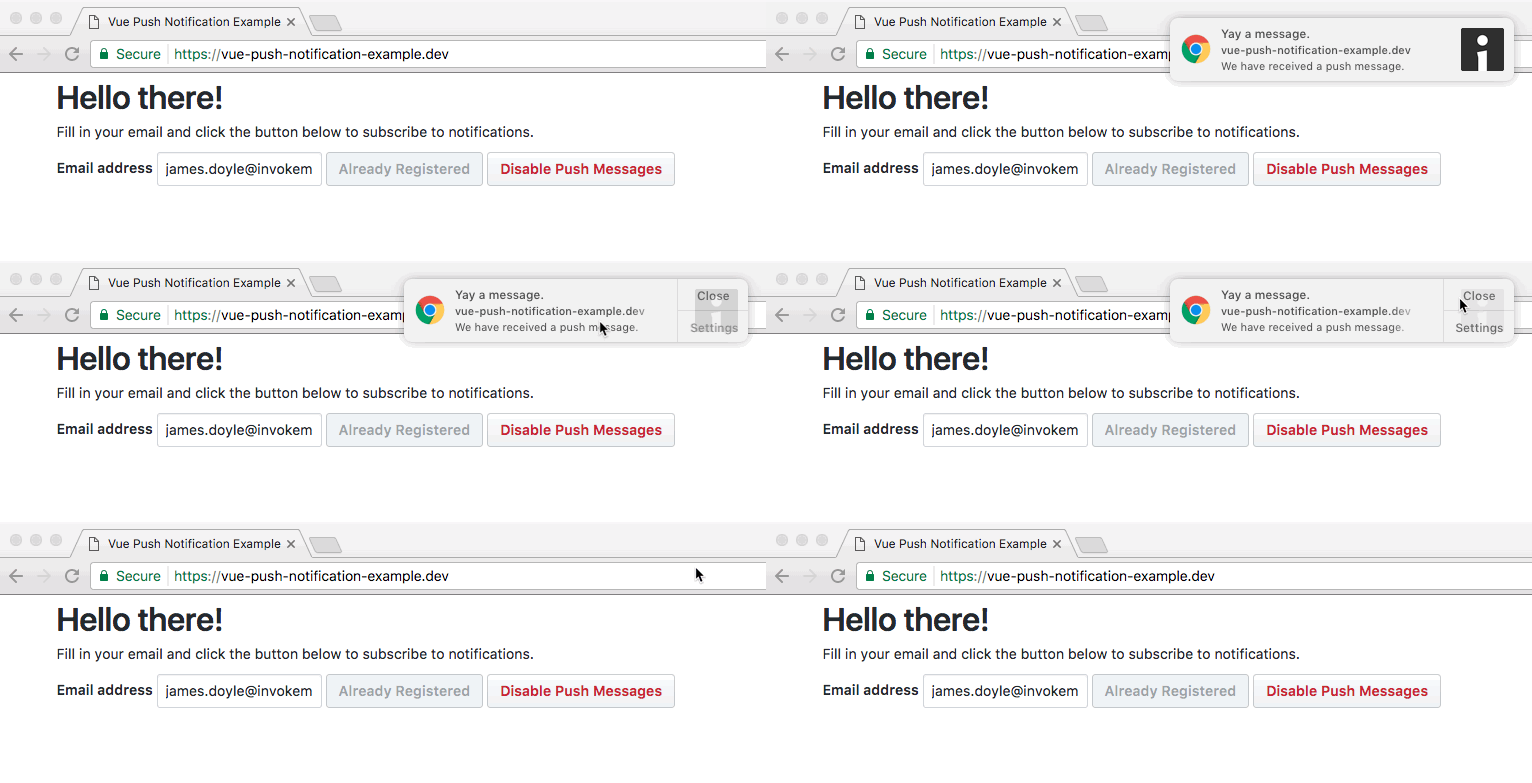
An example repo for using browser push notifications with Vue.js. We also use Firebase in this example as it can be used to send the notifications for free and with zero-configuration.
- Firebase account
- Server running on the project root
- Create a
manifest.jsonfollowing this structure - Create a
firebase.jsonwith the Firebase Web credentials - Make sure the Firebase table can be written to
Be sure to change into the firebase-function/functions/ directory and run npm install.
Copy the "Server key" from Project Settings > Cloud Messaging page. Store it as follows in a file named firebase-function/functions/google-push-key.json:
{
  "key": "THAT SERVER KEY FROM CLOUD MESSAGING"
}
In order to get the app to work locally, Firebase needs to be authenticated using a JSON file with the correct application keys and secrets.
Download the Firebase Admin SDK file from the Project Settings > Service Accounts page. Rename it and place it in firebase-function/firebase-adminsdk.json. If no Firebase auth file is found, the app will not be able to run locally. You don't need the auth file when running in the Firebase cloud function environment.
You can run the app locally by just changing to the firebase-function/functions/ folder and using npm run start.
Read the Firebase Functions docs on getting started.
You can send the notification using cURL:
curl --header "Authorization: key=<YOUR_FIREBASE_SERVER_KEY>" --header
"Content-Type: application/json" https://android.googleapis.com/gcm/send -d
"{\"registration_ids\":[\"<SUBSCRIBER_ID>\"]}"
To get a <SUBSCRIBER_ID> for your user, you can pull it out of the endpoint that is saved to the Firebase database when the user is stored.
For example your endpoint may look like this: "https://android.googleapis.com/gcm/send/<SUBSCRIBER_ID>" and you can take that crazy ID out and place it in the registration_ids array.

