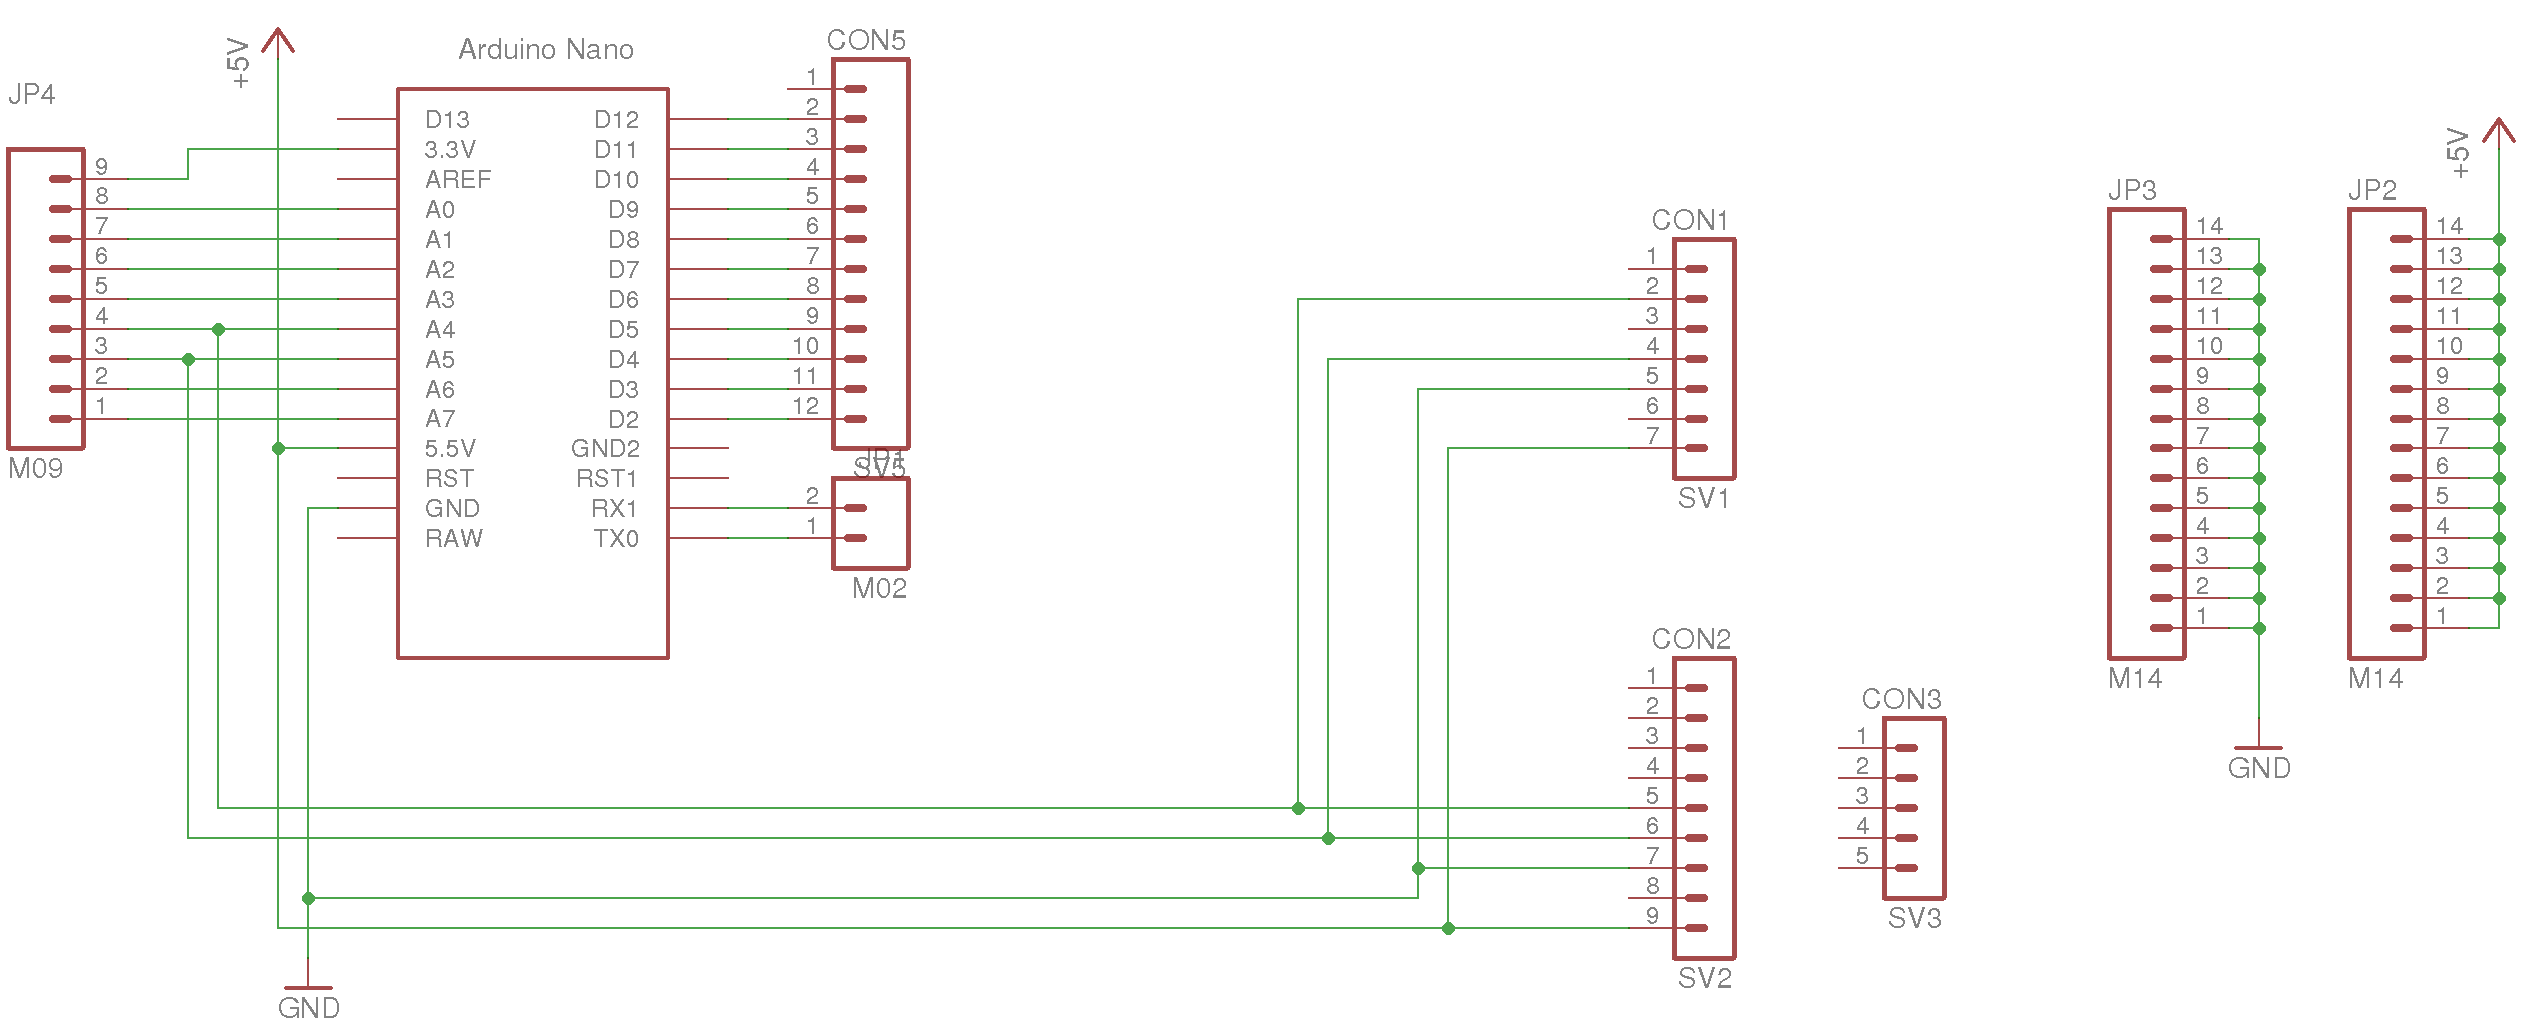
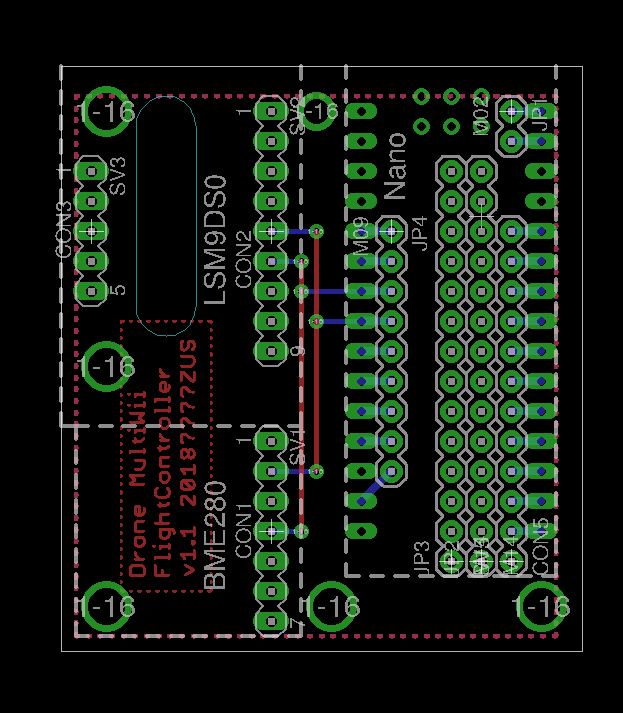
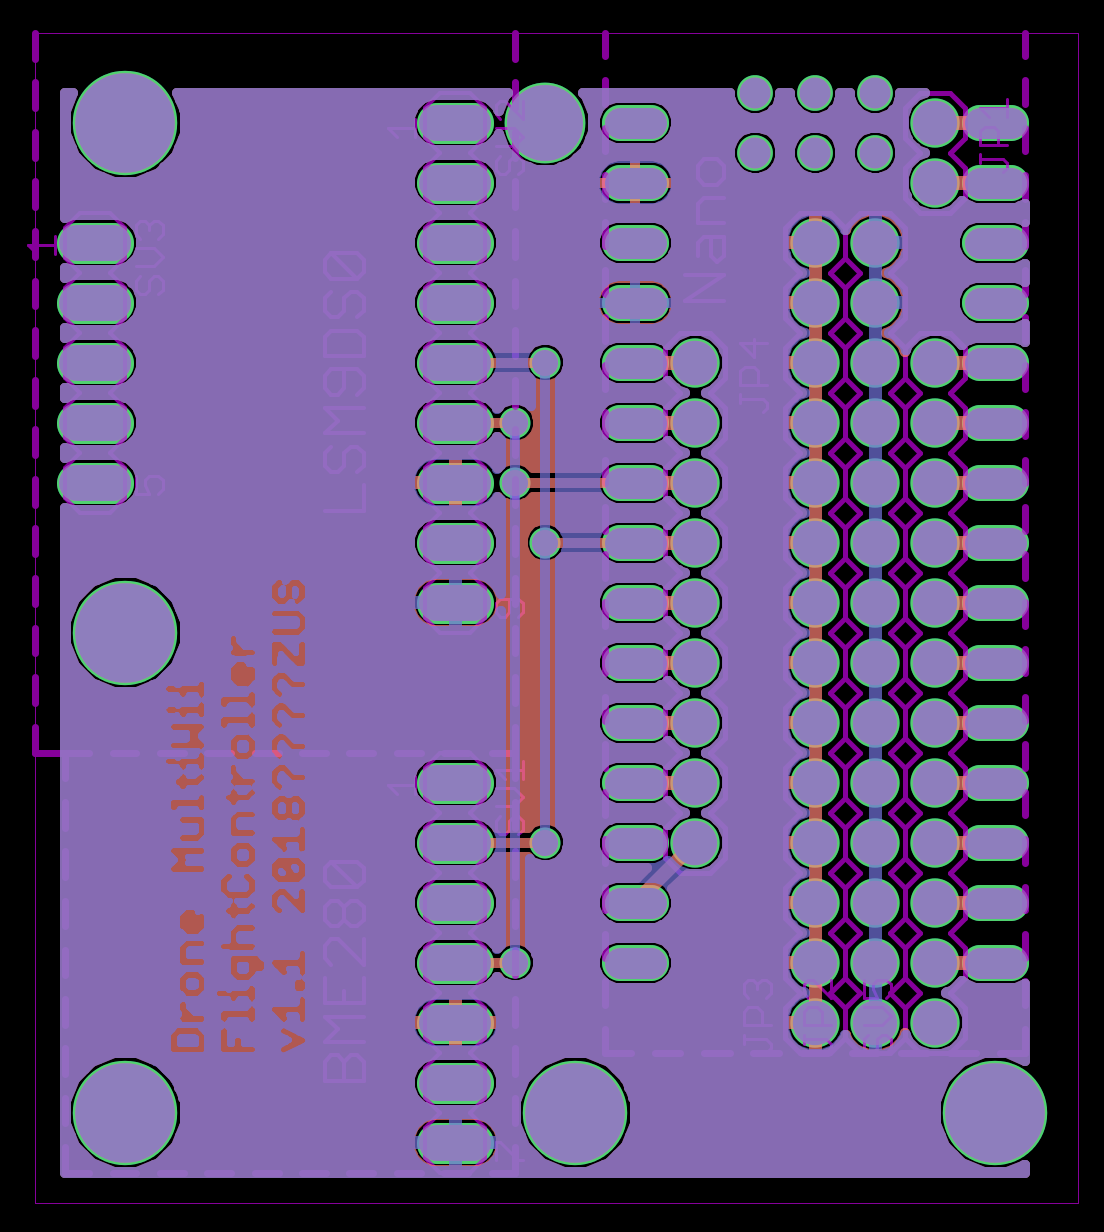
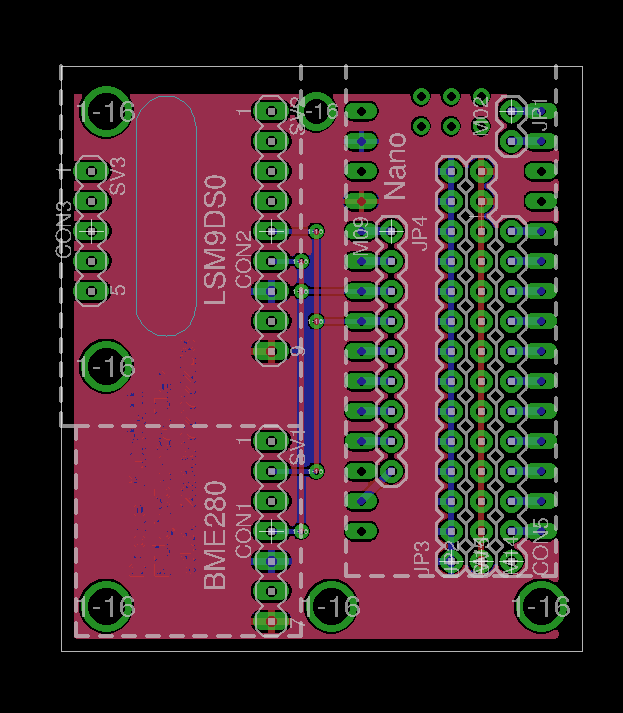
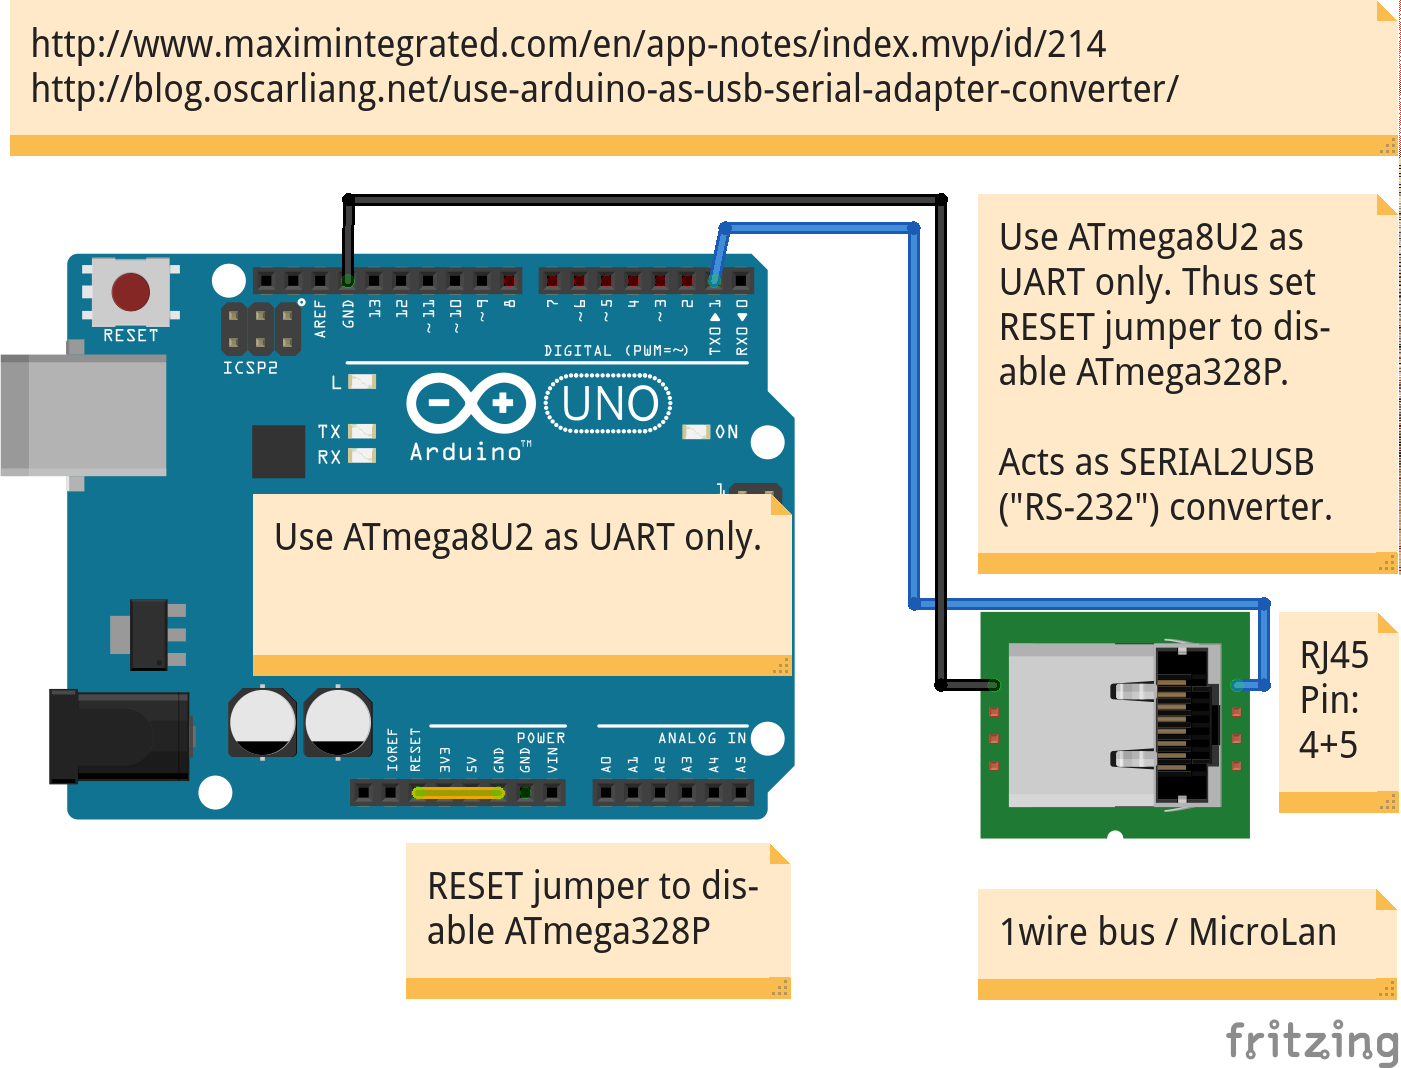
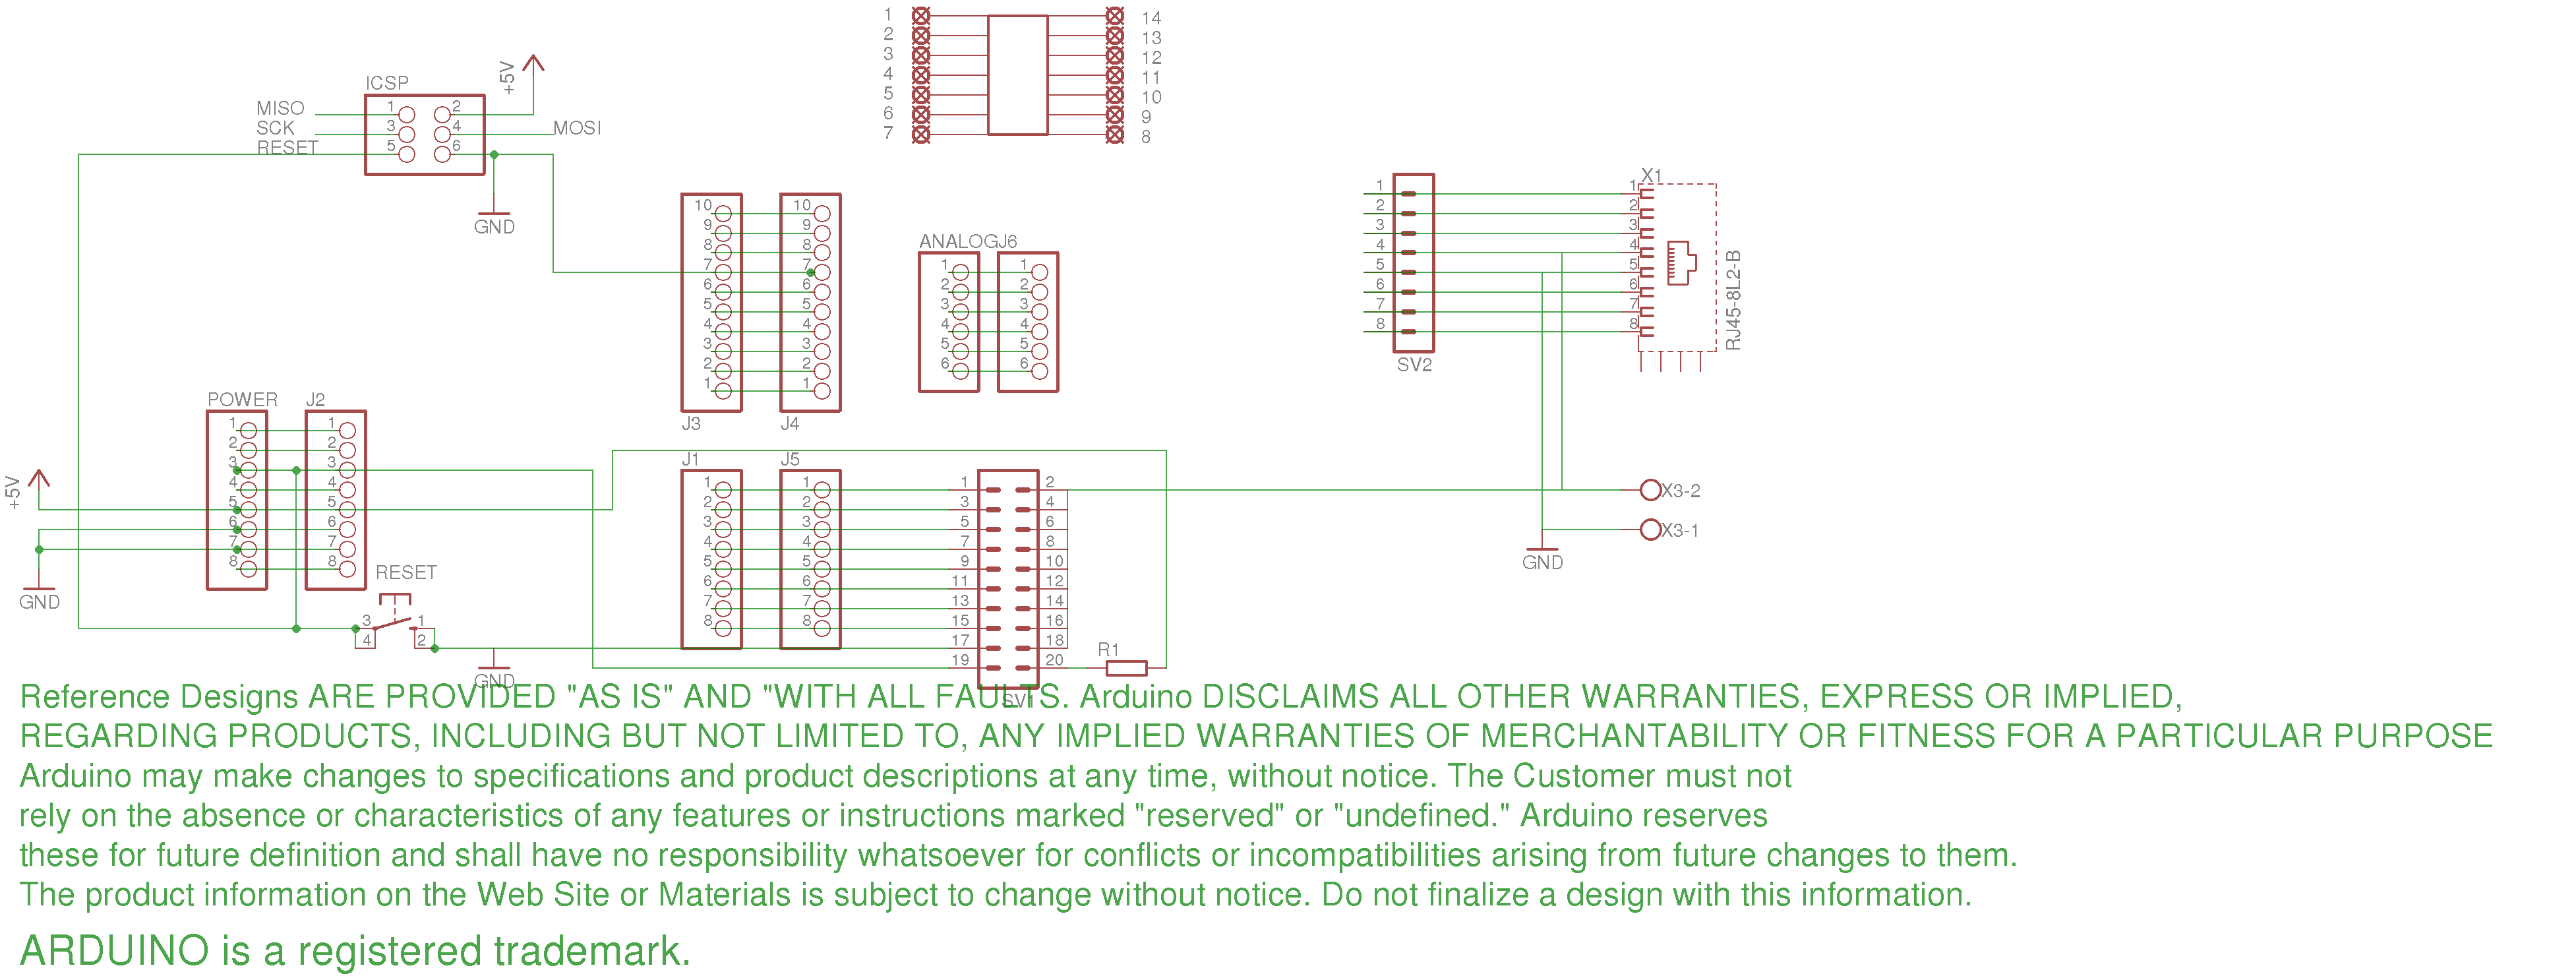
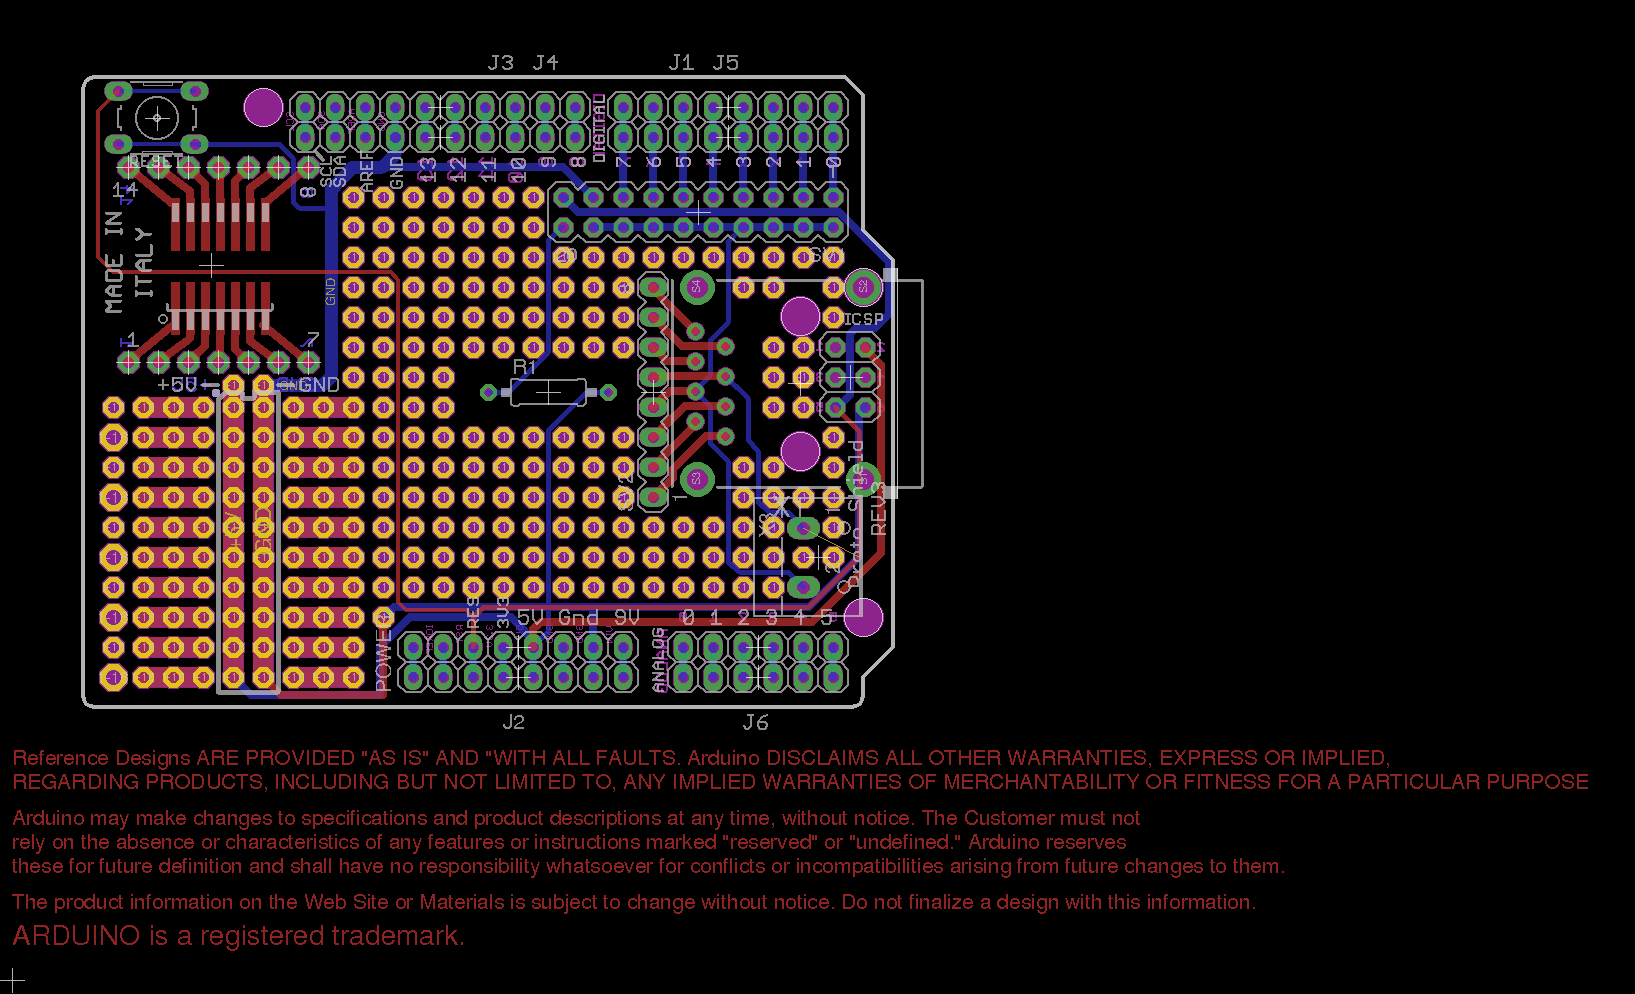
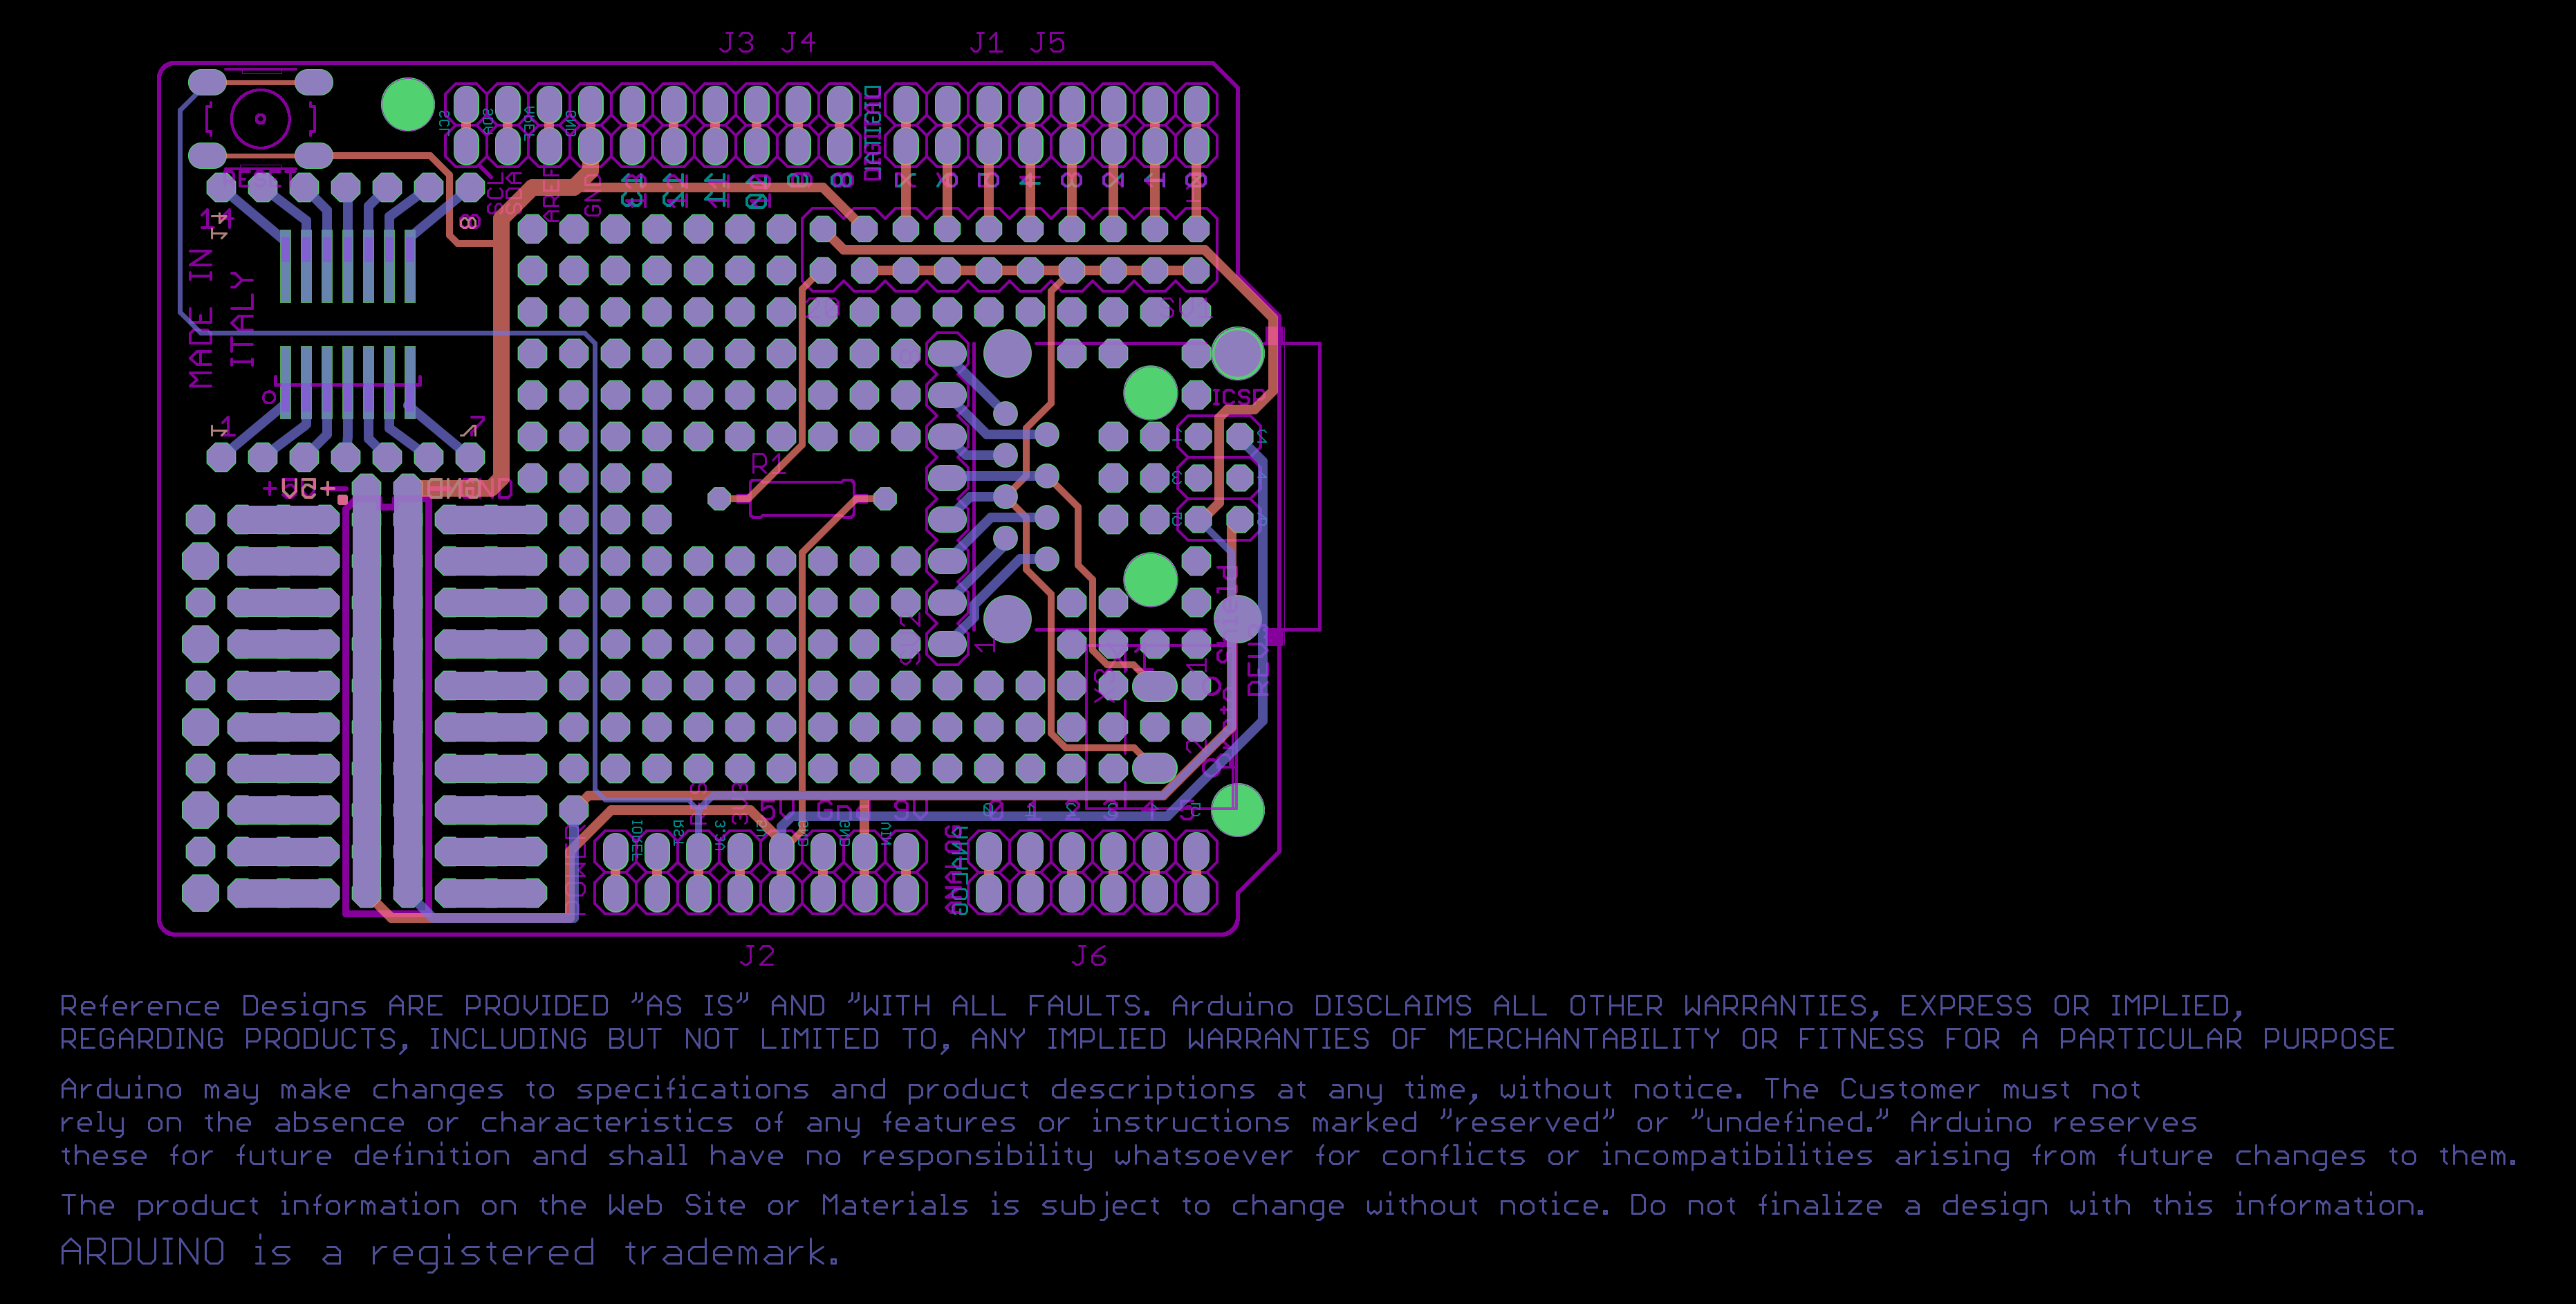
docu:  ...
...
code: ...
PCB: 
...
https://github.com/drtrigon/eagle
code:
(produced at JLCPCB - 2 pieces on stock)
code: ...
PCB:
- GERBER: https://github.com/drtrigon/eagle/blob/result/pcb/projects/Drone_MultiWii/FlightController.zip
- partlist: https://github.com/drtrigon/eagle/blob/result/pcb/projects/Drone_MultiWii/FlightController.txt
- KiCAD project: https://github.com/drtrigon/eagle/blob/result/pcb/projects/Drone_MultiWii/FlightController_kicad.zip
https://github.com/drtrigon/eagle/tree/result/pcb/projects/Drone_MultiWii logs:
- https://github.com/drtrigon/eagle/blob/result/pcb/projects/Drone_MultiWii/FlightController.gpi
- https://github.com/drtrigon/eagle/blob/result/pcb/projects/Drone_MultiWii/FlightController.dri
CAD:
production:
- https://github.com/drtrigon/eagle/blob/master/projects/Drone_MultiWii/FlightController_v1.0-JLCPCB.zip
- (v1.1 ... see changelog)
further info:
- https://hobbyking.com/en_us/hobbyking-kk2-1-5-multi-rotor-lcd-flight-control-board-with-6050mpu-and-atmel-644pa.html
- https://hobbyking.com/en_us/hobbyking-kk2-1hc-multi-rotor-hard-case-flight-control-board-with-remote-programmer.html ($26.51 - FC w/o LCD ~$10)
todo 1.0 -> 1.1
- more info to silk screen; GND, 5V, PIN NUMBERS (at least first/last in row),
- name/value the connectors (insead of manually putting text on silk screen) - improve schematic also
- use milling??
- ...
main changes 1.0 -> 1.1
- silk screen; plugin board shapes
- copper top plane; inverted font for info field
- geometry; size and position of screw holes
- geometry; milled hole to reduce weight
code:
...
...
...
Has the potential to replace commercial 1-wire bus (by its SoftwareBitBang strategy).
https://github.com/drtrigon/sketchbook/blob/master/OWPJON/README.md
Current bus topography for 2 isolated SoftwareBitBang bus parts (A & C):
-------   LUDP    -------  SWBB(A)  -------    TL     -------  SWBB(C)
|ID 46| ========= |Sw A | --------- |Sw B | ......... |Sw C | ------------------
-------     I     -------     I     -------     I     -------     I        I
            I                 I                 I                 I        I
         -------           -------           -------           -------  -------
         |ID 45|           |ID 44|           |ID 43|           |ID 42|  |ID 41|  ... ID 40
         -------           -------           -------           -------  -------

=== multiple wires (e.g. ethernet)
--- single wire
... "free space" (air, walls, etc.)

* productive system includes switch (Sw) A and ID 46 & 44 (ID 46 is raspi server)
* test system includes switch (Sw) B & C (same software) and ID 45 & 42..43 (ID 45 is desktop system)
* all switches (Sw) and device ID 42..44 are atmega328 (Uno or Nano)
* everything connected to TL part is (electrically) isolated
* switch (Sw) C and everything behind it (ID 42, etc.) is solar powered
* LoRa datarate 1.3671875 kB/s (SF=7, CR=1 (4/5), BW=250) and output power 10 dBm (10 mW)
  for all devices (Sw B & C and ID 43) - lower should be possible - for special cases
  (e.g. outdoors) higher might be needed

* Sw A (indoor): OWPJON/ARDUINO/Local/SoftwareBitBang/Tunneler/BlinkingSwitch/BlinkingSwitch.ino
* Sw B (Dragino, lan upload, indoor) & C (outdoor): OWPJON/ARDUINO/Local/SoftwareBitBang/Tunneler/BlinkingSwitch_SWBB-TL/BlinkingSwitch_SWBB-TL.ino
* ( ID 99: one of the switches mentioned is configured semi-transparent for test, see OWPJON/ARDUINO/Local/SoftwareBitBang/Tunneler/BlinkingSwitch_SWBB-TL_semitransparent/BlinkingSwitch_SWBB-TL_semitransparent.ino )
* ID 46: OWPJON/LINUX/Local/LocalUDP/RemoteWorker/DeviceGeneric/DeviceGeneric.cpp (make raspi)
* ID 45: OWPJON/LINUX/Local/LocalUDP/RemoteWorker/DeviceGeneric/DeviceGeneric.cpp (make)
* ID 44 (Nano, test): OWPJON/ARDUINO/Local/SoftwareBitBang/DeviceGeneric/DeviceGeneric.ino
* ID 43: OWPJON/ARDUINO/Local/ThroughLoRa/OWP_DG_GPS_WeatherStation/OWP_DG_GPS_WeatherStation.ino
* ID 42 (minimal, 1wire adaptor): OWPJON/ARDUINO/Local/SoftwareBitBang/OWP_DG_1w-adaptor/OWP_DG_1w-adaptor.ino
* ID 41 (minimal, tiny replace, box): OWPJON/ATTINY/Local/SoftwareBitBang/OWP_DG_Si7021_thermo-hygrometer/OWP_DG_Si7021_thermo-hygrometer.ino
* ID 40 (Nano, outdoors, not used yet): OWPJON/ARDUINO/Local/SoftwareBitBang/OWP_DG_SensorStation/OWP_DG_SensorStation.ino
Bus topography for local (desktop) developpment and device testing:
-------    TS     -------  SWBB(Z)
|ID 45| ========= |Sw Z | ---------
-------           -------     I
                              I
                           -------
                           |ID #?|
                           -------

* the switch (Sw) Z is an Arduino Uno (has everything needed; USBserial port and Digital Pins)
* ID 45 is desktop system (like before)
* ID #? is the device to test or develop

* Sw Z: OWPJON/ARDUINO/Local/SoftwareBitBang/Tunneler/BlinkingSwitch_SWBB-TS/BlinkingSwitch_SWBB-TS.ino
* ID 45: OWPJON/LINUX/Local/ThroughSerial/RemoteWorker/DeviceGeneric/DeviceGeneric.cpp (make)
* ID #?: any from OWPJON/ARDUINO/Local/SoftwareBitBang/ or OWPJON/ATTINY/Local/SoftwareBitBang/
- How to use ATTiny with crytal and PJON: https://github.com/gioblu/PJON/wiki/ATtiny-interfacing
- https://hackaday.com/2016/03/31/pjon-fancy-one-wire-arduino-communications-protocol-for-home-automation/
- https://www.pjon.org/how.php
- https://github.com/Girgitt/PJON-python ("In a basic scenario PJON + PJON-python can be a viable alternative to more complex protocols like Firmata [...]")
- use py++ and boost.python to automatically generate c++ python wrapper: http://www.flanusse.net/interfacing-c++-with-python.html
- gioblu/PJON#211, gioblu/PJON#213
- command set needs to be lightweight due to attiny etc., e.g. http://owfs.sourceforge.net/family.html
- reset/preserve/search can be done with broadcast, see https://github.com/gioblu/PJON/wiki/Transmit-data
- need a compact data transfer format (e.g. for floats)
- human readable (big and slow!): JSON
- binary: C++ structs, other like ModuleInterface, MessagePack, etc.
- C++ structs and pack/unpack for python (endianess, may be string issue)
- MessagePack see https://github.com/ludocode/mpack, https://github.com/HEADS-project/arduino_msgpack
- serialization of ModuleInterface: fredilarsen/ModuleInterface#5 (comment)
- gioblu/PJON#222 (comment)
- TODO: gioblu/PJON#211 (comment)
- !!!UPDATE NEEDED!!! as soon as there is free time: recomile and distribute all codes using latest PJON to hardware
- add reset broadcast command
- think about SDL-12 command syntax
- test setup and reliability especially for outdoor SWBB (tunneled via ThroughLoRa)
- improve outdoor bus (gioblu/PJON#222)
- as soon as it works (good timing, freq, etc. - may be SF6) optimize params like tx power, then test in productive and finally replace outside bus part
- may be change frequency back to 865.4 ...? gather some data ...
- may be not related to lora switch only - as the packets become delay (and thus get repeated often) when notebook (wifi) is on battery power!
- put all LUDP devices onto same ETH switch (router or switch but not both!)
- as soon as it works (good timing, freq, etc. - may be SF6) optimize params like tx power, then test in productive and finally replace outside bus part
- hardware; build shield according to specs given in https://github.com/gioblu/PJON/tree/master/src/strategies/SoftwareBitBang
- consider using power-saving strategies on the sensor devices
- setup, test and enjoy https://github.com/fredilarsen/ModuleInterface/tree/master/examples/WebPage (may be on a Raspi2)
- test Yun/Dragino (as soon there is LUDP strategy support) and ESP8266 (not needing level shifting for 5V?!) for LUDP resp. GUDP
- Local bus going through walls / outdoors #222: gioblu/PJON#222
- Interactive router acting as a switch or router but also as a device #242: gioblu/PJON#242
- Get list of connected devices #241: gioblu/PJON#241
- Add support for Arduino Yun (LUDP, etc.) #211: gioblu/PJON#211
Sniffer for general LoRa transmissions - very helpful to diagnose OWPJON TL issues.
See also sniffer-txt.py (or sniffer-gui.py) for general network sniffer - very helpful to diagnose OWPJON LUDP issues.
(OWPJON SWBB sniffer is currently missing - device that reacts to any id - may be use PJON_NOT_ASSIGNED, PJON_BROADCAST, or else)
...
Send GPS and Sensor Data from Arduino via LoRa as valid LoRaWAN packet to TTN (TheThingsNetwork).
This allows to setup sensors wherever a TTN LoRa(WAN) Gateway is available: https://www.thethingsnetwork.org/community/.
The data (payload) sent can be stored for 7 days and during this time accessed by RESTful API, see the python script supplied.
...
...
code:
https://github.com/sanni/cartreader/issues/16
For PS1 (and PS2?) see the Windows VirtualBox VM and look there for MemcardRex and MemCARDuino - look at the schematic also. They do work out of the box, for more info see:
- MemCARDuino: https://github.com/ShendoXT/memcarduino
- MemcardRex 1.8: http://shendosoft.blogspot.ch/2014/01/memcardrex-18-released.html In order to easily connect the memory card a card edge connector is perfect (e.g. EDAC 395-020-520-202). Use a 3.6V Zener with 220 Ohms to get the 3.6V needed - or just use the 3.3V from Arduino Uno.
code:
instructable: https://www.instructables.com/id/Arduino-1-wire-Display-144-Chars/
code:
PCB:
- https://github.com/drtrigon/sketchbook/blob/master/Uno_OWSniffer/Uno_OWSniffer_Schaltplan.pdf
- https://github.com/drtrigon/sketchbook/blob/master/Uno_OWSniffer/Uno_OWSniffer_Leiterplatte.pdf
- GERBER: https://github.com/drtrigon/eagle/blob/result/pcb/projects/arduino-papilio_1-WireSniffer_Rev1/1-Wire_Sniffer_REV1.zip
- partlist: https://github.com/drtrigon/eagle/blob/result/pcb/projects/arduino-papilio_1-WireSniffer_Rev1/1-Wire_Sniffer_REV1.txt
https://github.com/drtrigon/eagle/tree/result/pcb/projects/arduino-papilio_1-WireSniffer_Rev1 logs:
- https://github.com/drtrigon/eagle/blob/result/pcb/projects/arduino-papilio_1-WireSniffer_Rev1/1-Wire_Sniffer_REV1.gpi
- https://github.com/drtrigon/eagle/blob/result/pcb/projects/arduino-papilio_1-WireSniffer_Rev1/1-Wire_Sniffer_REV1.dri
instructable: https://www.instructables.com/id/Arduino-1-wire-sniffer/
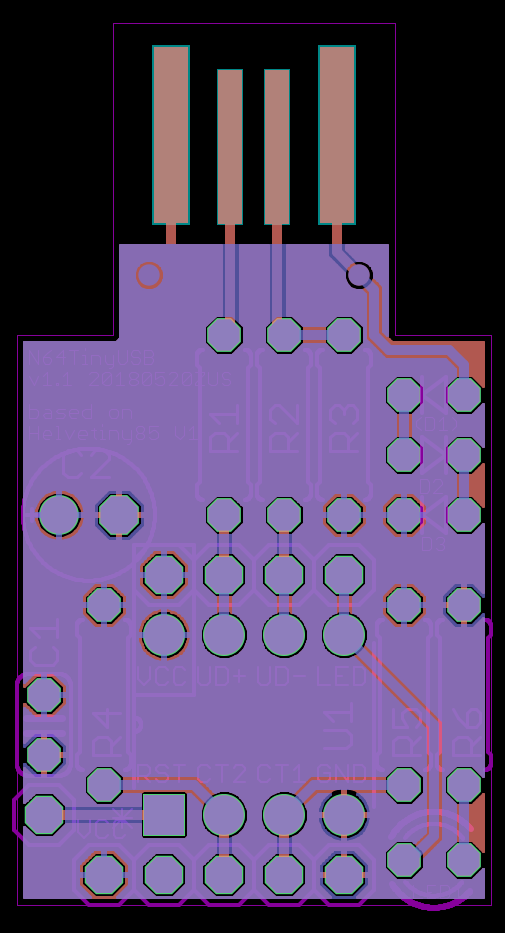
(produced at JLCPCB; 2mm Thickness, "Gold Fingers, 45deg" - check stock)
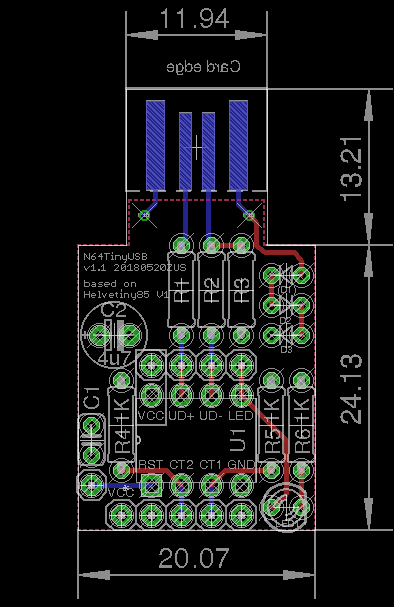
based on:
- code from attiny45 n64-usb (for attiny85): https://matthiaslinder.com/?view=attiny45+n64-usb
- PCB from HelveTiny85 (modified): https://github.com/boxtec/helvetiny85
code:
PCB:
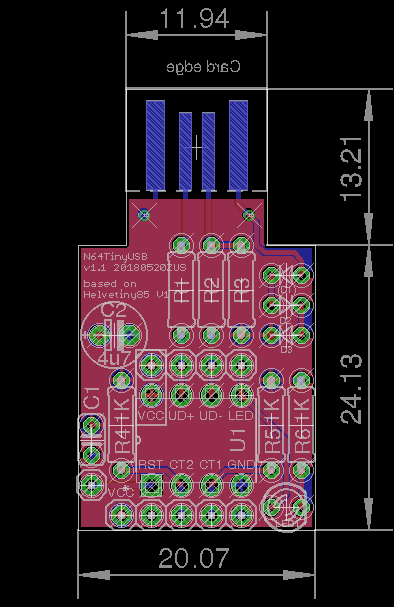
- GERBER: https://github.com/drtrigon/eagle/blob/result/pcb/projects/N64TinyUSB/N64TinyUSB_HelveTiny_1.0.zip
- partlist: https://github.com/drtrigon/eagle/blob/result/pcb/projects/N64TinyUSB/N64TinyUSB_HelveTiny_1.0.txt
https://github.com/drtrigon/eagle/tree/result/pcb/projects/N64TinyUSB logs:
- https://github.com/drtrigon/eagle/blob/result/pcb/projects/N64TinyUSB/N64TinyUSB_HelveTiny_1.0.gpi
- https://github.com/drtrigon/eagle/blob/result/pcb/projects/N64TinyUSB/N64TinyUSB_HelveTiny_1.0.dri
CAD:
- casing: shrinking hose
production:
code:
- i2c_scanner: https://playground.arduino.cc/Main/I2cScanner
- logic_analyzer: https://github.com/gillham/logic_analyzer, https://lxtreme.nl/projects/ols/
(might make sense to split projects off into separate repos/submodules)
I would like to use features like CI (continous integration) keep a copy/mirror on e.g. github and more.
Maintaining a copy/mirror (more precise: with 2 remotes overloaded origin) on GitHub also allows to use GitLab and GitHub together and by that all the nice featurs on GitHub. See also; https://steveperkins.com/migrating-projects-from-github-to-gitlab/
"Option 2: Overload Origin with Both Remotes (needs one single pull/push only)"; in order to clone and set this repo up use:
$ git clone file://///data/mount/gvfs/smb-share:server=.../01git/sketchbook.git
$ cd sketchbook
$ git remote set-url --add origin https://github.com/drtrigon/sketchbook.git
you can check the settings with:
$ git remote -v
origin  /data/mount/gvfs/smb-share:server=.../01git/sketchbook.git/ (fetch)
origin  /data/mount/gvfs/smb-share:server=.../01git/sketchbook.git/ (push)
origin  https://github.com/drtrigon/sketchbook.git (push)
https://learn.adafruit.com/continuous-integration-arduino-and-you/testing-your-project
Login to Travis-CI using the GitHub account and enable Travis-CI for the given repo.
Add a .travis.yml file to your project, commit, pull/push and enjoy.
A word of caution; the travis run will at the end - if successfull - try to push the results back to this repo.
May be split off some sub-directories like MultiWii (for simpler testing), see also: https://help.github.com/articles/splitting-a-subfolder-out-into-a-new-repository/.
Consider creating a docker for testing and may be upload of the skechtes, using: https://github.com/drtrigon/docker-arduino (see also: https://github.com/tombenke/darduino and https://github.com/suculent/arduino-docker-build)
See https://github.com/drtrigon/eagle
- https://help.github.com/articles/3d-file-viewer/
- https://blog.github.com/2013-04-09-stl-file-viewing/
- https://blog.github.com/2013-09-17-3d-file-diffs/
See https://www.tinkercad.com/
Do not use upverter or else as it does not allow to export. EasyEDA supports at least netlist export. Locally use KiCAD or eagle.
- convert STEP file to .stl online: https://www.makexyz.com/convert/step-to-stl
- convert Catia file to .stl online: https://www.convertcadfiles.com/de/konvertieren/
- render CAD (.stl) files (alternative to github "CAD View"):
- create .stl files from standard images: https://hackaday.com/2013/10/09/stl-fun-converting-images-to-stl-geometry/
- add doxygen to repository
- The Well-Automated Arduino Library - Adafruit Learning System: https://learn.adafruit.com/the-well-automated-arduino-library/doxygen
- https://stackoverflow.com/questions/35500277/doxygen-for-ino-files-arduino
- KiCAD 5 supports import of eagle projects through plugin: http://kicad-pcb.org/post/eagle-import/
- also supports export of VRML for 3D model rendering of PCBs
- also supports scripting by python
- (Sydney startup STEMN is the GitHub for rocket scientists: https://stemn.com/ - usable? how to download/get data?)
( code coverage for arduino: https://gronlier.fr/blog/2015/01/adding-code-coverage-to-your-c-project/ )
The content of this project itself is licensed under the Creative Commons Attribution 3.0 license, and the underlying source code used to format and display that content is licensed under the MIT license, see the LICENSE file for license rights and limitations (MIT).
