-
Notifications
You must be signed in to change notification settings - Fork 17
1. Installation
Sébastien Vitard edited this page Jan 9, 2025
·
10 revisions
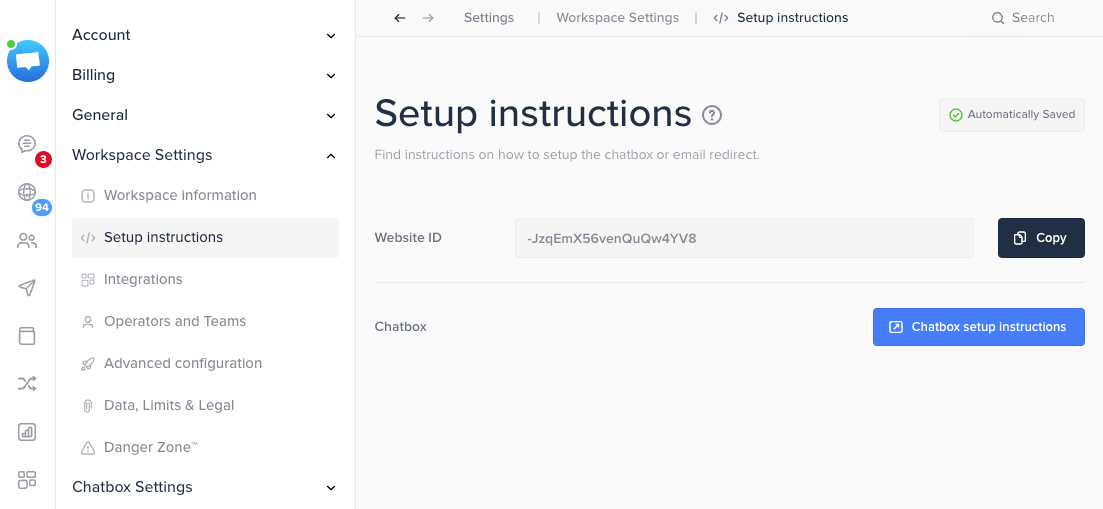
Go to your Crisp Dashboard, and copy your Website ID:

Add the Crisp SDK in your dependencies:
dependencies {
    implementation 'im.crisp:crisp-sdk:2.0.9'
}Configure your app for multidex:
android {
    defaultConfig {
        multiDexEnabled true
    }
}
dependencies {
    // If you're using AndroidX
    implementation 'androidx.multidex:multidex:2.0.1'
    // If you're not using AndroidX
    implementation 'com.android.support:multidex:1.0.3'
}Initialize the library:
// Replace it with your WEBSITE_ID
// Retrieve it using https://app.crisp.chat/website/[YOUR_WEBSITE_ID]/
Crisp.configure(getApplicationContext(), "7598bf86-9ebb-46bc-8c61-be8929bbf93d");You can for instance start Crisp after a click on a button:
Intent crispIntent = new Intent(this, ChatActivity.class);
startActivity(crispIntent);This step is fully covered in the Notifications section.
<provider android:name="androidx.core.content.FileProvider"
  android:authorities="${applicationId}.fileprovider;${applicationId}.im.crisp.client.uploadfileprovider"
  android:exported="false"
  android:grantUriPermissions="true"
  tools:replace="android:authorities">
  <meta-data android:name="android.support.FILE_PROVIDER_PATHS"
    android:resource="@xml/file_paths"
    tools:replace="android:resource" />
</provider><files-path name="crisp_sdk_attachments" path="im.crisp.client/attachments/" />