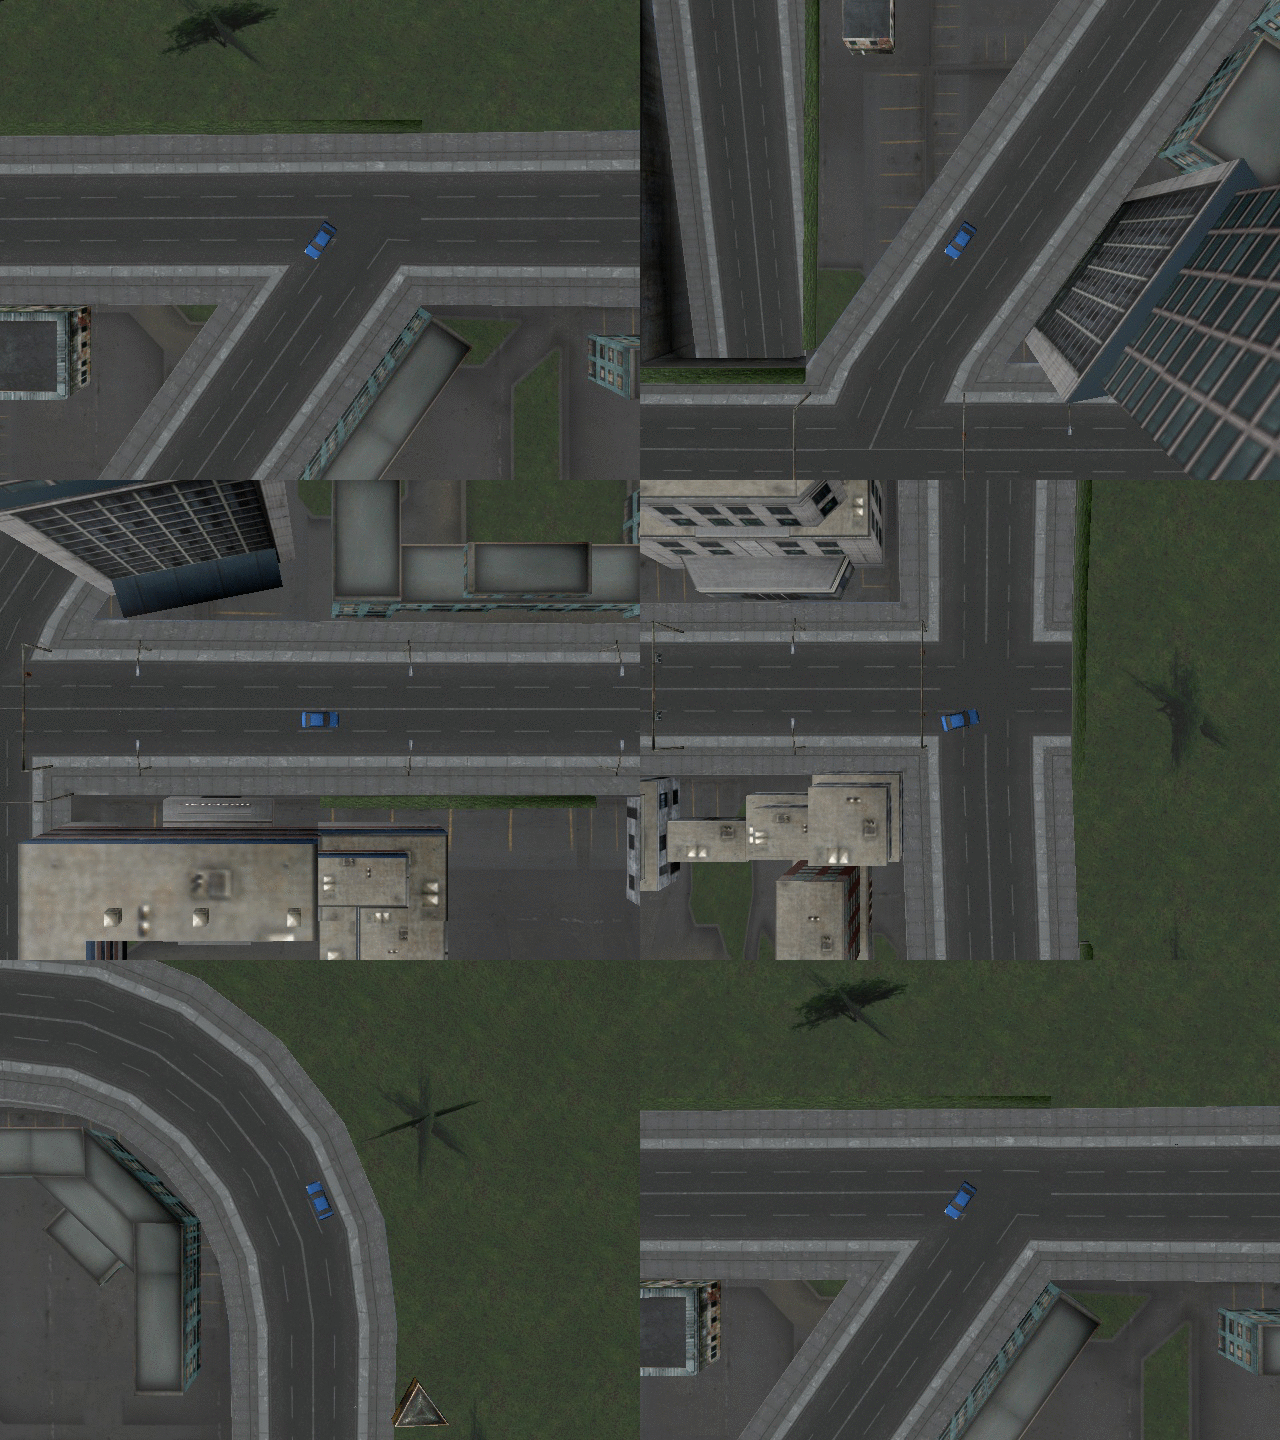
Simulated car following benchmark proposed in the paper Learning Visual Servoing with Deep Features and Fitted Q-Iteration. The environments included in this project serve as a benchmark to test reinforcement learning algorithms that can scale with visual observations (e.g. RGB or depth images). The environments follow the same interface as the environments in OpenAI Gym.
This project also implements classical image-based and position-based visual servoing methods that are compared to in the paper.
Install Panda3D SDK their website. For example, to install Panda3D 1.9.4 on a 64-bit Ubuntu 16.04 machine, run:
wget https://www.panda3d.org/download/panda3d-1.9.4/panda3d1.9_1.9.4~xenial_amd64.deb
sudo dpkg -i panda3d1.9_1.9.4~xenial_amd64.deb
git clone [email protected]:alexlee-gk/citysim3d.git
cd citysim3d
pip install -r requirements.txt
Define the environment variable CITYSIM3D_DIR to be this directory and add it to the PYTHONPATH
export CITYSIM3D_DIR=path/to/citysim3d
export PYTHONPATH=$CITYSIM3D_DIR:$PYTHONPATH
Run the models/download.py script to download all the model files. After running this script, you should end up with the file models.mf and the directories megacity-urban-construction-kit and vehicles in the path/to/citysim3d/models directory.
The city and skybox models are under this license and those files are encrypted inside models.mf. The original city and skybox models came from here.
Install desired version of python 3 (e.g. 3.5.2). Make sure to use the --enable-shared flag to generate python shared libraries, which will later be linked to.
env PYTHON_CONFIGURE_OPTS="--enable-shared" pyenv install 3.5.2
# if using python2, replace python3-dev with python-dev
sudo apt-get install build-essential pkg-config python3-dev libpng-dev libjpeg-dev libtiff-dev zlib1g-dev libssl-dev libx11-dev libgl1-mesa-dev libxrandr-dev libxxf86dga-dev libxcursor-dev bison flex libfreetype6-dev libvorbis-dev libeigen3-dev libopenal-dev libode-dev libbullet-dev nvidia-cg-toolkit libgtk2.0-dev
git clone [email protected]:panda3d/panda3d.git
cd panda3d
pyenv local 3.5.2
python makepanda/makepanda.py --everything --installer --threads 4
sudo dpkg -i panda3d1.10_1.10.0_amd64.deb
If the latest source of Panda3d doesn't build successfully, try using one of the stable versions.
git checkout tags/v1.9.4
If you are unable to import panda3d, you might need to explicitly create a panda3d.pth file so that the Panda3d libraries can be found.
echo /usr/share/panda3d >> ~/.pyenv/versions/3.5.2/lib/python3.5/site-packages/panda3d.pth
echo /usr/lib/x86_64-linux-gnu/panda3d >> ~/.pyenv/versions/3.5.2/lib/python3.5/site-packages/panda3d.pth
git clone [email protected]:panda3d/panda3d.git
cd panda3d
pyenv local 3.5.2
Replace elif GetTarget() == 'darwin' with elif False in makepanda/makepandacore.py so that Apple's copy of Python is not used, as described in here.
sed -i -- "s/elif GetTarget() == 'darwin'/elif False/g" makepanda/makepandacore.py
Build with an specific include and library directory for python (also e.g. without Maya). Install using *.dmg file and follow its installation instructions.
python makepanda/makepanda.py --everything --installer --threads 4 \
  --python-incdir ~/.pyenv/versions/3.5.2/include \
  --python-libdir ~/.pyenv/versions/3.5.2/lib \
  --no-maya6 --no-maya65 --no-maya7 --no-maya8 --no-maya85 --no-maya2008 --no-maya2009 --no-maya2010 --no-maya2011 --no-maya2012 --no-maya2013 --no-maya20135 --no-maya2014 --no-maya2015 --no-maya2016 --no-maya2016
open Panda3D-1.10.0.dmg
Create a panda3d.pth file so that the Panda3d libraries can be found.
echo /Developer/Panda3D/ >> ~/.pyenv/versions/3.5.2/lib/python3.5/site-packages/panda3d.pth
echo /Developer/Panda3D/bin >> ~/.pyenv/versions/3.5.2/lib/python3.5/site-packages/panda3d.pth

