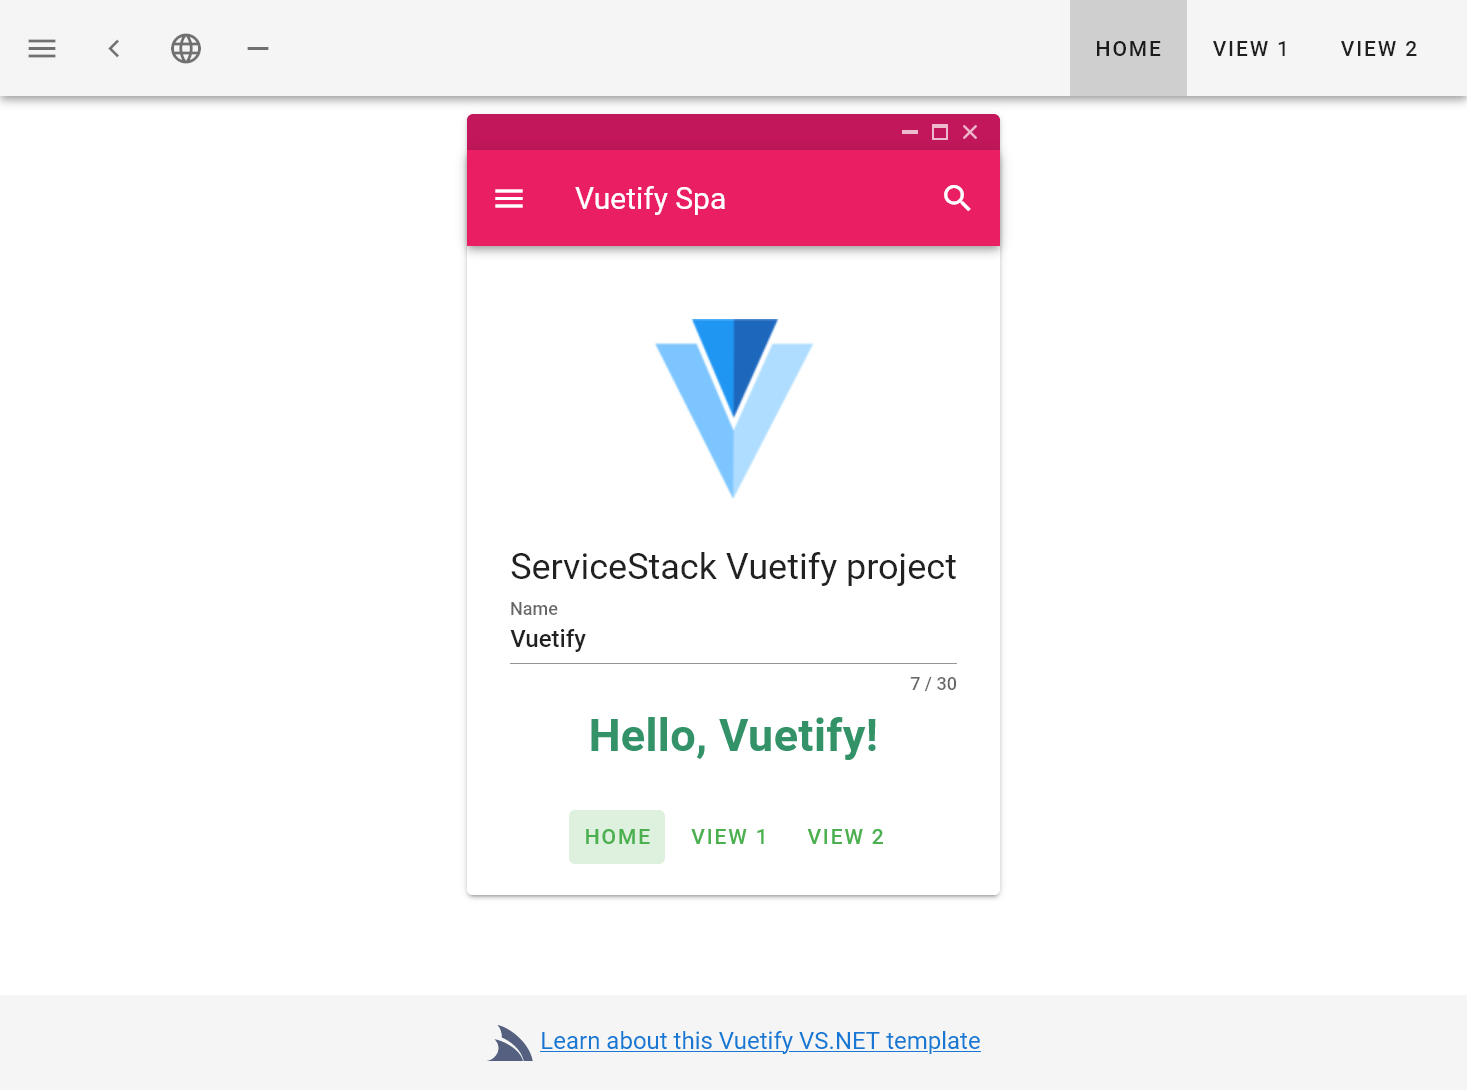
.NET 5.0 Vuetify Webpack App Template
Browse source code, view live demo vuetify-spa.web-templates.io and install with dotnet-new:
$ dotnet tool install -g x

$ x new vuetify-spa ProjectName
Alternatively write new project files directly into an empty repository, using the Directory Name as the ProjectName:
$ git clone https://github.com/<User>/<ProjectName>.git
$ cd <ProjectName>
$ x new vuetify-spa
Our recommendation during development is to run the dev npm script or Gulp task and leave it running in the background:
$ npm run dev
This initially generates a full development build of your Web App then stays running in the background to process files as they’re changed. This enables the normal dev workflow of running your ASP.NET Web App, saving changes locally which are then reloaded using ServiceStack’s built-in hot reloading. Alternatively hitting F5 will refresh the page and view the latest changes.
Each change updates the output dev resources so even if you stop the dev task your Web App remains in a working state that’s viewable when running the ASP.NET Web App.
The alternative dev workflow is to run the serve npm or gulp script to run Create React App's built-in Webpack dev server:
$ npm run serve
This launches the Webpack dev server listening at http://localhost:8080/ and configured to proxy all non-Webpack HTTP requests to the ASP.NET Web App where it handles all Server API requests. The benefit of viewing your App through the Webpack dev server is its built-in Live Reload feature where it will automatically reload the page as resources are updated. We’ve found the Webpack dev server ideal when developing UI’s where your Web App is running side-by-side VS.NET, where every change saved triggers the dev server to reload the current page so changes are visible immediately.
The disadvantage of the dev server is that all transformations are kept in memory so when the dev server is stopped, the Web Apps resources are lost, so it requires a webpack-build in order to generate a current build. There’s also a lag in API requests resulting from all server request being proxied.
.NET Core projects can also benefit from Live Coding using dotnet watch which performs a “watched build” where it automatically stops, recompiles and restarts your .NET Core App when it detects source file changes. You can start a watched build from the command-line with:
$ dotnet watch run
Run the build npm script or gulp task to generate a static production build of your App saved to your .NET App's /wwwroot folder:
$ npm run build
This will let you run the production build of your App that's hosted by your .NET App.
Run the dtos npm script or Gulp task to update your server dtos in /src/dtos.ts:
$ npm run dtos
When your App is ready to deploy, run the publish npm (or Gulp) script to package your App for deployment:
$ npm run publish
Which will create a production build of your App which then runs dotnet publish -c Release to Publish a Release build of your App in the /bin/net5/publish folder which can then copied to remote server or an included in a Docker container to deploy your App.
Run the test npm script or gulp task to launch the test runner in the interactive watch mode:
$ npm test
To launch a live testing session that continuously reruns tests when making source code changes, run the test-watch npm script instead:
$ npm run test-watch
To run end-to-end integration tests with cypress:
$ npm run e2e
This project was bootstrapped with Vue CLI App with the vuetify cli plugin, refer to the documentation links to learn more about developing with Vue CLI Apps.
