A port of prBoom to NXP MCXN MCU running Zephyr RTOS
- Zephyr 4.0
- Zephyr SDK version 0.17.0
 |
 |
|---|---|
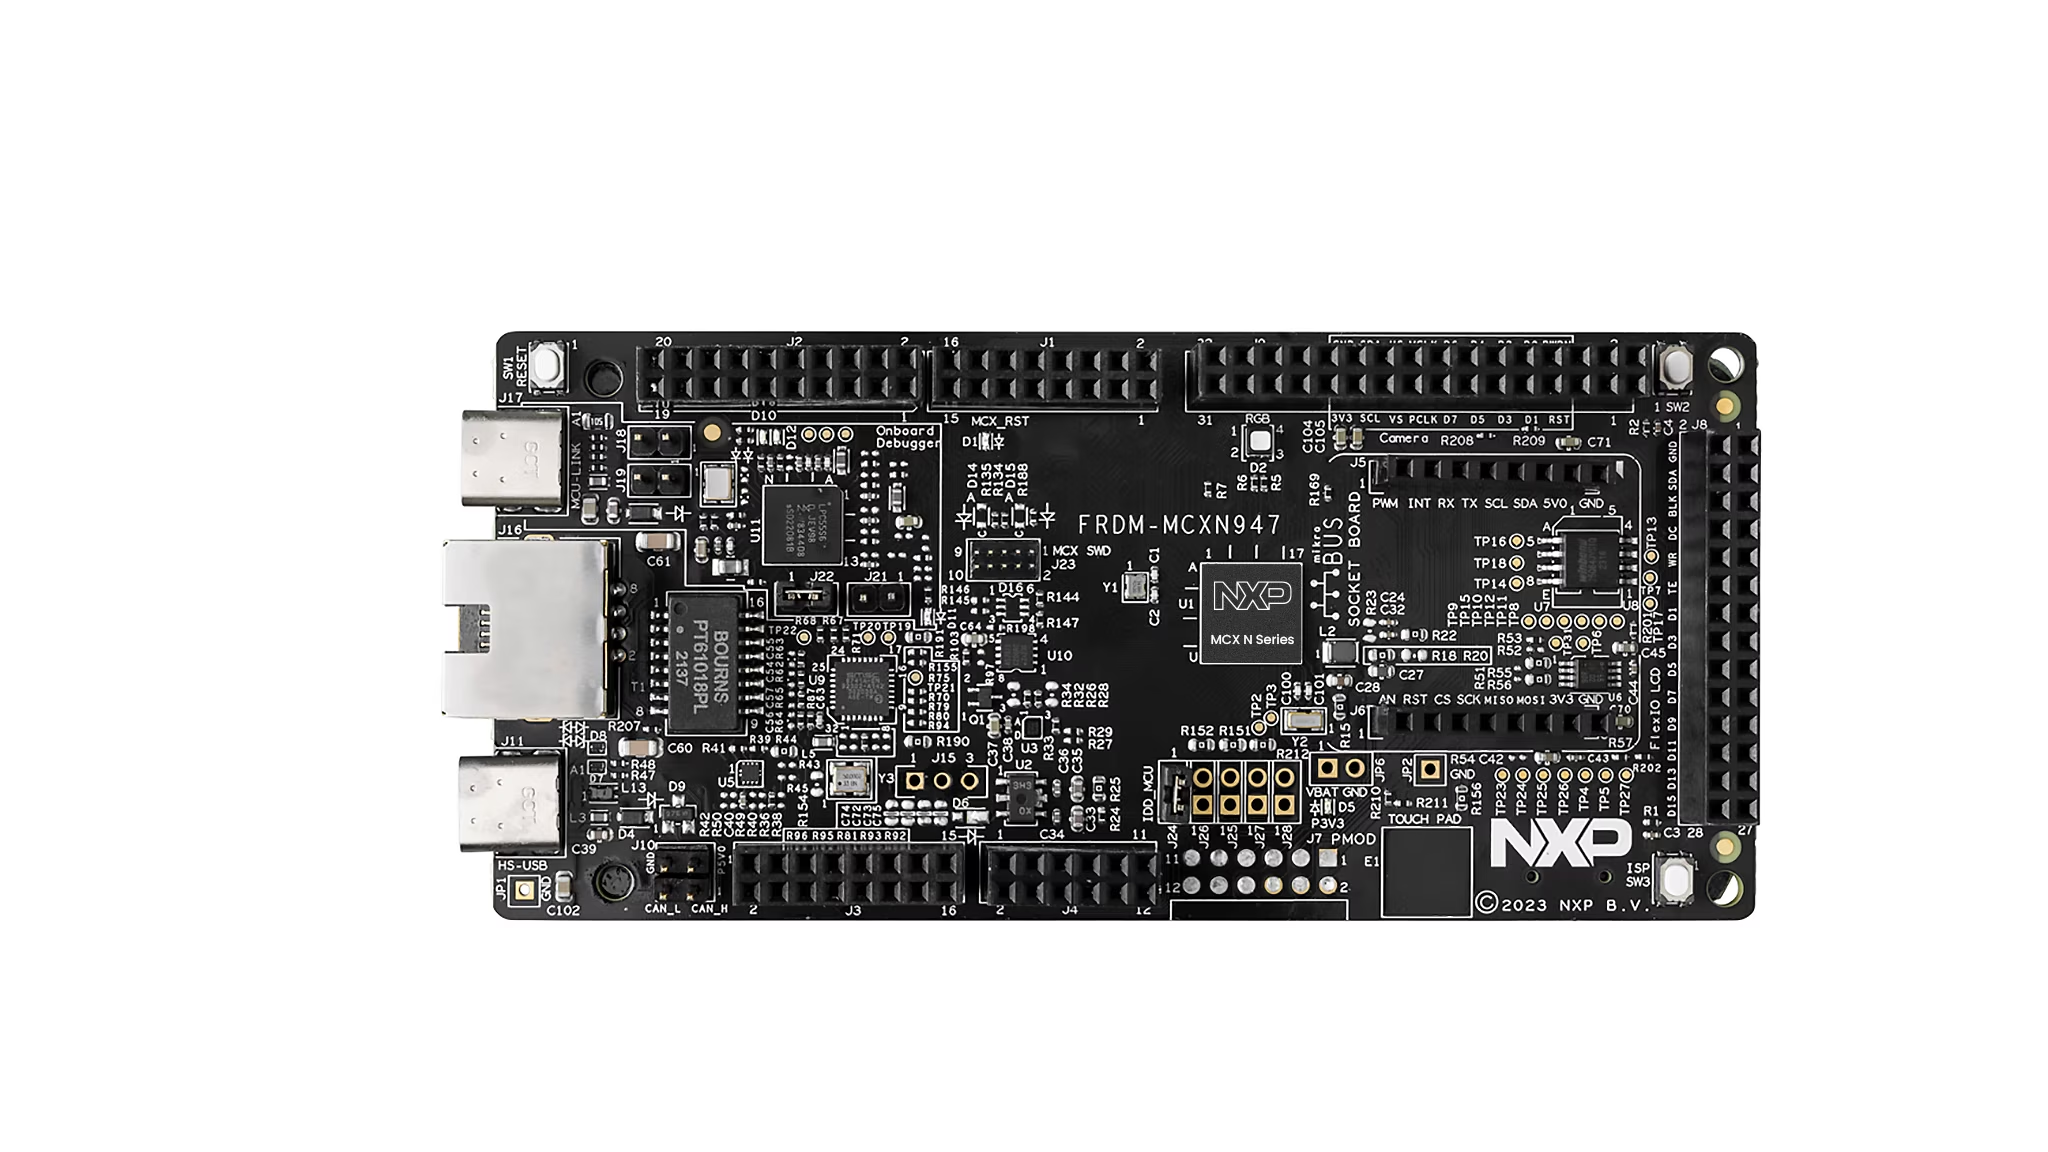
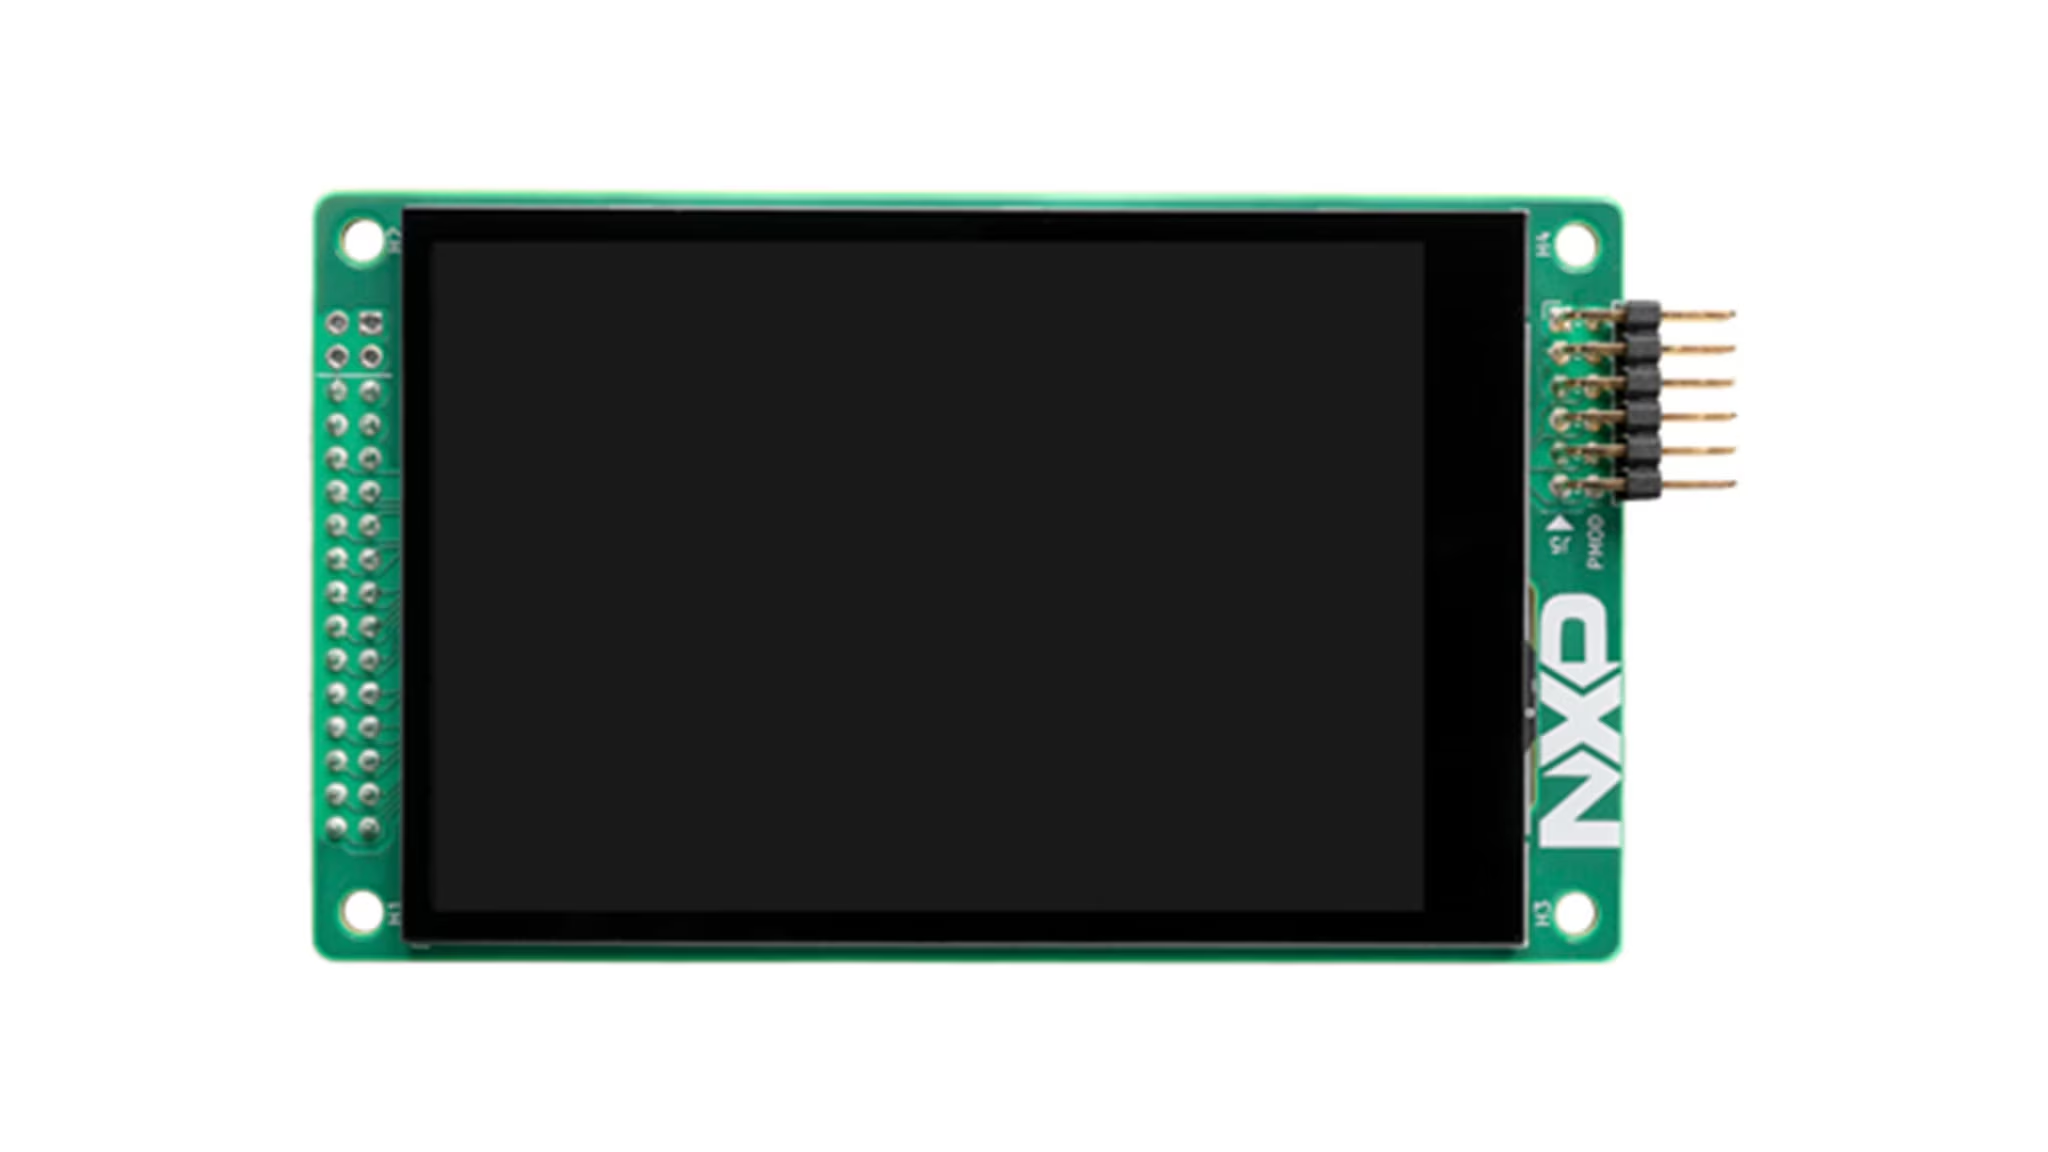
| FRDM Development Board for MCX N947 | LCD-PAR-S035 480x320 IPS LCD |
Optional Joystick shield on FRDM-MCXN947 Arduino Header
Before getting started, make sure you have a proper Zephyr development environment. Follow the official Zephyr Getting Started Guide.
Note
DOOM-MCX has been tested on Zephyr SDK version 0.17.0. When installing the sdk it's recommended to specify the version using west sdk install --version 0.17.0
The first step is to initialize the DOOM-MCX Zephyr workspace folder (doom-mcx-workspace) where doom-mcx and all Zephyr modules will be cloned. Run the following
command:
# initialize  for the example-application (main branch)
west init -m https://github.com/nxphovergames/doom-mcx --mr main doom-mcx-workspace
# update Zephyr modules
cd doom-mcx-workspace
west updateTo build the application, run the following command:
cd doom-mcx
west build -p always -b frdm_mcxn947/mcxn947/cpu0Note
NXP Linkserver v1.5.30 or newer has to be installed. See Zephyr LinkServer guide for more information.
To flash the application to the FRDM-MCXN947 board. Connect a USB-C cable to the "MCU-Link" USB-C port and run the following command:
west flashOn a successful flash the display (LCD-PAR-S035) should turn and you can start playing the game.
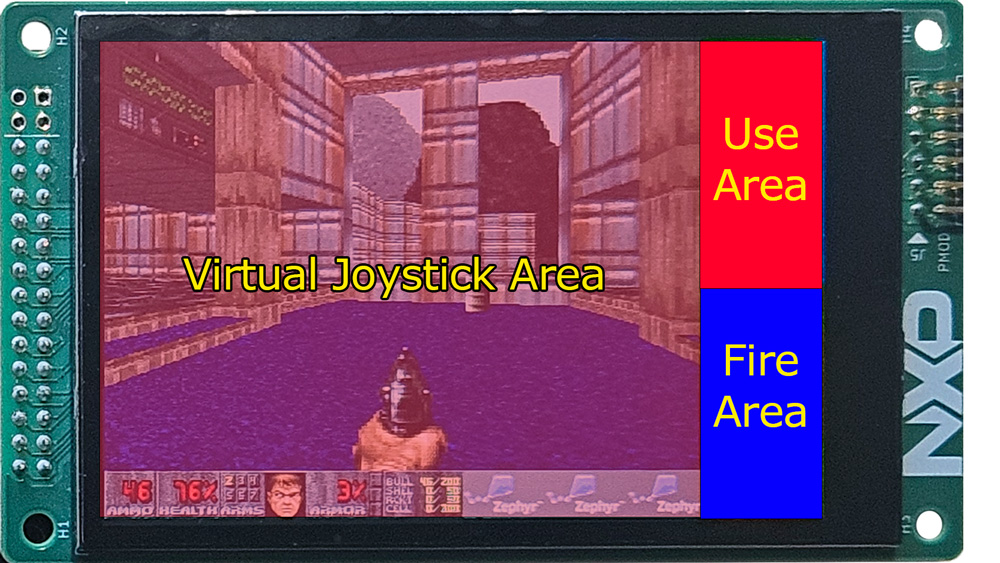
Doom-MCX supports 2 types of control either through touchscreen or the Joystick shield.
Open doors/start: Tap "Use Area"
Fire: Tap "Fire Area"
Wake & Strafe Tap and drag in the "Virtual Joystick Area"
Caution
When using the Funduino shield make sure the switch is in 3V3 mode, otherwise you will damage the board.
Fire: D
Use: C
Walk: Joystick Y-axis
Strafe: Joystick X-axis
Menu: A
Questions regarding the content/correctness of this example can be entered as Issues within this GitHub repository.
Warning: For more general technical questions regarding NXP Microcontrollers and the difference in expected functionality, enter your questions on the NXP Community Forum
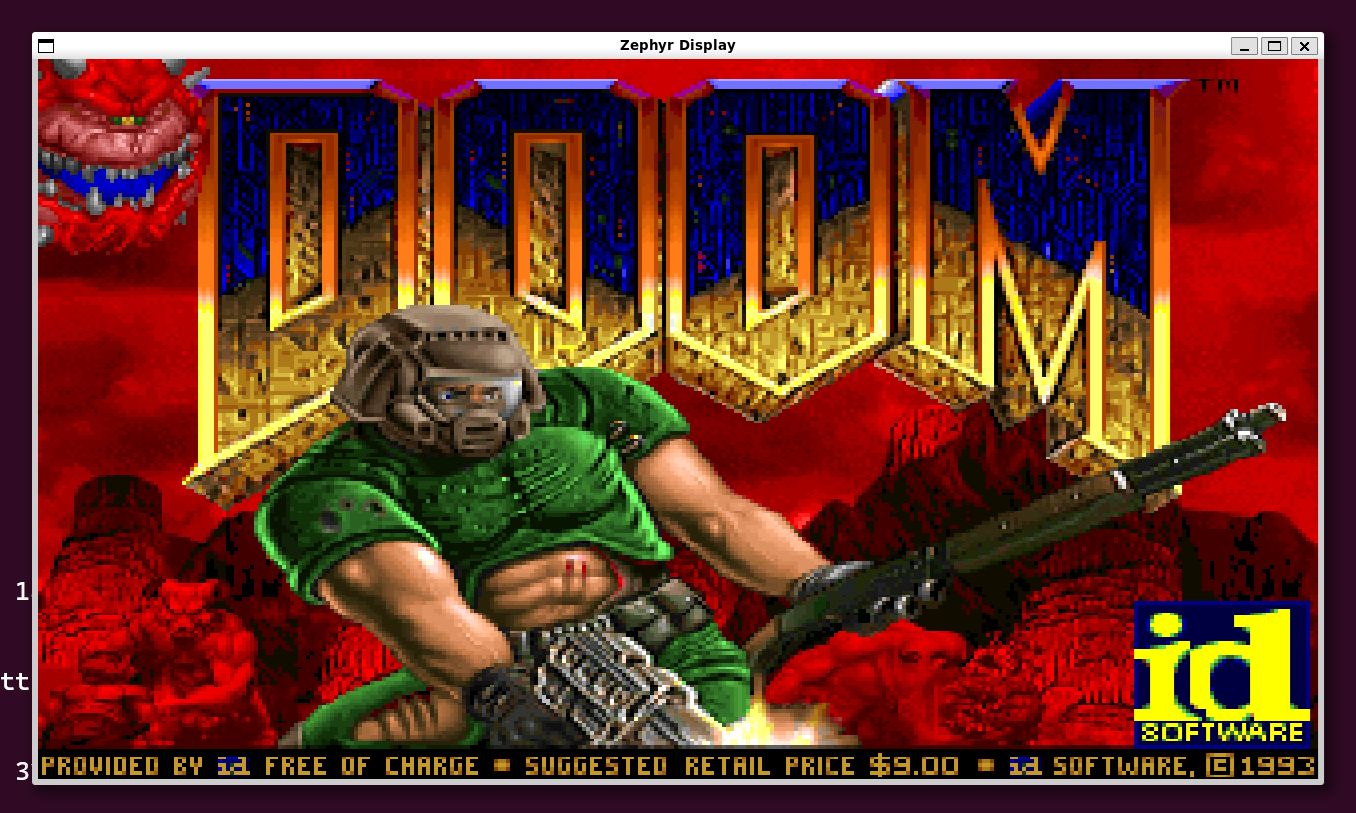
Zephyr RTOS also provides a native_posix target
To compile as native type:
west build -p always -b native_posix_64To run type
cd doom-mcx
./build/zephyr/zephyr.elfFire: CTRL
Use: Spacebar
Walk: Up-arrow & Down-arrow
Strafe: Left-arrow & Right-arrow
Menu: ESC
| Version | Description / Update | Date |
|---|---|---|
| 1.0 | Initial release | September 9th 2024 |


