An HTTP/MQTT bridge for Enervent ventilation units with EDA or MD automation (e.g. Pingvin, Pelican and Pandion). It provides a REST-ful HTTP interface for interacting with the ventilation unit (reading temperatures and changing certain settings), as well as an MQTT client which can publish readings/settings regularly and be used to control the ventilation unit.
Communication happens over RS-485 (Modbus RTU) by connecting a serial device to the "Freeway" port on the ventilation unit's computer board, or alternatively using Modbus TCP for newer units that can be connected to the local network.
- Features
- Requirements
- Installation
- Usage
- HTTP endpoints
- MQTT support
- Known issues
- Troubleshooting
- License
- Credits
- HTTP API for reading temperatures, modes, alarms and settings, as well as changing some settings
- Full MQTT support, including Home Assistant MQTT discovery support
- Node.js 14.x or newer
- An Enervent ventilation unit with EDA or MD automation (Pingvin, Pandion, Pelican and LTR-3 confirmed working)
- An RS-485 device (e.g.
/dev/ttyUSB0) connected to the Enervent unit's Freeway port (see docs/CONNECTION.md for details on how to connect to the unit). Newer units that can be connected directly to the local network don't need this.
The following instructions will install the application to /opt/eda-modbus-bridge.
sudo su -
git clone https://github.com/Jalle19/eda-modbus-bridge.git /opt/eda-modbus-bridge
cd /opt/eda-modbus-bridge
npm install --omit=dev
That's it, the application is now installed. You can run it manually with
node /opt/eda-modbus-bridge/eda-modbus-bridge.mjs, or see the next chapter on how to run it as a system service.
The following instructions assume you've installed the application to /opt/eda-modbus-bridge.
sudo cp /opt/eda-modbus-bridge/systemd/eda-modbus-bridge.service /etc/systemd/system/
sudo systemctl enable eda-modbus-bridge
sudo systemctl start eda-modbus-bridge
You can now check that it is running with sudo systemctl status eda-modbus-bridge.
If you need to change any command-line options (e.g. to configure the MQTT broker URL),
edit /etc/systemd/system/eda-modbus-bridge. After you have edited the file you need to reload systemd and restart
the application:
sudo systemctl daemon-reload
sudo systemctl restart eda-modbus-bridgeSee https://github.com/Jalle19/home-assistant-addon-repository/tree/main/eda-modbus-bridge
node eda-modbus-bridge.mjs [options]

Options:
      --help                 Show help                                 [boolean]
      --version              Show version number                       [boolean]
  -d, --device               The serial device to use, e.g. /dev/ttyUSB0
                                                                      [required]
  -s, --modbusSlave          The Modbus slave address               [default: 1]
      --http                 Whether to enable the HTTP server or not
                                                       [boolean] [default: true]
  -a, --httpListenAddress    The address to listen (HTTP)   [default: "0.0.0.0"]
  -p, --httpPort             The port to listen on (HTTP)        [default: 8080]
  -m, --mqttBrokerUrl        The URL to the MQTT broker, e.g. mqtt://localhost:18
                             83. Omit to disable MQTT support.
      --mqttUsername         The username to use when connecting to the MQTT bro
                             ker. Omit to disable authentication.
      --mqttPassword         The password to use when connecting to the MQTT bro
                             ker. Required when mqttUsername is defined. Omit to
                              disable authentication.
  -i, --mqttPublishInterval  How often messages should be published over MQTT (i
                             n seconds)                            [default: 10]
      --mqttDiscovery        Whether to enable Home Assistant MQTT discovery sup
                             port. Only effective when mqttBrokerUrl is defined.
                                                       [boolean] [default: true]
  -v, --debug                Enable debug logging     [boolean] [default: false]
There's a Postman collection under docs/. For more information about the individual endpoints, see
docs/HTTP.md.
When an MQTT broker URL is specified, the application connects to the broker and starts to regularly publish data at the configured interval (defaults to every 10 seconds). Device information is published only on startup and retained in the broker.
Every topic is prefixed by eda/, so to subscribe to everything the application sends out, subscribe to eda/#
See docs/MQTT.md for more detailed information about which topics are published and subscribed to.
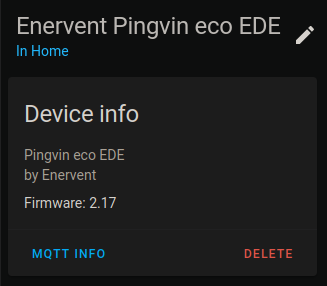
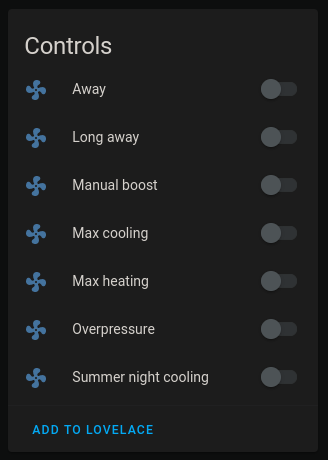
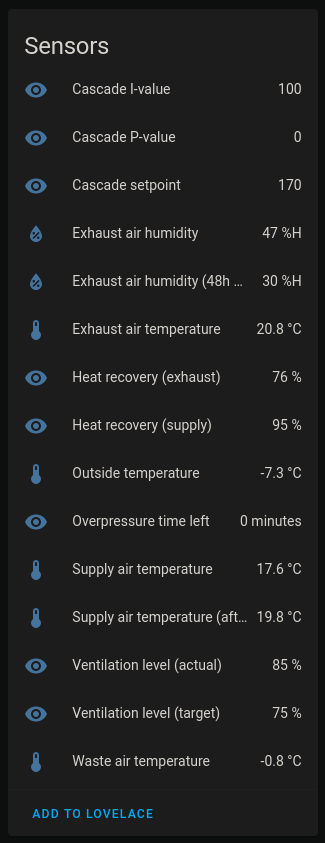
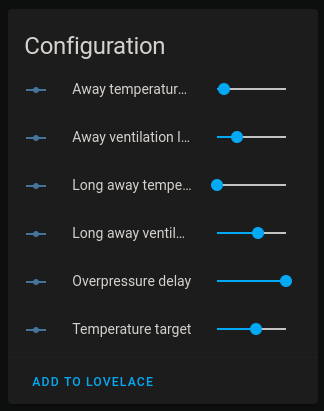
The application supports Home Assistant's MQTT Discovery feature, meaning your ventilation unit will show up as a device in Home Assistant automatically through the MQTT integration. The following entities are available:
- sensors for all readings
- numbers (configurable) for settings
- switches for the ventilation modes and settings
- binary sensors for the alarms
- a button for acknowledging the latest alarm
-
Some ventilation units sometimes trip the "TE20 Huoneilma kuuma" alarm when Modbus is used and a room temperature sensor has not been connected to the main board. This can be alleviated by reducing the polling interval from 10 seconds to something like 30 seconds, or fixed permanently by either connecting an NTC10 temperature sensor or a 10 kilo-ohm resistor to the sensor input terminals (not tested, but confirmed by Enervent).
-
It is not possible to adjust the ventilation level when the unit is operating in normal mode. Enervent has confirmed that this is a limitation in the protocol and there is no direct solution. A workaround is to repurpose one of the modes, e.g. "long away", to be a "manual control" mode, since the ventilation level can be adjusted for all non- normal modes of operation. A slight caveat with this is that the temperature target is also reduced, and the temperature target reduction setting doesn't always seem to accept values below 2 degrees Celsius. Experiment with these values to find something that suits your use case, or trust the built-in automation in the ventilation unit to do its job.
-
Older firmware (e.g. Pingvin devices with software version 2.01) only support a smaller list of Modbus registers, so some functionality may be missing. Open an issue if you feel like something isn't working that should be working. Unsupported functionality is indicated by the corresponding sensor being disabled in Home Assistant, and the readings missing from the
/summaryHTTP endpoint. -
While it's possible to acknowledge any active alarm, serious alarms that cause the unit to enter the "emergency stop" state require a restart of the unit to resume normal operation. However, the unit cannot be restarted via Modbus (at least not officially), so it's best to acknowledge such alarms manually.
GNU GENERAL PUBLIC LICENSE 3.0
Some documentation under docs/ is proprietary.
Credits to Jaakko Ala-Paavola for creating https://web.archive.org/web/20201020102005/http://ala-paavola.fi/jaakko/doku.php?id=pingvin and self-hosting a copy of the relatively hard to find EDA modbus register PDF document.


