The AppFog Python Jumpstart is a sample application that can be used to get started quickly with a new Python web application on AppFog.
To get started, copy the contents of this repo to a new source code repository that you have edit privileges to. Clone that repository and login to AppFog. To deploy the application, run the following from the top-level project directory:
$ cf push
Since the manifest.yml file sets the name of the application to ${random-word}, the name of the application will be generated during the deployment process. Here is example output of the application deployment using cf push:
cf push
Using manifest file /Users/demo/python/manifest.yml

Creating app imputative-scrimshaw in org DEMO / space dev as Demouser...
OK

Creating route imputative-scrimshaw.cfapps.io...
OK

Binding imputative-scrimshaw.cfapps.io to imputative-scrimshaw...
OK

Uploading imputative-scrimshaw...
Uploading app files from: /Users/demo/python
Uploading 29.4K, 6 files
Done uploading
OK

Starting app imputative-scrimshaw in org DEMO / space dev as Demouser...
-----> Downloaded app package (12K)
-------> Buildpack version 1.3.3
-----> Installing runtime (python-2.7.9)
-----> Installing dependencies with pip
You are using pip version 6.1.1, however version 7.0.3 is available.
You should consider upgrading via the 'pip install --upgrade pip' command.
       Collecting Flask==0.10.1 (from -r requirements.txt (line 1))
         Downloading Flask-0.10.1.tar.gz (544kB)
       Collecting Werkzeug>=0.7 (from Flask==0.10.1->-r requirements.txt (line 1))
         Downloading Werkzeug-0.10.4-py2.py3-none-any.whl (293kB)
       Collecting Jinja2>=2.4 (from Flask==0.10.1->-r requirements.txt (line 1))
         Downloading Jinja2-2.7.3.tar.gz (378kB)
       Collecting itsdangerous>=0.21 (from Flask==0.10.1->-r requirements.txt (line 1))
         Downloading itsdangerous-0.24.tar.gz (46kB)
       Collecting markupsafe (from Jinja2>=2.4->Flask==0.10.1->-r requirements.txt (line 1))
         Downloading MarkupSafe-0.23.tar.gz
       Installing collected packages: Werkzeug, markupsafe, Jinja2, itsdangerous, Flask
         Running setup.py install for markupsafe
         Running setup.py install for Jinja2
         Running setup.py install for itsdangerous
         Running setup.py install for Flask
       Successfully installed Flask-0.10.1 Jinja2-2.7.3 Werkzeug-0.10.4 itsdangerous-0.24 markupsafe-0.23
You are using pip version 6.1.1, however version 7.0.3 is available.
You should consider upgrading via the 'pip install --upgrade pip' command.
-----> Uploading droplet (37M)

1 of 1 instances running

App started


OK

App imputative-scrimshaw was started using this command `python home.py`

Showing health and status for app imputative-scrimshaw in org joaquin-org / space development as [email protected]...
OK

requested state: started
instances: 1/1
usage: 256M x 1 instances
urls: imputative-scrimshaw.cfapps.io
last uploaded: Mon Jun 22 19:29:18 UTC 2015
stack: cflinuxfs2

     state     since                    cpu    memory          disk           details
#0   running   2015-06-22 04:30:22 PM   0.0%   53.8M of 256M   136.9M of 1G
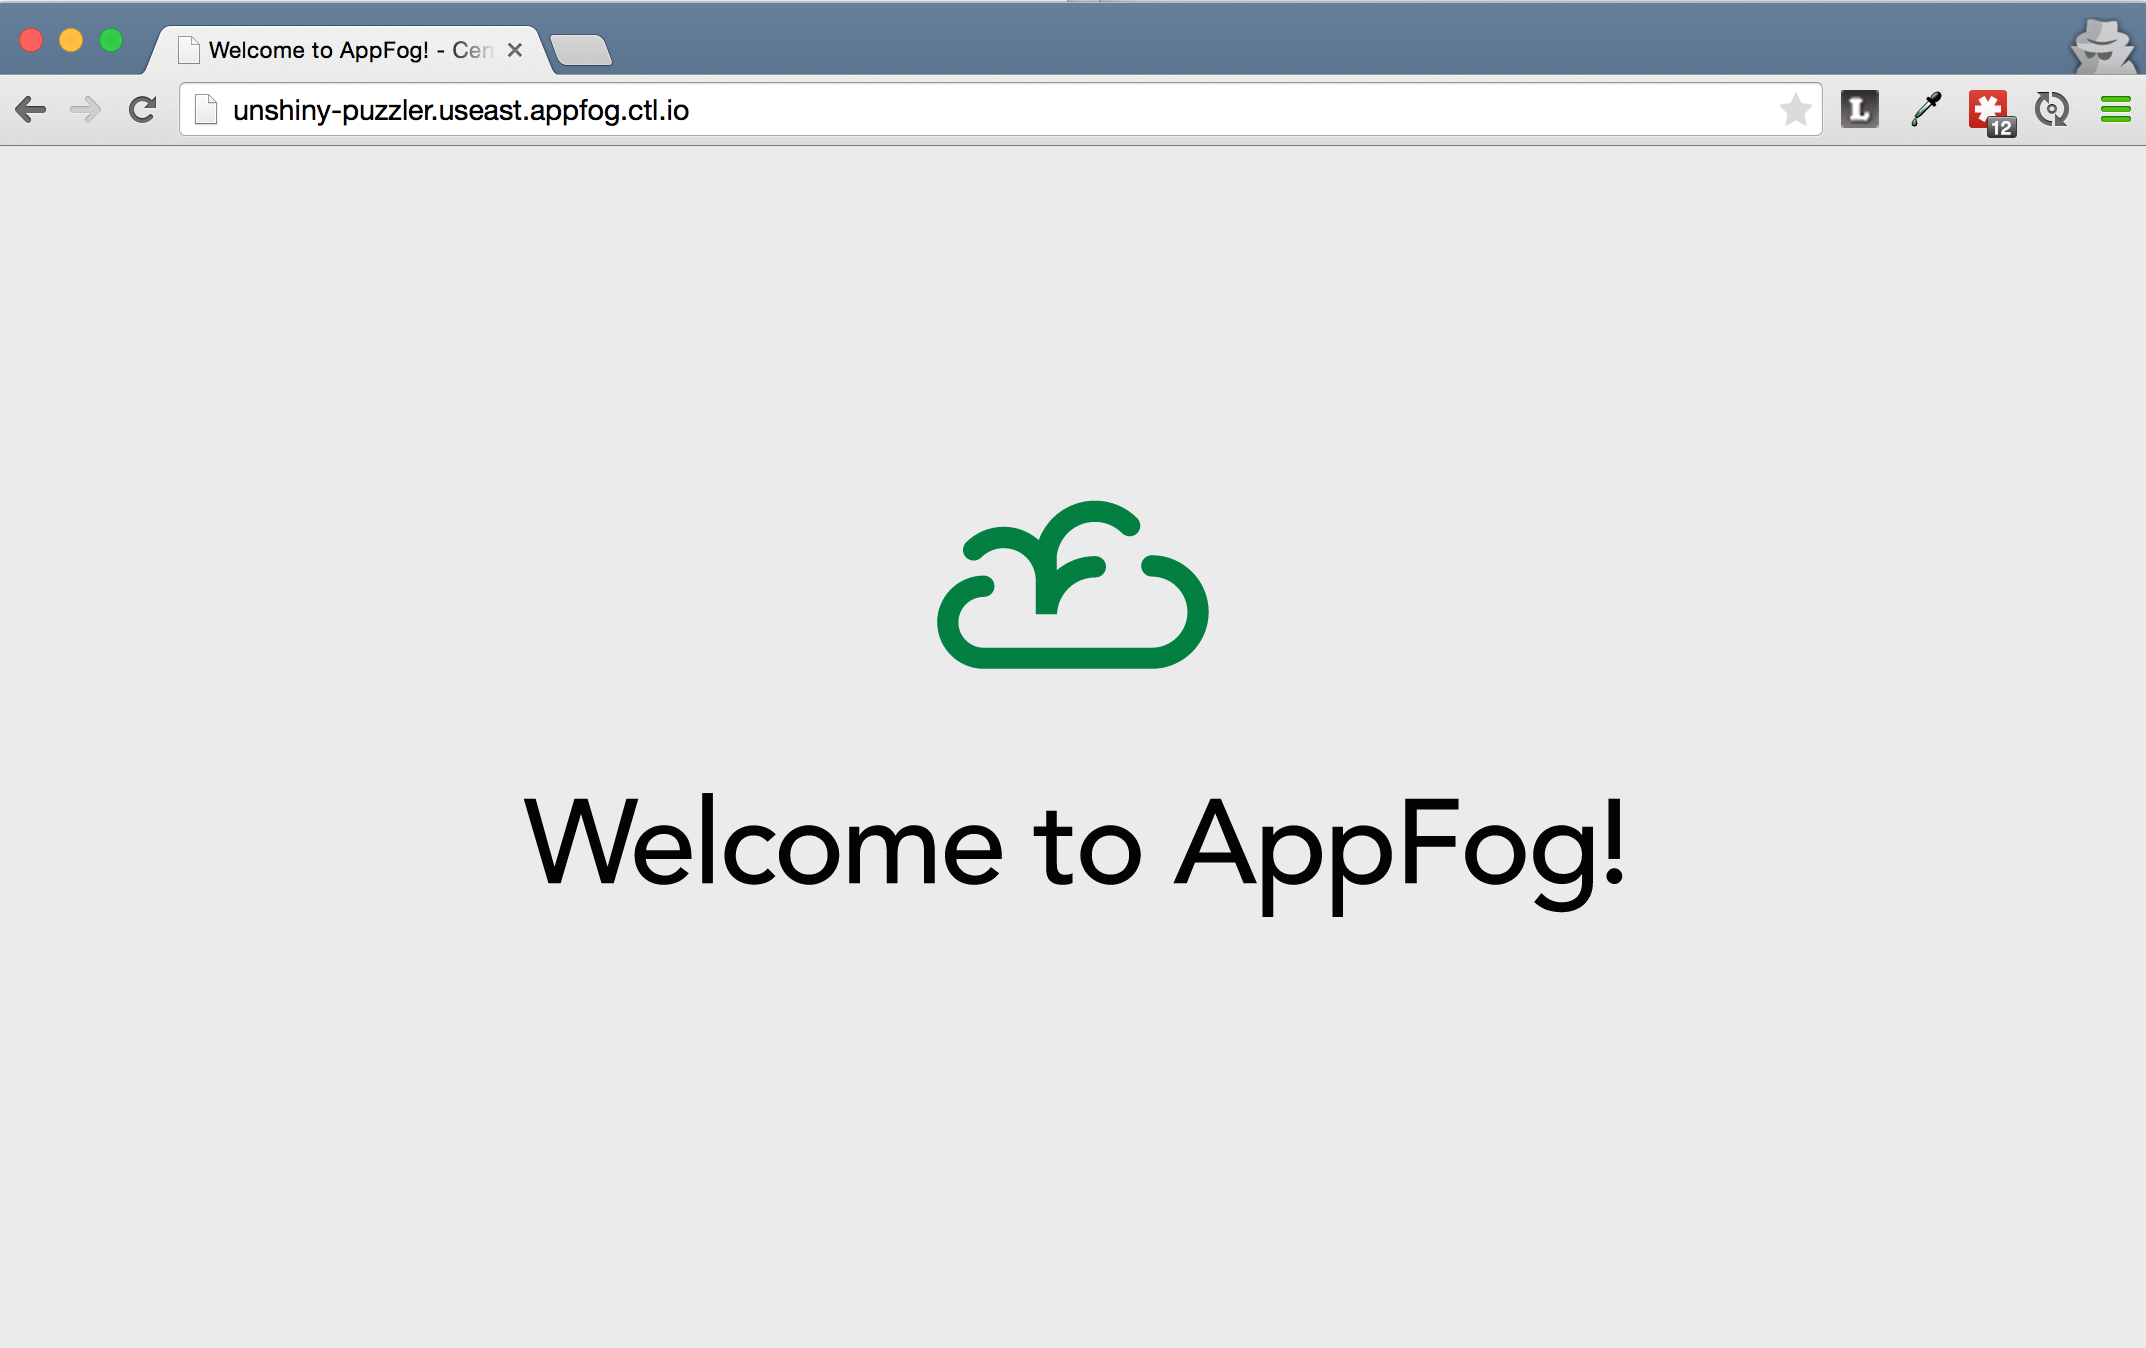
Once the application is running, copy the value for urls:, in the case above imputative-scrimshaw.useast.appfog.ctl.io, and go to that URL in a browser. You should see a page that looks like:
- Web page:
index.html. - Application Controller:
home.py.
A very useful read is here. This will give you an overview of the general process used to deploy Python applications to AppFog.
As a start point, you can modify the file home.py as needed.
Every library you need to install to make your app work locally, you have to add it to the requirements.txt document. You will see that it has already listed a library the example uses.
If you decide to rename the file home.py, you have to change the file Procfile to match the new name in order to have a successful deployment.
There is a lot of information and tutorials on the internet to learn. The official tutorial is here.
The official Python documentation is here
