This starter is using the latest Next.js 14 (App Router).
- A Uniform account with the ability to create a new empty project. If you don't have a Uniform account, you can request a trial account here.
- Node.js LTS and
gitinstalled on your machine.
- Setup your .env file (see .env.example for reference)
UNIFORM_API_KEY=
UNIFORM_PROJECT_ID=
UNIFORM_PREVIEW_SECRET=hello-world
Make sure your API key has "Developer" role to be able to push content.
npm install && npm run init && npm run devto install dependencies, set up project and run in dev mode.
npm run dev to run locally.
At this point, you should be able to browse your site on localhost:3000 and open it in Uniform Canvas.
Besides live preview, setting the preview URL enables visual in-line editing and experience management of your Next.js app within the Uniform environment. Enabling this is easy:
- Open your Uniform project's Settings.
- Open
Canvas Settingsand configure the preview URL to your localhost endpoint:http://localhost:3000and use this for your preview path:/api/preview?secret=hello-worldConsider changing the
secretin your .env file. That value must match thesecretquery string used in preview url. The preview can point to a local or deployed version of your Next.js app.
This integration brings Canvas UI extensions for theme management and new useful visual parameters to help control the look and feel of your components.
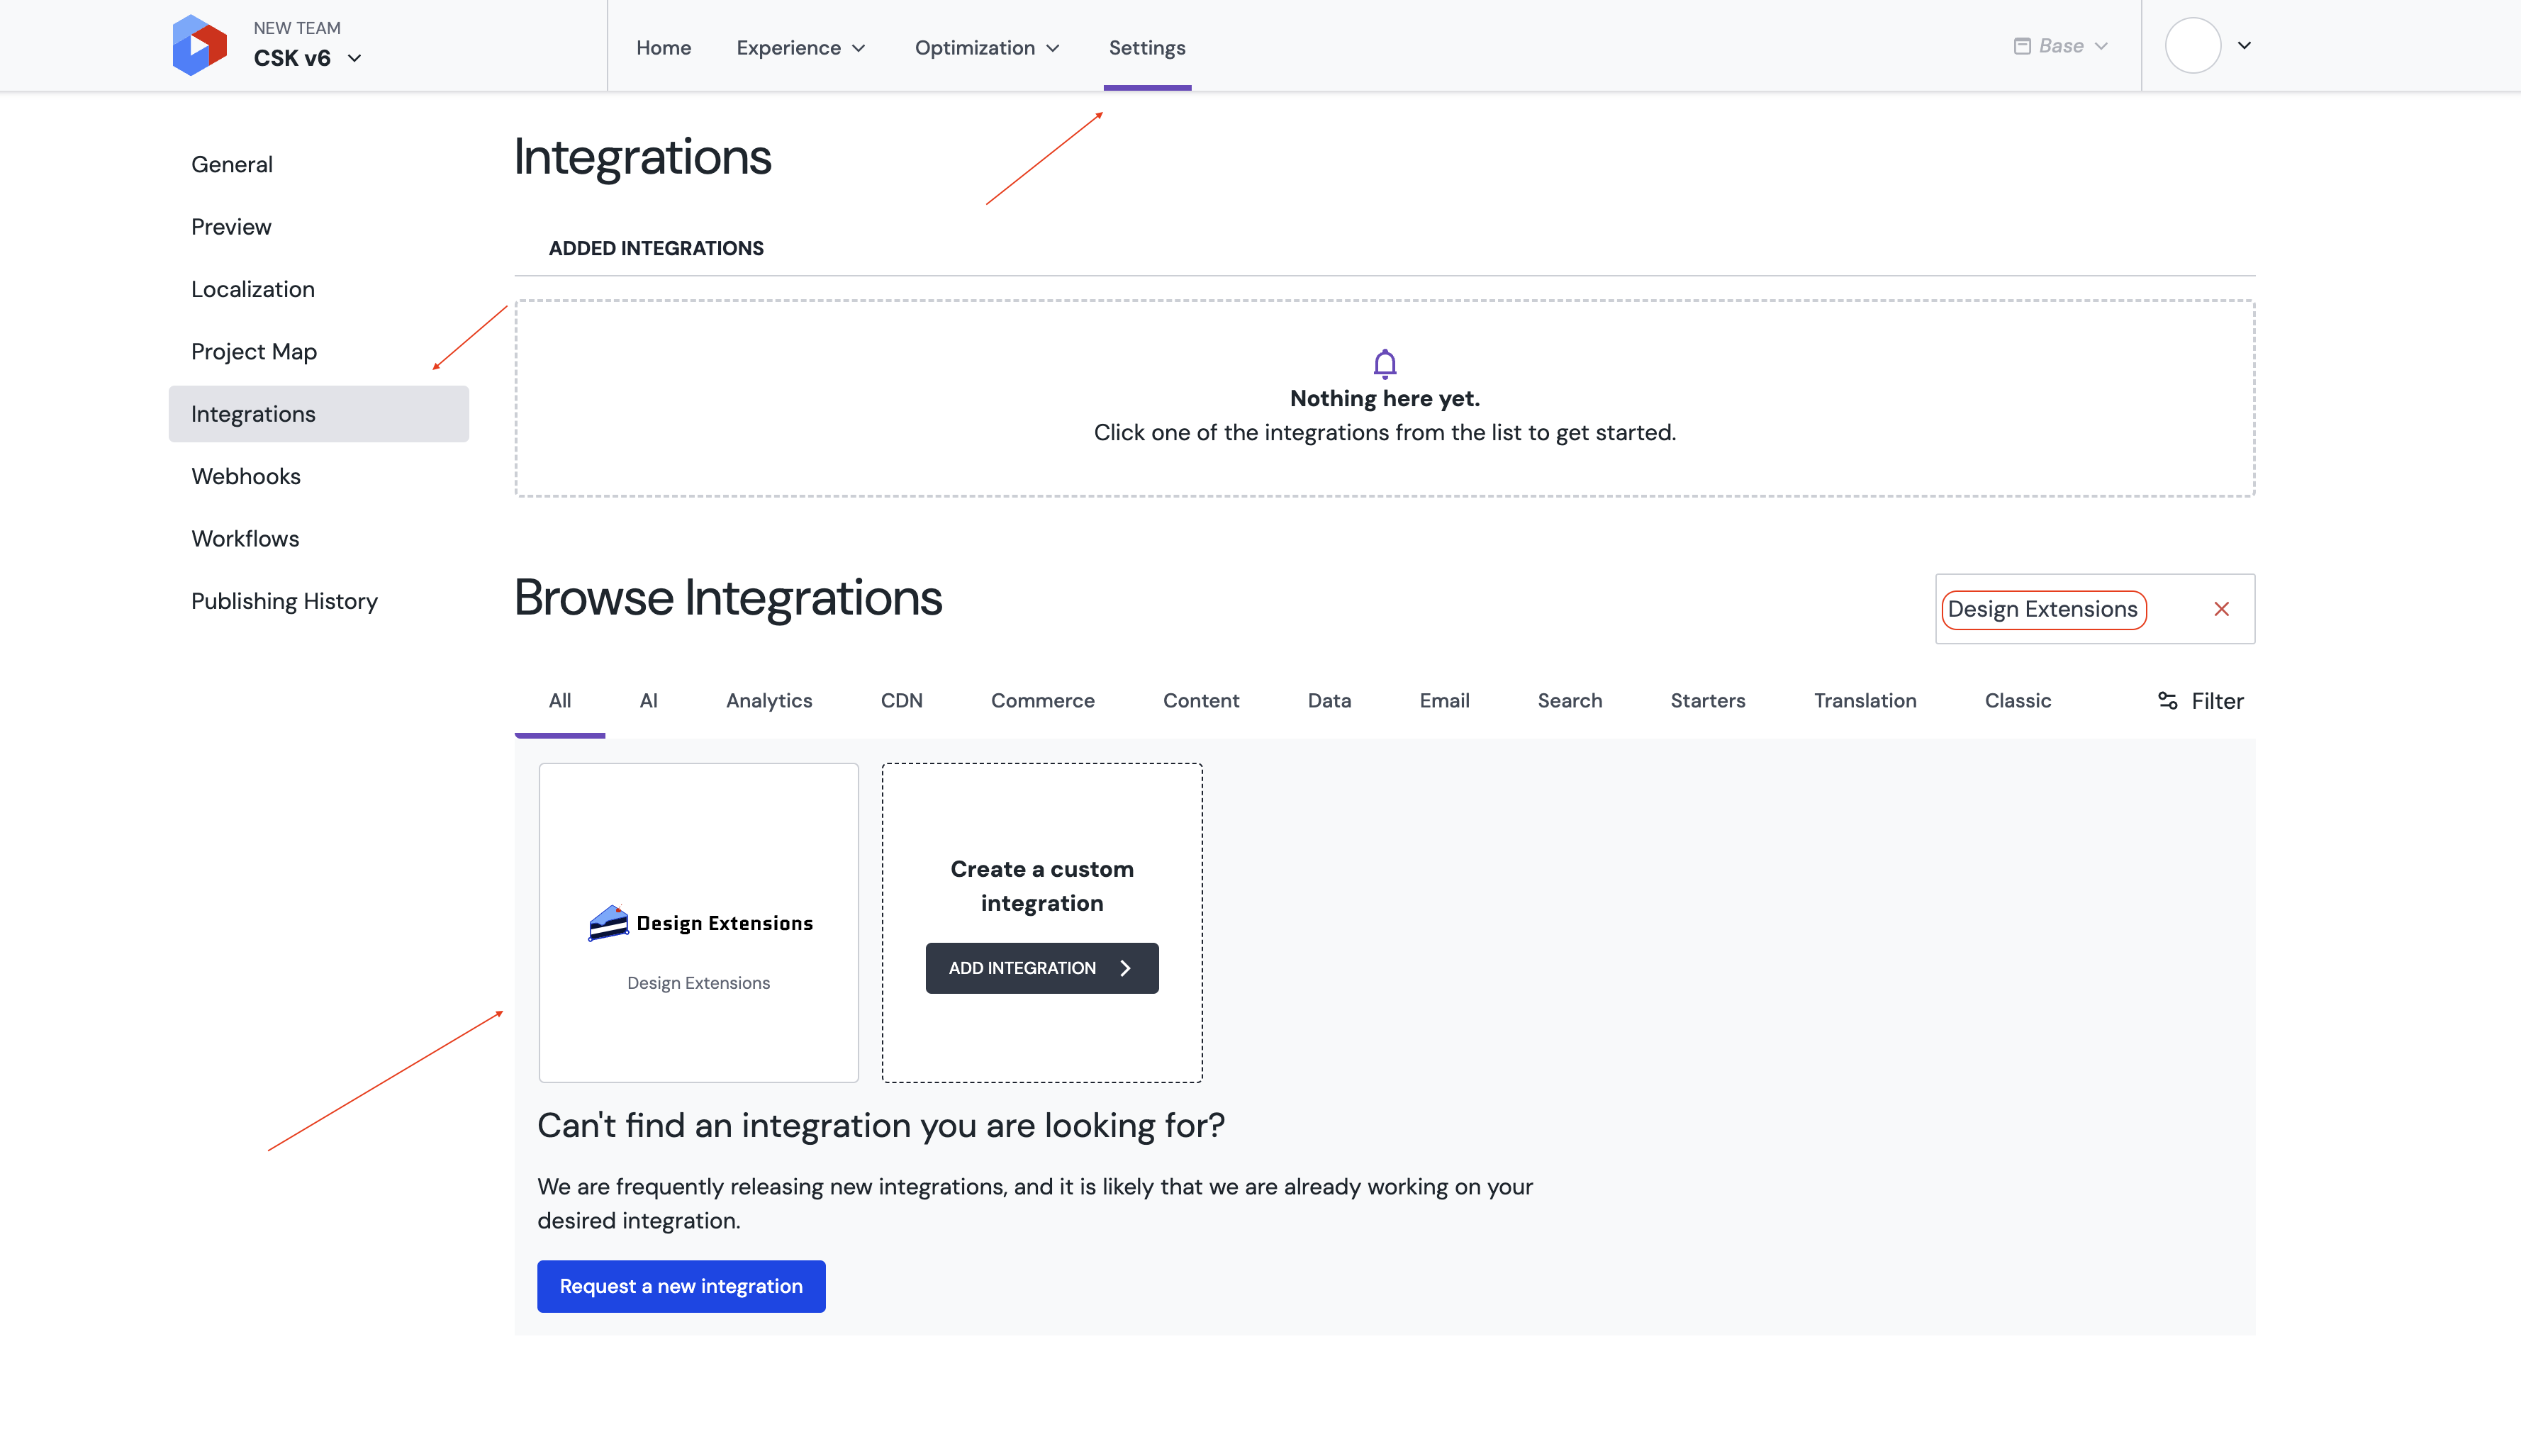
- Open your current team page.
- Navigate to the
Settingstab, thanCustom Integrationsand addTheme Pack 2as a custom integration using this manifest. - Open your project.
- Navigate to the
Integrationstab, find theTheme Pack 2integration and install it. - Provide your oun color palette or set up it from the code using
npm run push:colorscommand. (see./styles/colors.css) - Provide your oun dimension configuration or set up it from the code using
npm run push:dimensionscommand. (see./styles/dimensions.css) - Provide your oun fonts or set up it from the code using
npm run push:fontscommand. (see./styles/fonts.css) - Provide your oun border configuration or set up it from the code using
npm run push:borderscommand. (see./styles/border.css)
- Run
npm run push:contentto push content from disk (see./uniform-content) to your project. - Run
npm run publish:manifestto publish the manifest with personalization configuration. - Run
npm run pull:contentto pull content from uniform to./uniform-contentfolder.

