Use the Twilio API to call your phone and rickroll you.
Rickrolling has been around since the early days of the Internet. But have you ever wanted to take rickrolling to the next level, into the realm of phones? That’s what you’re going to do today. In this workshop, you’re going to build a Node.js web app that calls your phone and rickrolls you.
Twilio is a service that provides easy-to-use phone APIs—SMS, voice, etc. We’re going to use the Twilio Programmable Voice API to place a call and play an audio stream of Never Gonna Give You Up.
Start a new Node.js project on repl.it by visiting repl.it/languages/nodejs.
The first thing we need to do is authenticate with the Twilio API. To authenticate with the Twilio API you need an Account Sid and an Auth Token. Twilio has kindly sponsored an account for us to use today, the details are displayed on screen.
We use environment variables to make sensitive details in our code private. Environment variables are essentially “secret” variables: the server knows what they are, but they’re not in the code for anyone to see.
Environment variables are stored in a .env file. In order to keep the contents of the file private, .env files on repl.it are only visible to you, and are hidden from anyone else who sees your code. We use process.env.ENV_VARIABLE_NAME to refer to environment variables in code.
Let’s create a .env file and store the credentials we need for authenticating with Twilio. Once you’ve created a new .env. file, get the Account Sid and the Auth Token from the screen and add them to the file:
accountSid=xxxxxxx
authToken=xxxxxxx
Replace xxxxxxx with the appropriate secret key.
Navigate back to the index.js file and set up the Twilio npm package:
const twilio = require('twilio')(process.env.accountSid, process.env.authToken);In this line of code we are creating a Twilio instance. We do this by importing the twilio package and then passing the the API credentials we stored in the .env file to it so that it knows who we are.
We define how our call will go through TwiML, a markup language created by Twilio. We'll discuss this later, when we create our own custom call.
For now we'll use the following set of instructions:
<?xml version="1.0" encoding="UTF-8"?>
<Response>
    <Play>https://raw.githubusercontent.com/hackclub/hackclub/master/workshops/rick_roll/never-gonna-give-you-up.mp3</Play>
</Response>
What this document states is that our response when the call is picked up will be to play a .mp3 file that contains the song Never Gonna Give You Up.
We'll need a link to this file for use later. This file is hosted at: https://cloud-40shzfm87.vercel.app/0response.xml.
Awesome! Now that we’ve given Twilio instructions for a call, it’s time to place a call.
Twilio calls are created with twilio.calls.create. Here’s what creating a call with Twilio and our TwiML document looks like:
twilio.calls
  .create({
    url: 'https://cloud-40shzfm87.vercel.app/0response.xml',
    method:'GET',
    to: 'TWILIO_PHONE_NUMBER',
    from: 'PHONE_NUMBER'
  })
  .then(call => console.log(call.sid))
  .done();
We’re ready to rickroll! Add the above code block at the bottom of your index.js file. Replace PHONE_NUMBER with your phone number and TWILIO_PHONE_NUMBER with the number displayed on screen.
Your entire script.js file should now look like this:
const twilio = require('twilio')(process.env.accountSid, process.env.authToken);

twilio.calls
  .create({
    url: 'https://cloud-40shzfm87.vercel.app/0response.xml',
    method:'GET',
    to: 'TWILIO_PHONE_NUMBER',
    from: 'PHONE_NUMBER'
  })
  .then(call => console.log(call.sid))
  .done();
})
When you run your repl, you should receive a call from Nexmo, and Never Gonna Give You Up should start playing!
Rickrolling yourself is just the beginning. Twilio's products give you endless possibilities!
I'd recommend creating a custom TwiML document.
To do so begin by adding any of the following:
<?xml version="1.0" encoding="UTF-8"?>
<Response>

</Response>
Then in between <Response> and </Response> add any of the following in any order you'd like:
<Say>Say any words in a robot voice here.</Say><Play loop="10">https://api.twilio.com/cowbell.mp3</Play> <!--This plays the cowbell sound 10 times. To change the sound replace: https://api.twilio.com/cowbell.mp3. To change the amount of times replace: 10.--><Dial timeout="10">+6597933672</Dial> <!--Replace the phone number--><Hangup/>There are so many other things you can do, check them out here: https://www.twilio.com/docs/voice/twiml.
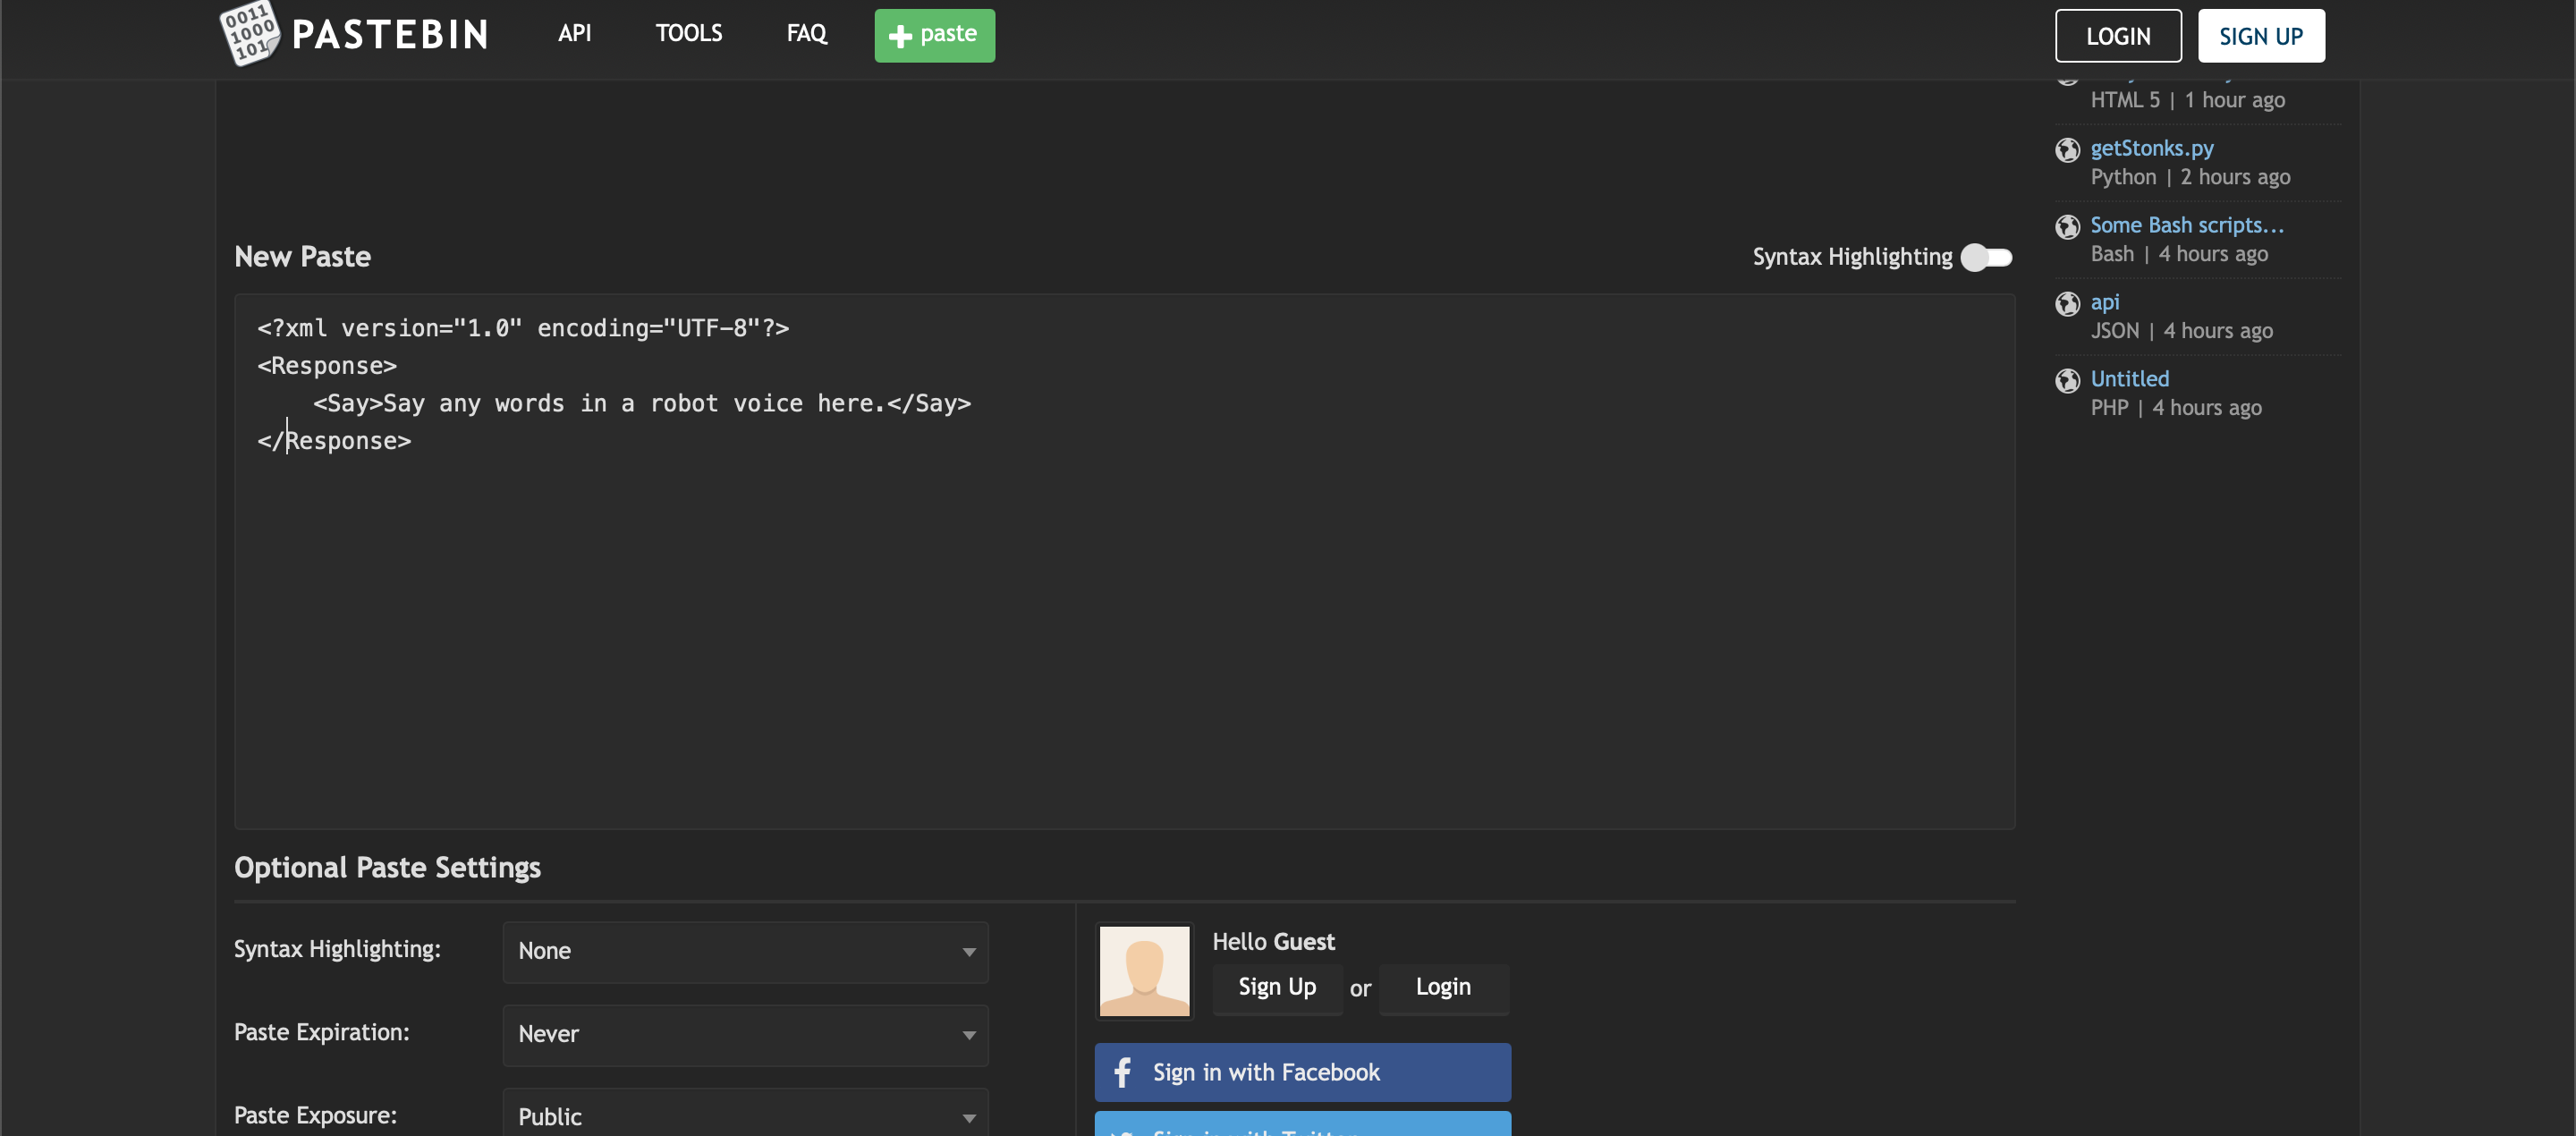
Once you're ready, you will need to host your XML document. You can do so on PasteBin.
Head to http://pastebin.com. Then add your content:
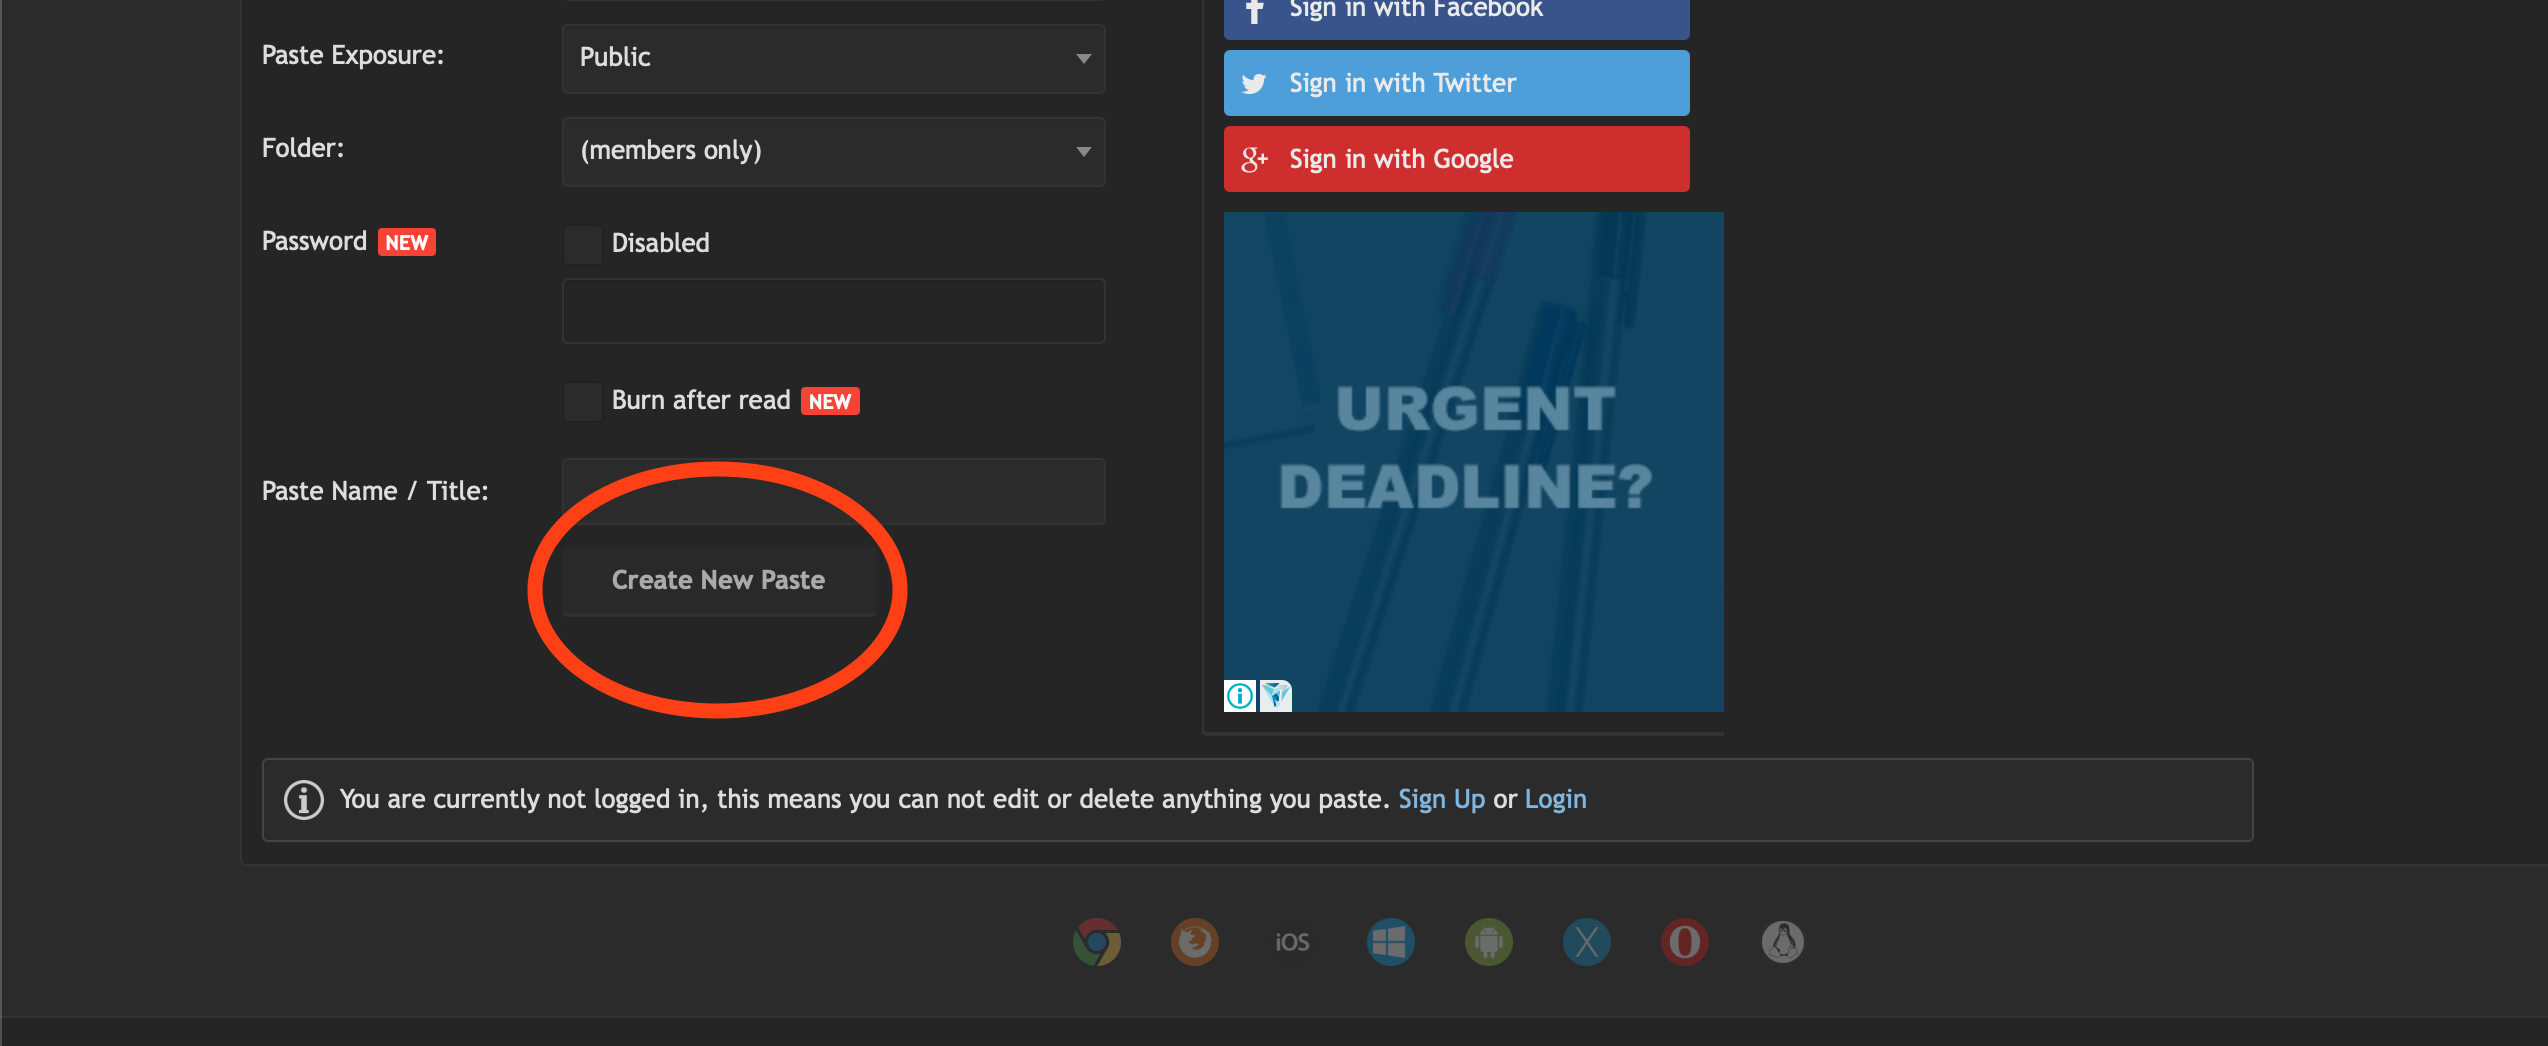
Then click Create New Paste:
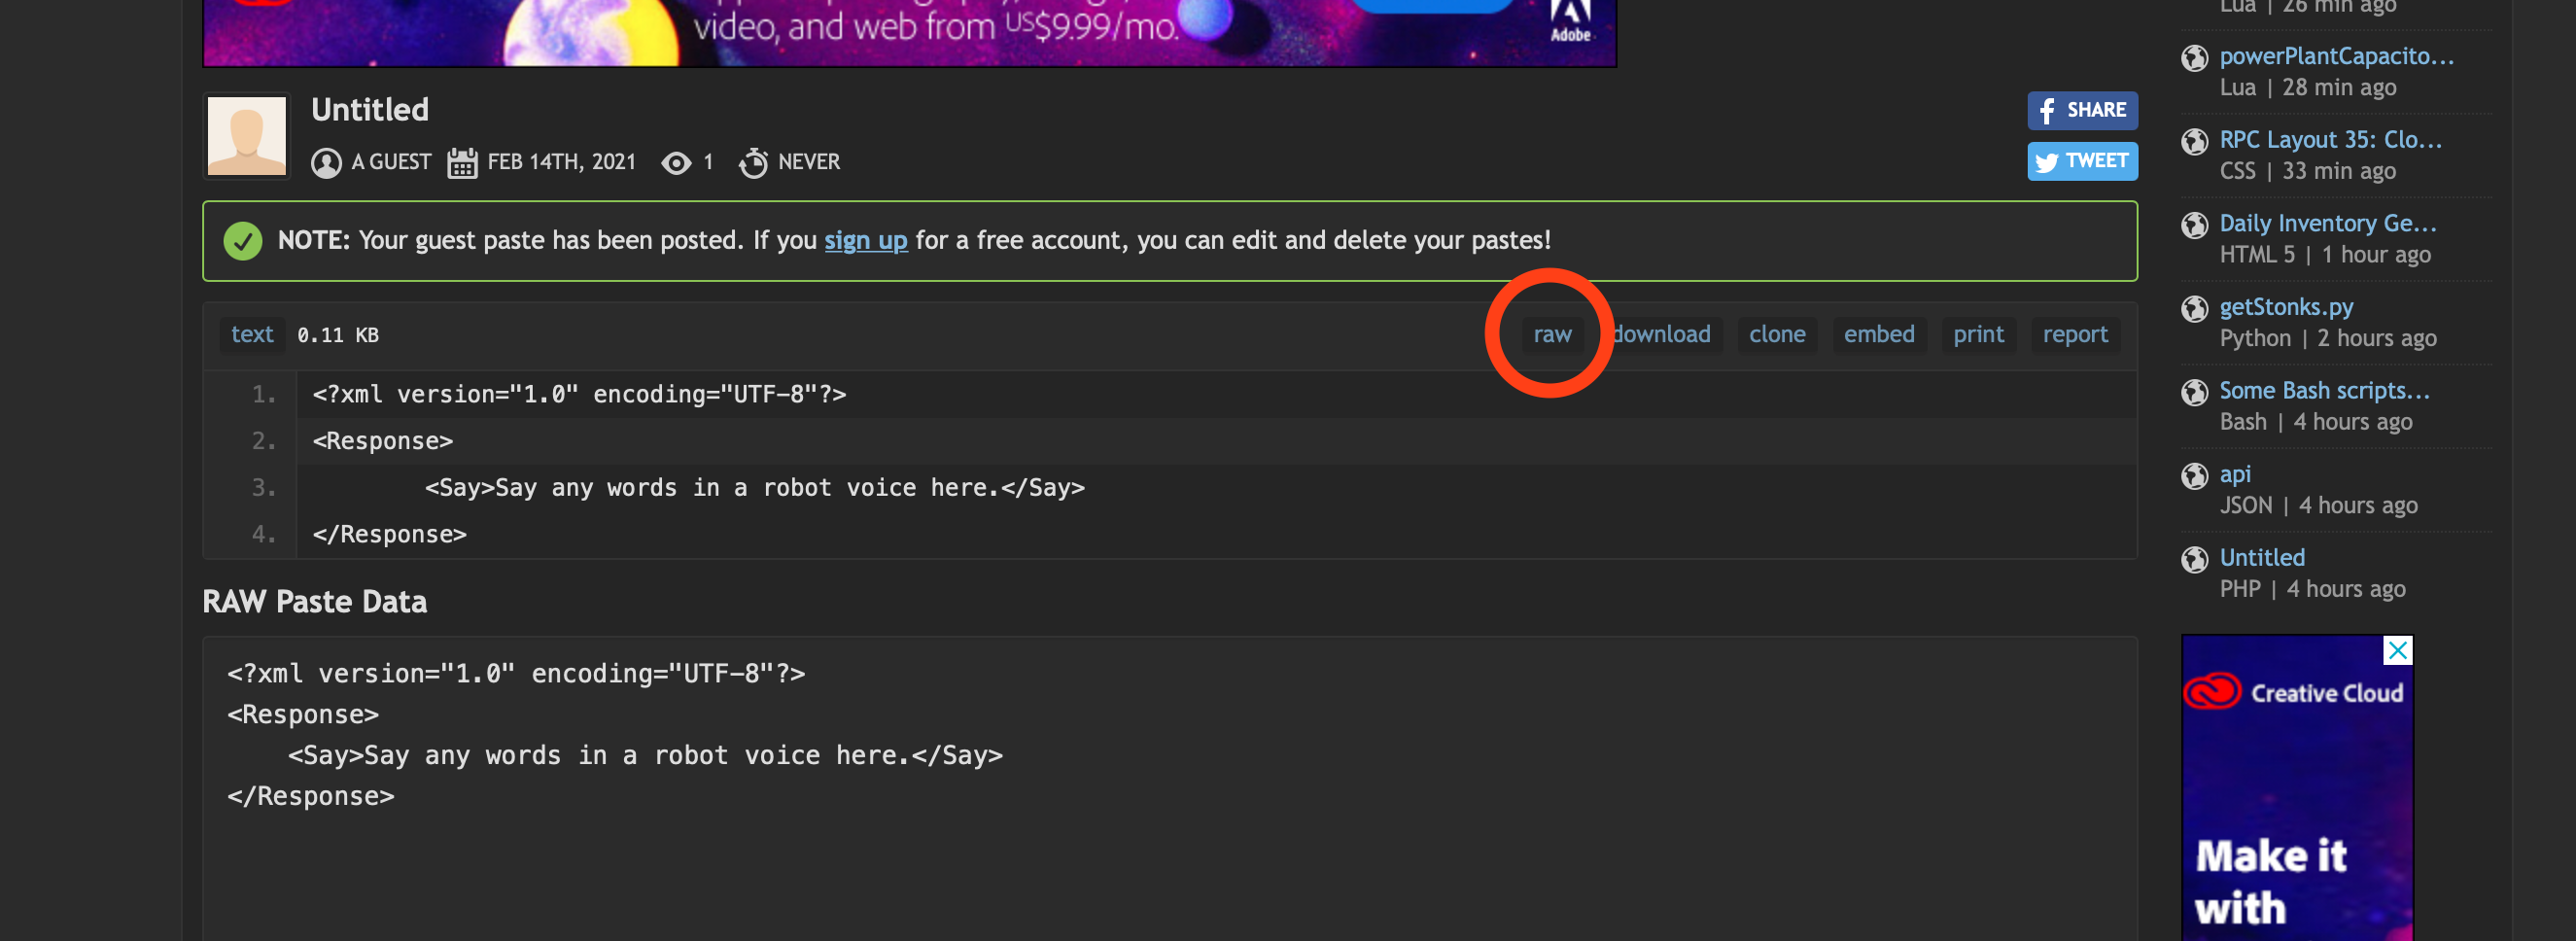
Then click Raw:
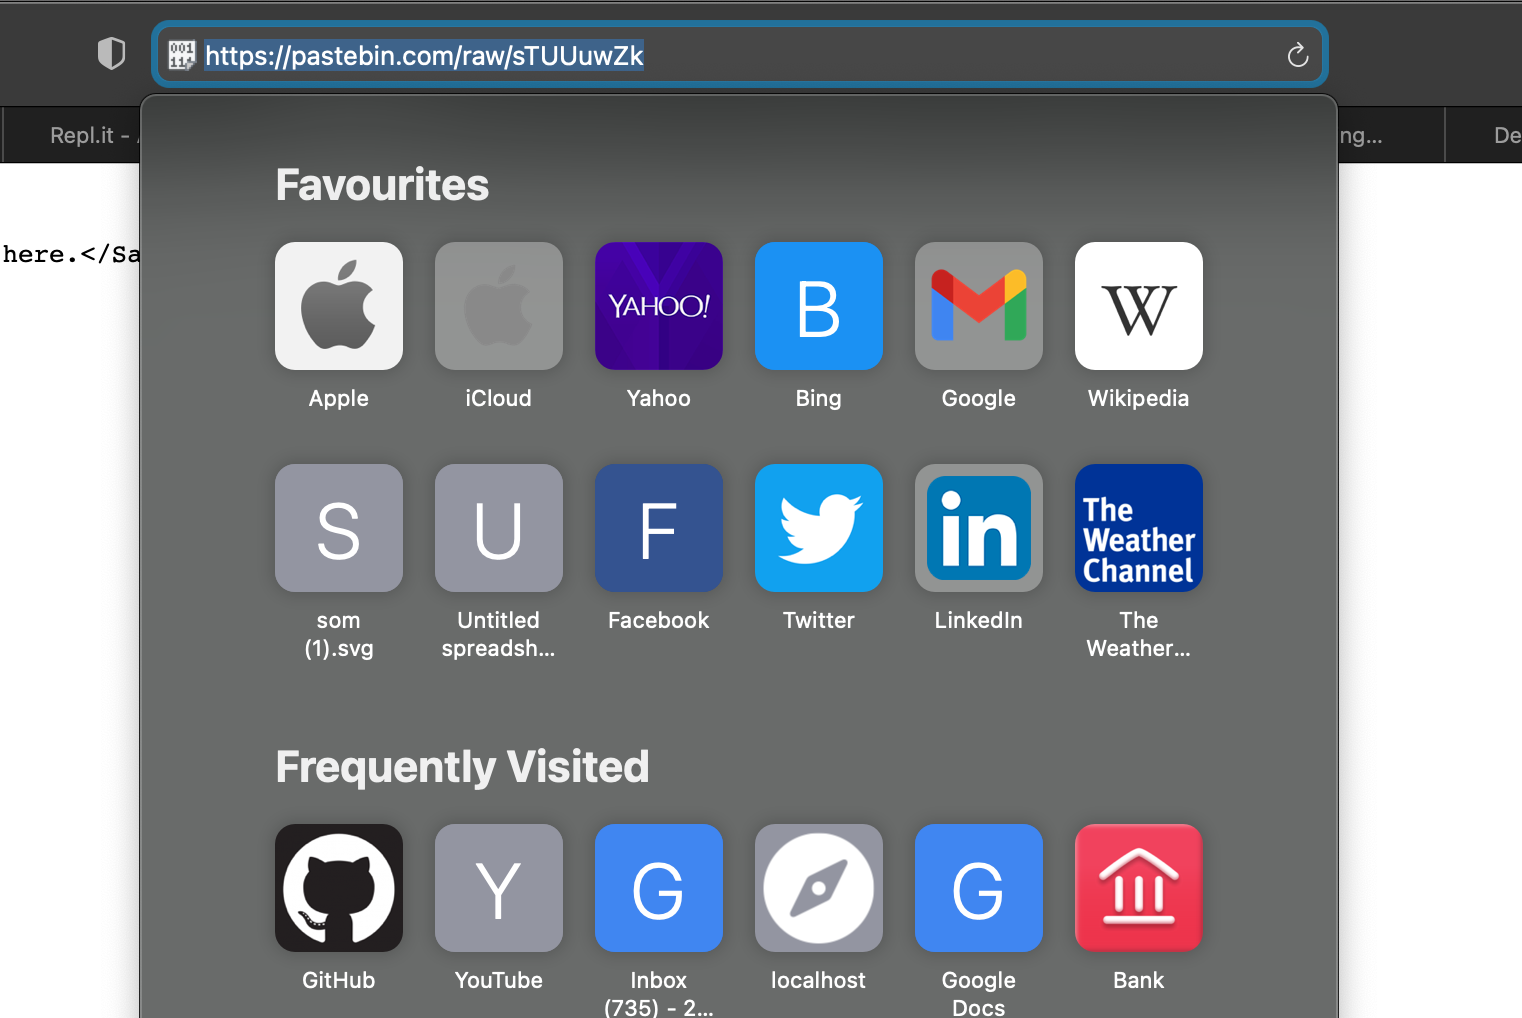
Lastly, copy the URL in the address bar:
Credit to @MatthewStanciu for the original workshop that this was built on.


