이제 처음으로 프로젝트에 변화를 주어 보자. 레일스 프로젝트 생성 직후에 보이는 브라우저 화면에 해당하는 html 파일(smoke 페이지)은 실제로 public 디렉토리에 존재하지 않는다. 루트 라우트로 지정하지 않는 한, 이 디폴트 파일은 레일스가 백그라운드에서 동적으로 생성하는 index.html 파일인 것이다.
이제 루트 라우트를 하나 생성해 보자. 먼저, 현재 프로젝트의 라우트 정보를 알기 위해서 터미널 콘솔에서 아래와 같이 rake 명령을 실행한다.
$ bin/rake routes
You don't have any routes defined!

Please add some routes in config/routes.rb.

For more information about routes, see the Rails guide: http://guides.rubyonrails.org/routing.html.
아마도 아무런 라우팅 정보가 보이지 않을 것이다. 이러한 라우팅 정보는 실제로 config/routes.rb 파일에 정의한다.
Rails.application.routes.draw do
  # The priority is based upon order of creation: first created -> highest priority.
  # See how all your routes lay out with "rake routes".

  # You can have the root of your site routed with "root"
  # root 'welcome#index'

... 중략 ~

  # Example resource route within a namespace:
  #   namespace :admin do
  #     # Directs /admin/products/* to Admin::ProductsController
  #     # (app/controllers/admin/products_controller.rb)
  #     resources :products
  #   end
end
아직 아무런 라우팅 선언을 볼 수 없다. 내용의 대부분은 라우팅을 선언하는 예를 코멘트 처리해 놓은 것이다.
하나의 index 액션을 가지는 welcome 컨트롤러를 커맨드라인에서 생성해 보자. 이를 위해서 아래와 같이 명령을 실행한다.
$ bin/rails generate controller welcome index
   create  app/controllers/welcome_controller.rb
       route  get 'welcome/index'
      invoke  erb
      create    app/views/welcome
      create    app/views/welcome/index.html.erb
      invoke  test_unit
      create    test/controllers/welcome_controller_test.rb
      invoke  helper
      create    app/helpers/welcome_helper.rb
      invoke    test_unit
      create      test/helpers/welcome_helper_test.rb
      invoke  assets
      invoke    coffee
      create      app/assets/javascripts/welcome.js.coffee
      invoke    scss
      create      app/assets/stylesheets/welcome.css.scss
이 명령 한줄로 여러 개의 파일들이 생성되었다. 모두 의미 있는 파일들이다. 먼저 route로 시작하는 세번째 줄을 보자. 이것은 config/routes.rb 파일에 get 'welcome/index'을 추가한다. 에디터로 이 파일을 열어 보면 아래와 같이 보일 것이다.
Rails.application.routes.draw do
  get 'welcome/index'

  # The priority is based upon order of creation: first created -> highest priority.
  # See how all your routes lay out with "rake routes".

  # You can have the root of your site routed with "root"
  # root 'welcome#index'

... 중략 ~

end
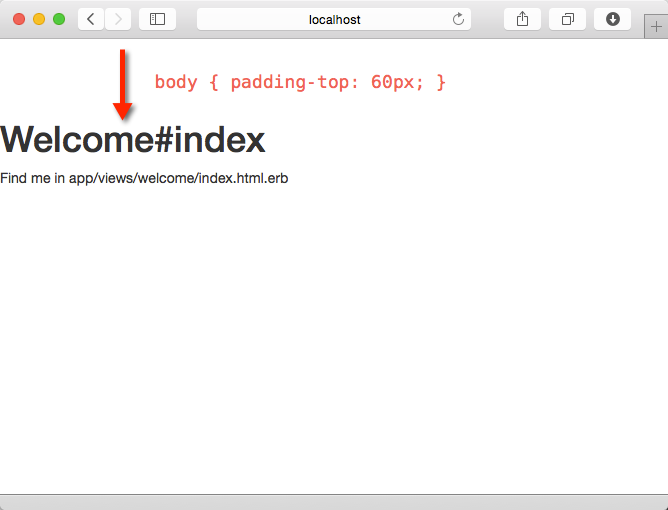
두번째 줄에서 추가된 라우트 선언을 확인할 수 있다. 이제 브라우저에서 http://localhost:3000/welcome/index 로 접근하면 아래 같이 보일 것이다.
짐작하겠지만, URL의 각 세그먼트, 즉, welcome, index 가 의미있게 사용된다는 것에 주목하자. 여기서 welcome 세그먼트는 컨트롤러 이름을, index는 액션 이름을 나타내어 http://localhost:3000/welcome/index 요청이 로컬호스트 웹서버(3000포트)로 전달되면 레일스 엔진의 라우터가 어떤 컨트롤러의 어떤 액션을 호출할지를 결정하게 되는 것이다. 여기서는 welcome 컨트롤러의 index 액션을 호출하게 된다. 그렇다면 실제 welcome 컨트롤러의 소스코드를 보자. 보는 바와 같이 애플리케이션 내의 모든 컨트롤러는 일차적으로 ApplicationController 클래스로부터 상속받는다.
class WelcomeController < ApplicationController
  def index
  end
end
WelcomeController 클래스의 index 액션에는 아무런 내용이 없다. 그럼에도 불구하고 위에서 본 브라우저 화면과 같은 결과물이 표시되는 것은 레일스의 C.O.C(convention over configuration, 설정보다는 규칙을 따라라!), 즉, 레일스 프레임워크의 규칙를 따르기 때문이다. 다시말해서, 모든 액션(public 메소드)이 실행된 후에는 app/views/ 디렉토리 아래에 있는 해당 컨트롤러의 이름과 동일한 디렉토리(여기서는 welcome)에서 동일한 액션명의 erb(여기서는 index.html.erb) 파일을 뷰 템플릿(app/views/welcome/index.html.erb)으로 사용하여 응답으로 보낼 파일(.html)을 렌더링한다.
디폴트로 생성된 이 뷰 템플릿 파일(index.html.erb)의 내용은 아래와 같다.
<h1>Welcome#index</h1>
<p>Find me in app/views/welcome/index.html.erb</p>
이와 같이 뷰 템플릿 파일에 정적/동적 컨텐츠를 추가하면 바로 브라우저에서 응답결과로서 볼 수 있게 되는 것이다.
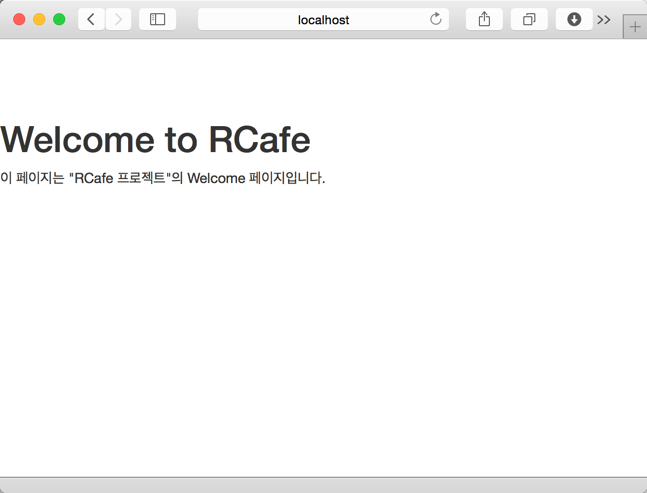
이 파일의 내용을 아래와 같이 수정후 브라우저에서 확인해 보자.
<h1>Welcome to RCafe</h1>
<p>이 페이지는 "RCafe 프로젝트"의 Welcome 페이지입니다.</p>
여기서 welcome 컨트롤러의 index 액션을 루트 라우트로 지정하면 홈페이지(http://localhost:3000) 접속시에 자동으로 welcome 컨트롤러의 index 액션이 호출된다. 이를 위해서 config/routes.rb를 약간 수정해 보자.
Rails.application.routes.draw do
  root 'welcome#index'
  # get 'welcome/index'

  # The priority is based upon order of creation: first created -> highest priority.
  # See how all your routes lay out with "rake routes".

  # You can have the root of your site routed with "root"


... 중략 ~

end
root 메소드를 이용하여 'welcome#index'와 같이 설정하면 된다. 여기서 주의할 것은 컨틀롤러와 액션명 사이에 '/'가 아니고 '#' 문자를 사용해야 한다는 것이다.
root정의는routes.rb파일에서 최상위에 위치해야 한다. 자세한 내용은 여기를 보기 바란다.
이제 브라우저를 다시 로드(http://localhost:3000)하면 welcome 컨트롤러의 index 액션이 호출되어 해당 뷰 템플릿 파일이 렌더링되어 보이게 된다.


