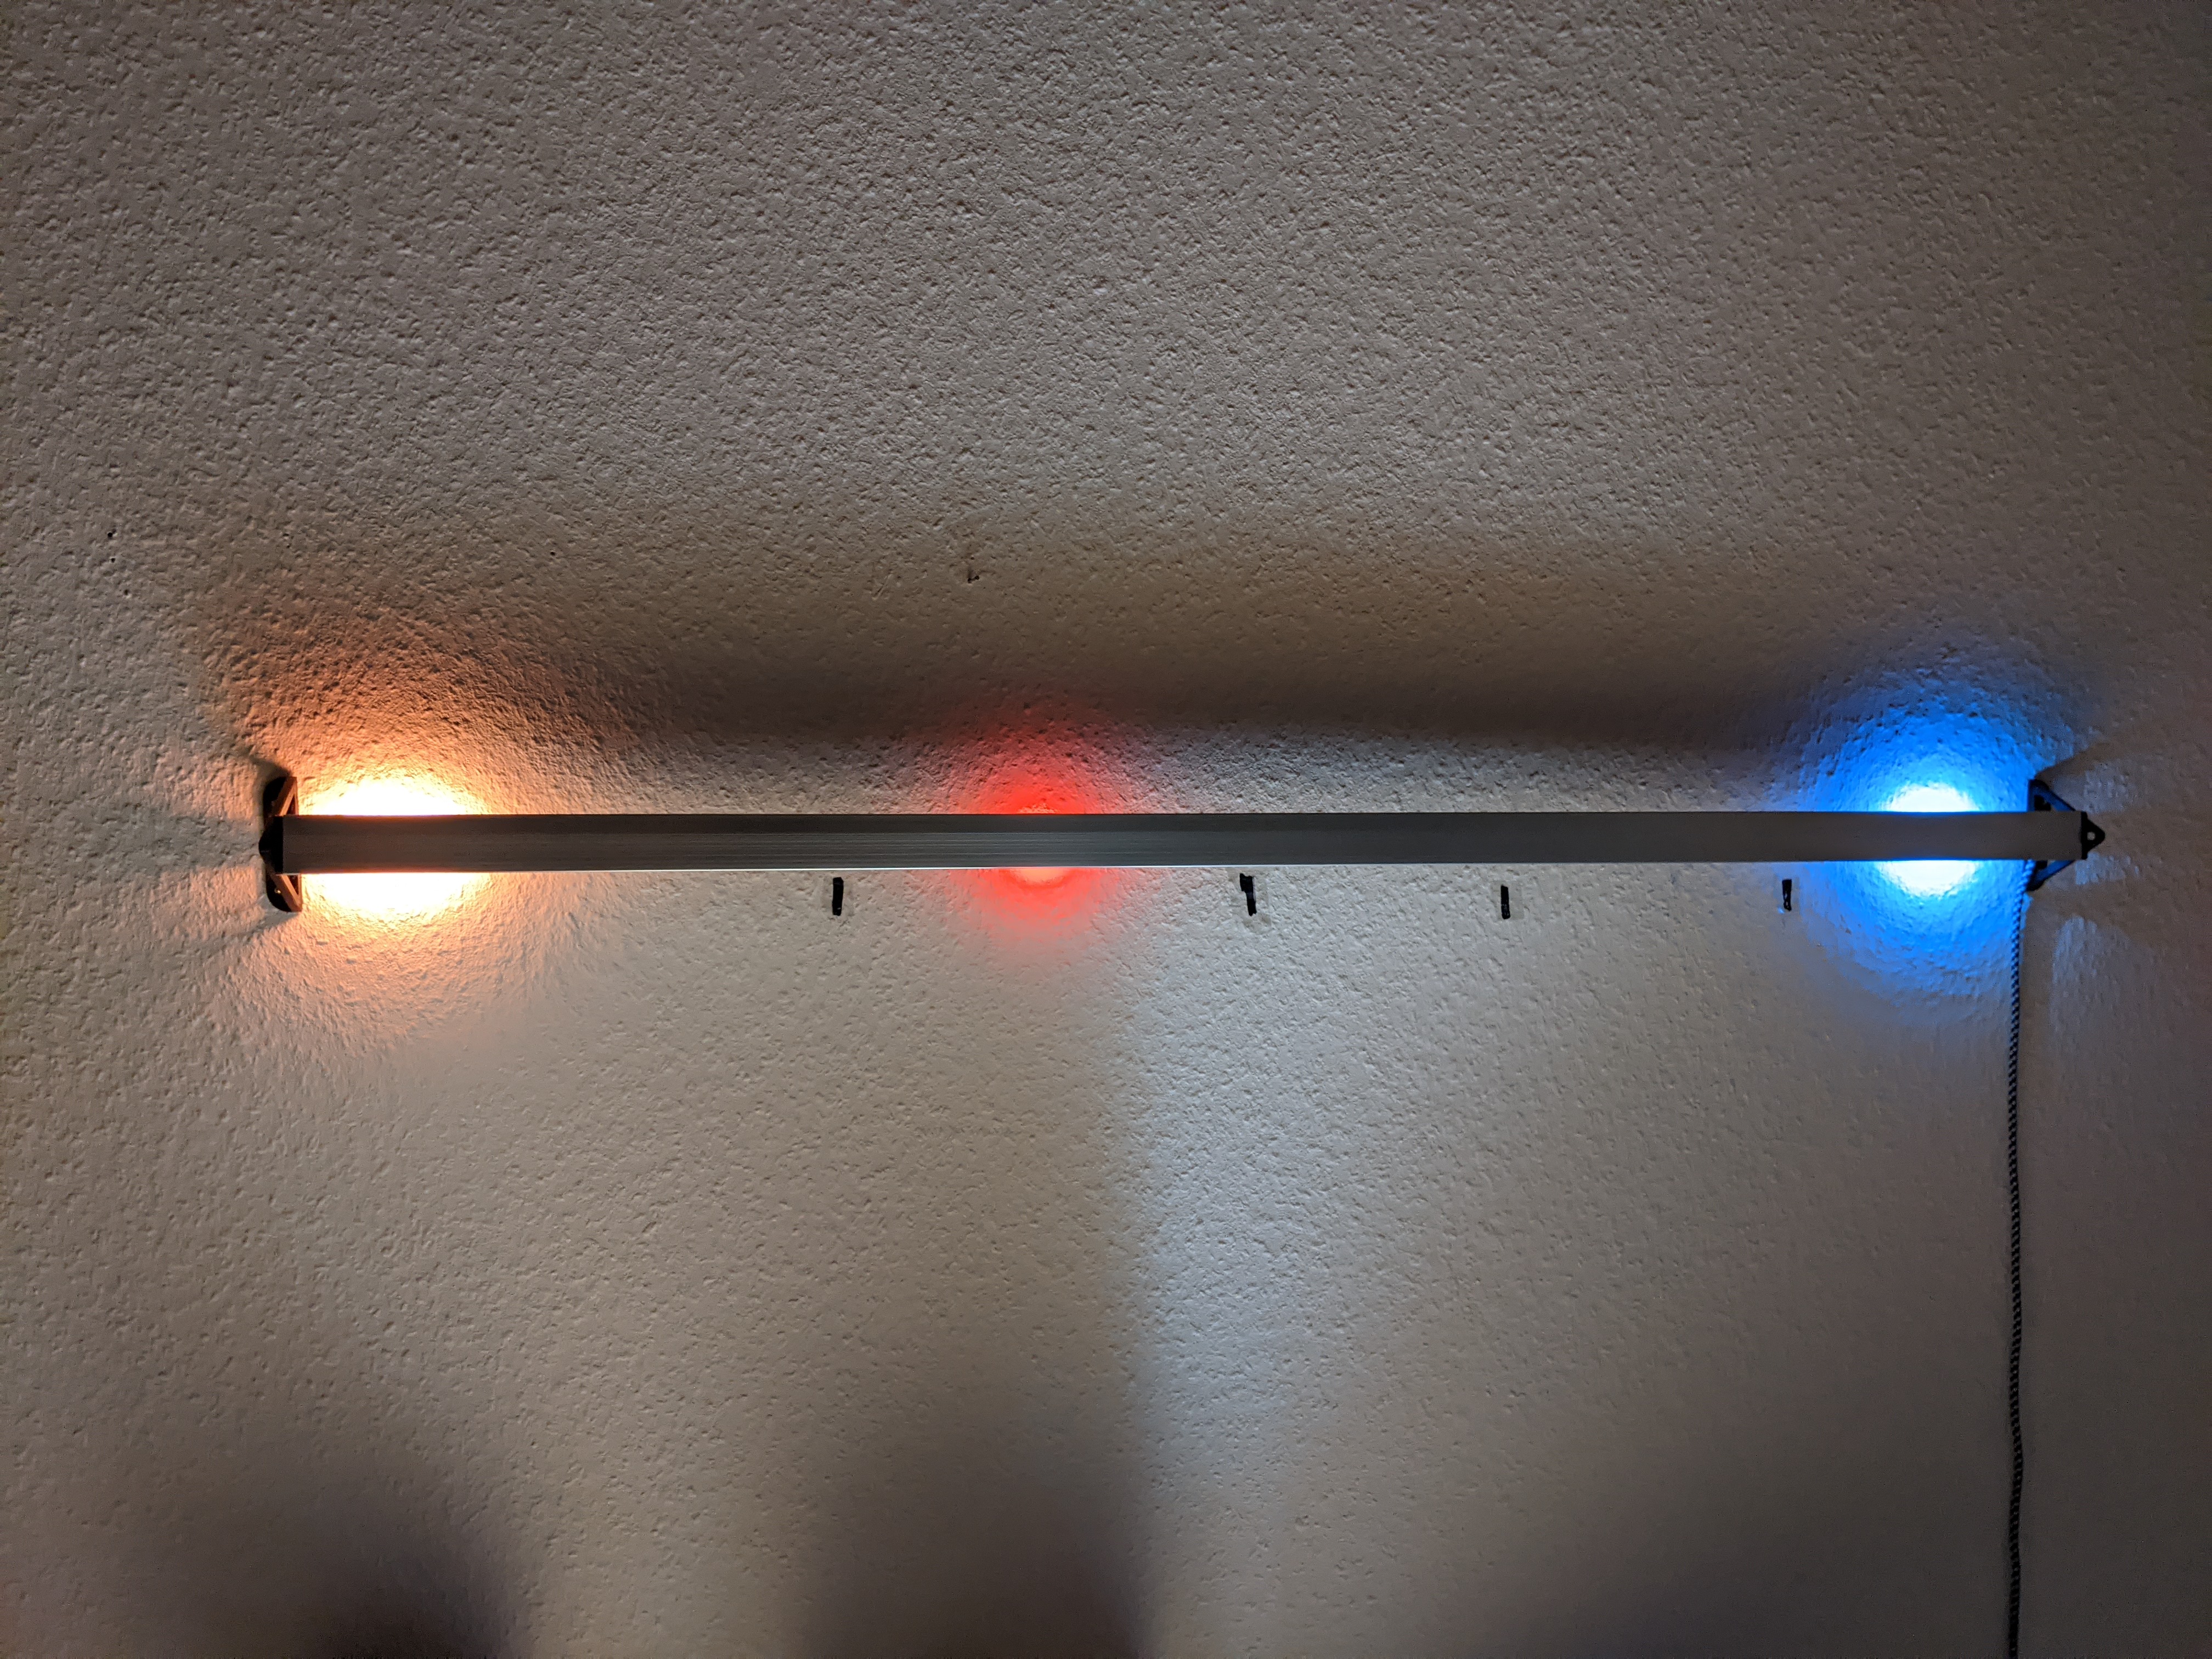
A customizable and IoT freindly clock with leds shining on your wall (or whatever you want them to shine on...). TIDILE has a userfriendly web interface to change paramteres and colors.
Very nice picture of the first prototype

The Clock can display the temperature, pressure and humidity with a simple tap. It has a build in sensor and you can also activate it remotely via HTTP.
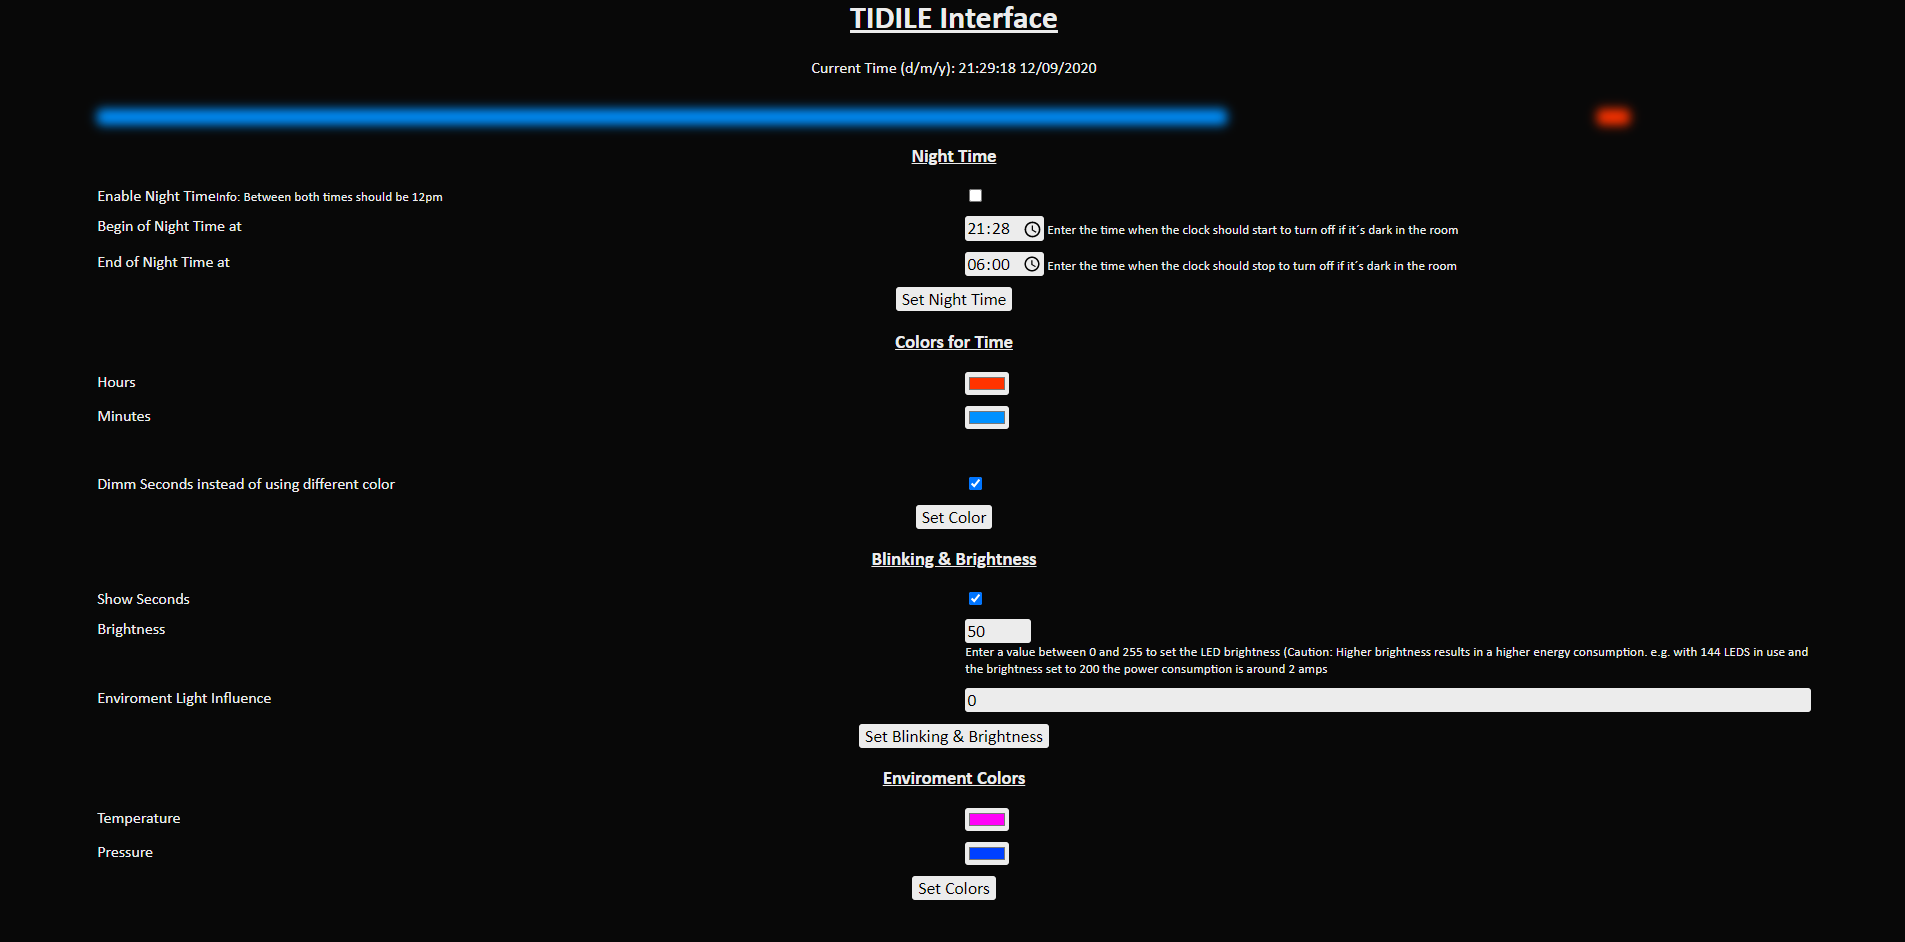
The TIDILE features a web interface to quickly configure color, brightness and other settings on your phone or computer. And it looks like you configure your clock to look like!
If you want your TIDILE to not shine in the night, no problem! Configure activation and deactivation time.
You can use the TIDILE for IoT applications and display custom information on it with a simple HTTP request.
You can build a TIDILE in a circular or linear shape (see pictures).
TIDILE uses WS2812b LEDS, also known as Neopixel. You can get a 1m strip with 144leds for around 15-20 Euros. Using 120 Leds (60 * 2), your clock will have a (perimeter) length of about 0.8m. You also need an ESP32 (around 5 Euros) and optionaly an BMP280 sensor (around 3 Euros). Some soldering (or jumper cables ;) ) is also required to connect the components together.
In case you buy a 144leds/m strip and use 120leds (recommended), your clock will have a theoretical (perimeter) length of 0,83m. In reallty though I would'nd trust these strips to be exactly 1m long. Dealing with this is easy when you build a linear TIDILE, but for the circular version you want your strip to end exactly at the other end.
To flash the firmware first clone the git repository. In the src/directory rename or copy the example_config.hpp file to config.hpp. Change all the values in the file according to your needs, most importantly the number of LEDs. Open the project with the PlatformIO IDE and you are ready to flash your ESP.
You also need to upload the SPIFFS image to the esp32. You can do this with Platformio.
With the brightness control in the web interface you set the maximal brightness. When the influence is 0 this will be the actual lightness of yout TIDILE. The brigther the enviroment gets, the brigther the lights get. The dependency is described by this linear function:
influence / 100 = a; 0 <= a <= 1; sensor value x; 0 <= x <= 1
f_a(x)=ax+1-a
If the AP does not work, try to erase the flash first.
If you habe questions or ideas to improve TIDILE or you want to share your own build, please open an issue or a discussion.
