A collection of examples and development projects for Kermite keyboard firmware with PlatformIO setup.
| name | about |
|---|---|
| example_rp2040_basic | simple keyboard with single-key and onboard LED |
| example_rp2040_key_matrix | typical keyboard with keymatrix and onboard LED |
| example_rp2040_minimum | minimum example, single-key keyboard |
| testbed_* | projects under development (detailed below) |
There are two kind of projects contained in this repository. Example project and testbed project.
The folders starts with example_ are ready to use example project. You can create your own firmware project based on these setup.
The folders starts with testbed_ are projects used to develop and debug KermiteCore. These are in experimental states and maybe unstable.
Check the document ./testbed_rp2040/README.md if you want to build them.
Here is a brief introduction how to use PlatformIO.
Even though it can be used in command line, it's easier to use VSCode GUI for beginners. If you want to know advanced usage, refer the official document.
- Install VSCode (If you don't have)
- Install PlatformIO extension for VSCode.
- Open a project folder (which contains platformio.ini)
- Execute Build and Upload buttons in the bottom bar.
VSCode is required. Launch it first.
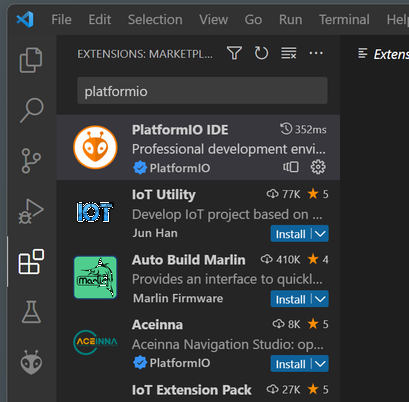
Open Extensions panel and search PlatformIO, then install it.
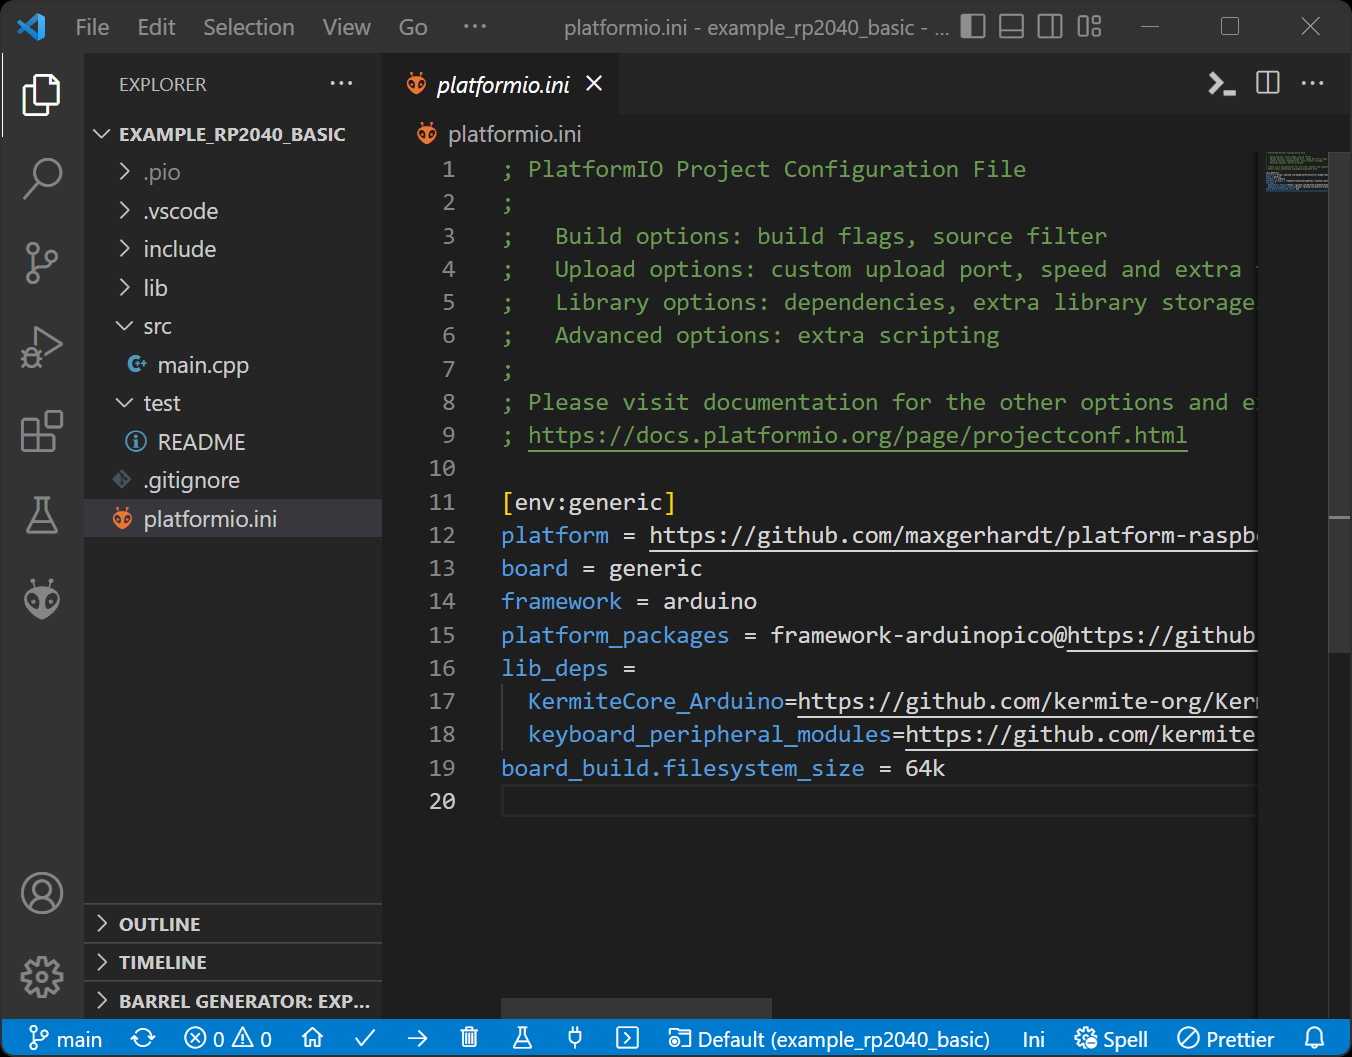
Open a project folder. If we open a folder which includes platformio.ini, IDE detects it and shows control UI in status bar.
platform.ini is a configuration file to specify the board kind and build settings. Dependent libraries are also maintained here.
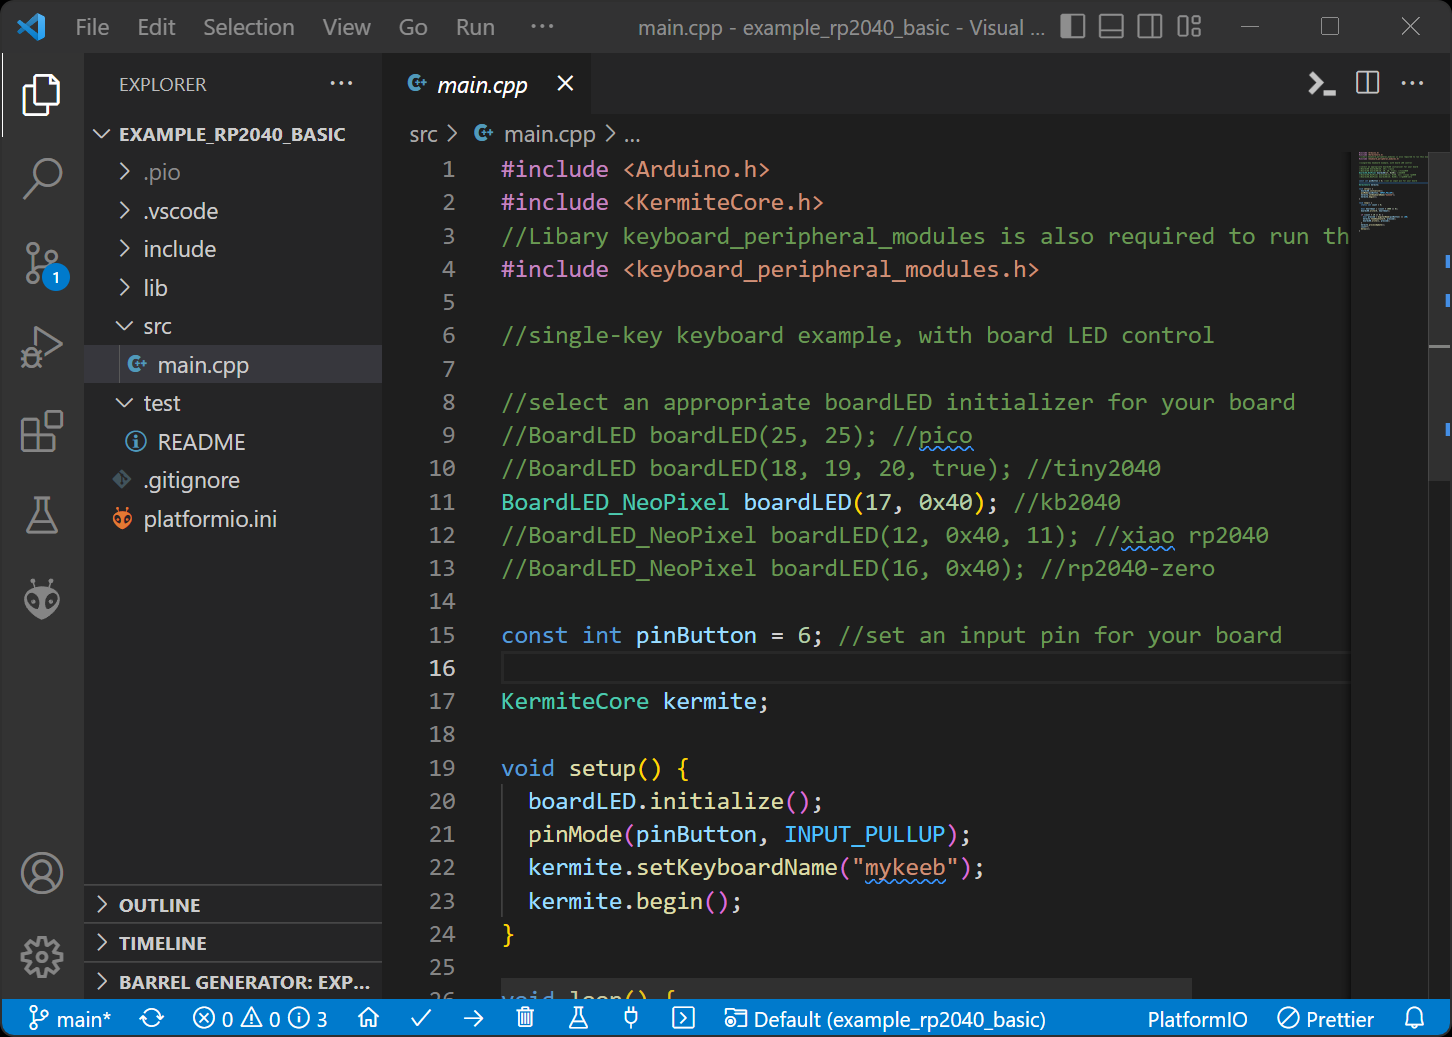
(In the example above, you can change a boardLED declaration and input pin number)
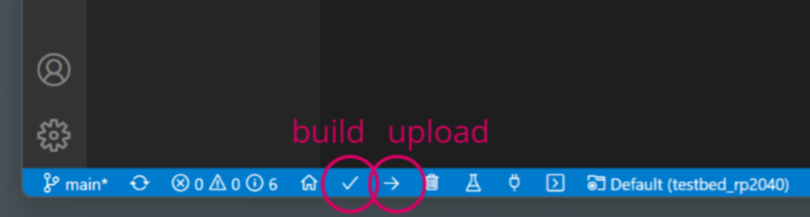
To compile and upload the program, it is convenient to use the task buttons in status bar.
Reset the board into bootloader mode before initial upload. The port used by a board is automatically detected on uploading.
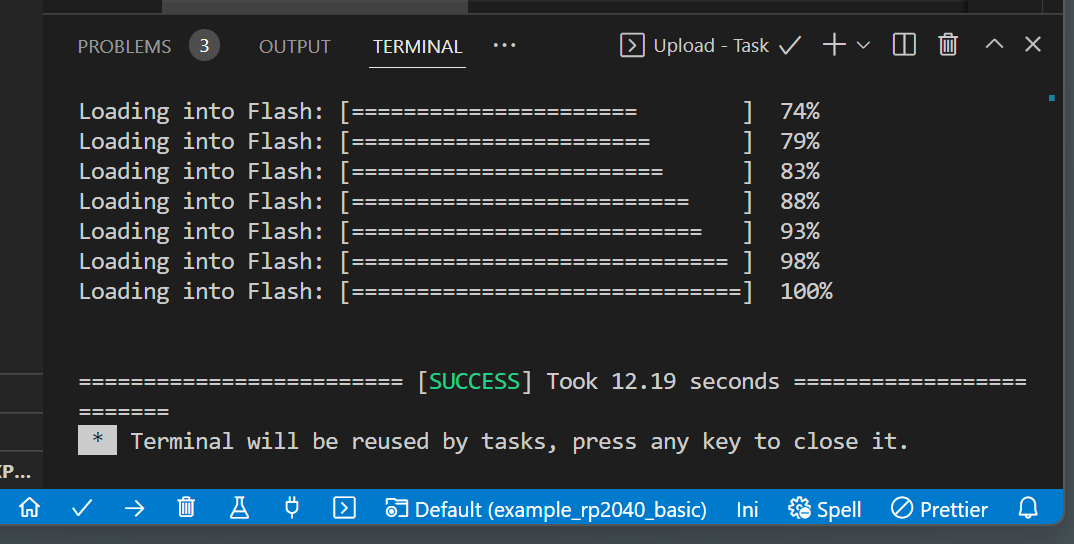
Upload task executed. Output terminal is opened and it shows the progress log. Now upload has completed.
Once a firmware uploaded, next time the board is automatically reset, so you don't have to manually reset the board anymore.