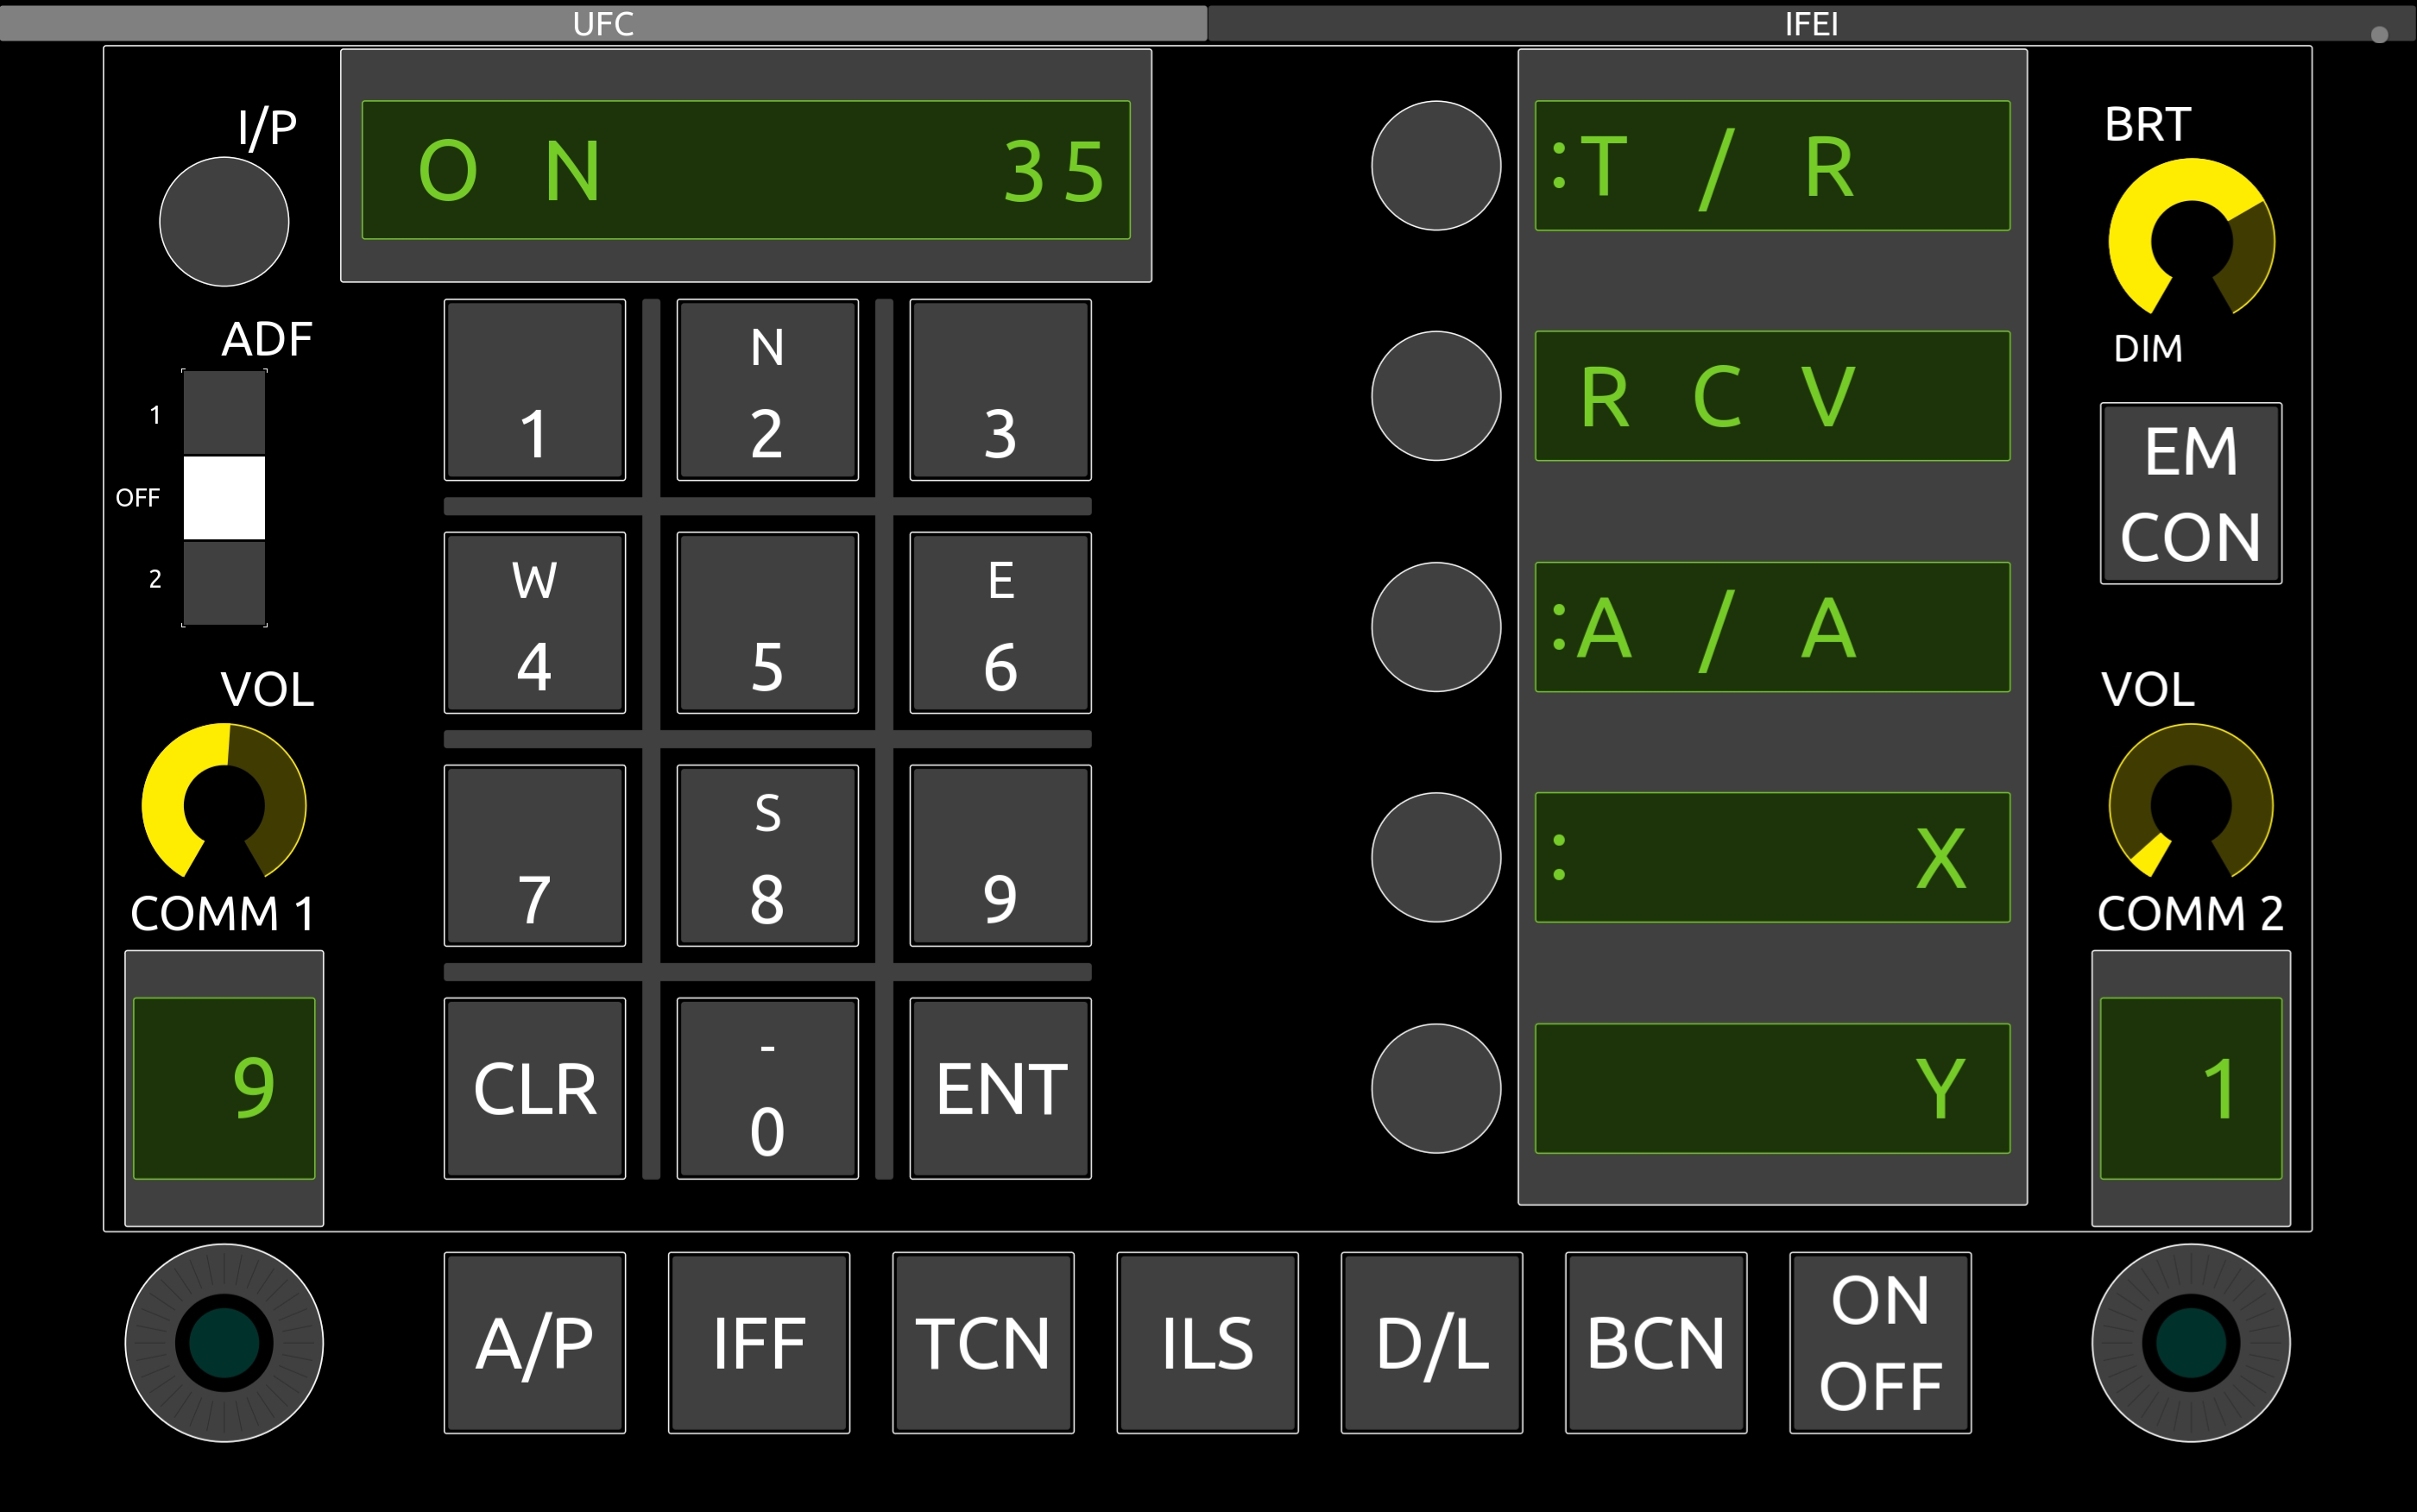
TouchDCS is an interface between OSC applications (in this case, TouchOSC) and DCS (using DCS-BIOS). It allows you to take custom-built OSC layouts, and use them to control your plane in DCS!
- Build custom control panels to use on your phone or tablet (all major operating systems supported!)
- Two-way communication with DCS-BIOS
- Multi-device support
- DCS-BIOS Flightpanels fork
- TouchOSC on your phone/tablet
- editor recommended as well for creating custom layouts
- at this time, TouchOSC is $10 on the Google Play store and I have no affiliation with the app or its creators
- .NET 6 Runtime (SDK/AspNetCore Runtimes not required)
You can get the latest version here. Unzip wherever you wish to run - no install required. I recommend unzipping into a folder just for TouchDCS, since it also requires a configuration file located in the same directory.
When launching for the first time:
- a modal may pop up saying Windows protected your PC. Click More info, then click Run anyway. Don't worry, TouchDCS is guaranteed to be 99.9% virus free!
- you may see another dialog requesting network permissions. Click Allow access (99.9%, remember?)
- after granting all these permissions, you'll likely have to relaunch in order to actually be able to use your device with TouchDCS. Sorry about that :/
- TouchDCS will create a default config file for you,
config.json, in the same folder as the TouchDCS exe. Open this up, we're going to edit it
TouchDCS sends and receives commands from your device with TouchOSC installed. Open up the config.json file that TouchDCS created, and edit the settings under osc -> endpoint to match the settings you see in TouchOSC -> Settings -> OSC. You'll also need to add the IP address of the machine running TouchDCS to TouchOSC.
Your default settings in TouchOSC will probably have the ports as 8000/9000 - that's fine. Just make sure they match in your config.json.
Unless you have an abnormal configuration, you shouldn't have to do anything here. If your network configuration is different (e.g., DCS-BIOS is running elsewhere on the network and exporting to a non-default IP/port combination), you'll need to edit the settings under dcsBios -> endpoint to match your network configuration.
The default configuration is set up for Open Beta. If you are on the release version of DCS and you are using the FlightPanels fork of DCS-BIOS, modify
dcsBios->configLocationsto%userprofile%/Saved Games/DCS/Scripts/DCS-BIOS/doc/json/. The default config has multiple paths depending on the version you're using - but if you have multiple versions of DCS-BIOS or DCS installed, you may need to pick just one in your config file.
You can find out more about creating layouts and adding existing layouts here. Make sure to change your configuration path under osc -> configLocations to wherever you end up putting your *.json osc configuration files.
Now when you run TouchDCS, you should be good to go. Load up a mission and test your layout - when you press the sync button in the layout, the sync light should light up. If it doesn't, check the console to see if your aircraft has been identified. If not, there might be an issue with your DCS-BIOS setup; verify that's working property first. You might also try restarting both TouchOSC and TouchDCS. The applications don't have to be launched in any specific order, but the first run can be a bit funky.
Using the TouchOSC Editor on your computer, you can create your own layouts.
Probably. This thing needs a lot of work. Open an issue in the Issues section and let's get it fixed.
- Check that you are using the DCS BIOS fork not the original.
- In the config file the send port should be the same as the TouchOSC receive port and the config file receive port should be the same as the TouchOSC send port.
- If you can send but not receive check that the ipadress for whatever is running TouchOSC is set in the config file.
- To get the layout from your computer to a tablet one way is to download TouchOSC to your computer and import the layout to TouchOSC running on your computer, map it as a server and then connect to it from your tablet. (A better explanation might be needed).


