-
This demo is part of Ambari webinar and shows how to ease the setup of secured 4-node (or single node) cluster using:
- Ambari blueprints
- Custom Ambari services for:
- OpenLDAP
- KDC
- NSLCD
- Ambari 2.0 security wizard (authentication)
- Ranger as Ambari service (authorization/audit)
-
The webinar recording is available at http://hortonworks.com/partners/learn/#ambari2
-
For more on security, full Security workshops on multiple HDP versions are available here
- Blueprints and Ambari services were covered in more details in previous webinars. You can find more details on these here:
- Setup Ambari server/agents and submit blueprint with custom services
- Setup Ambari/LDAP sync
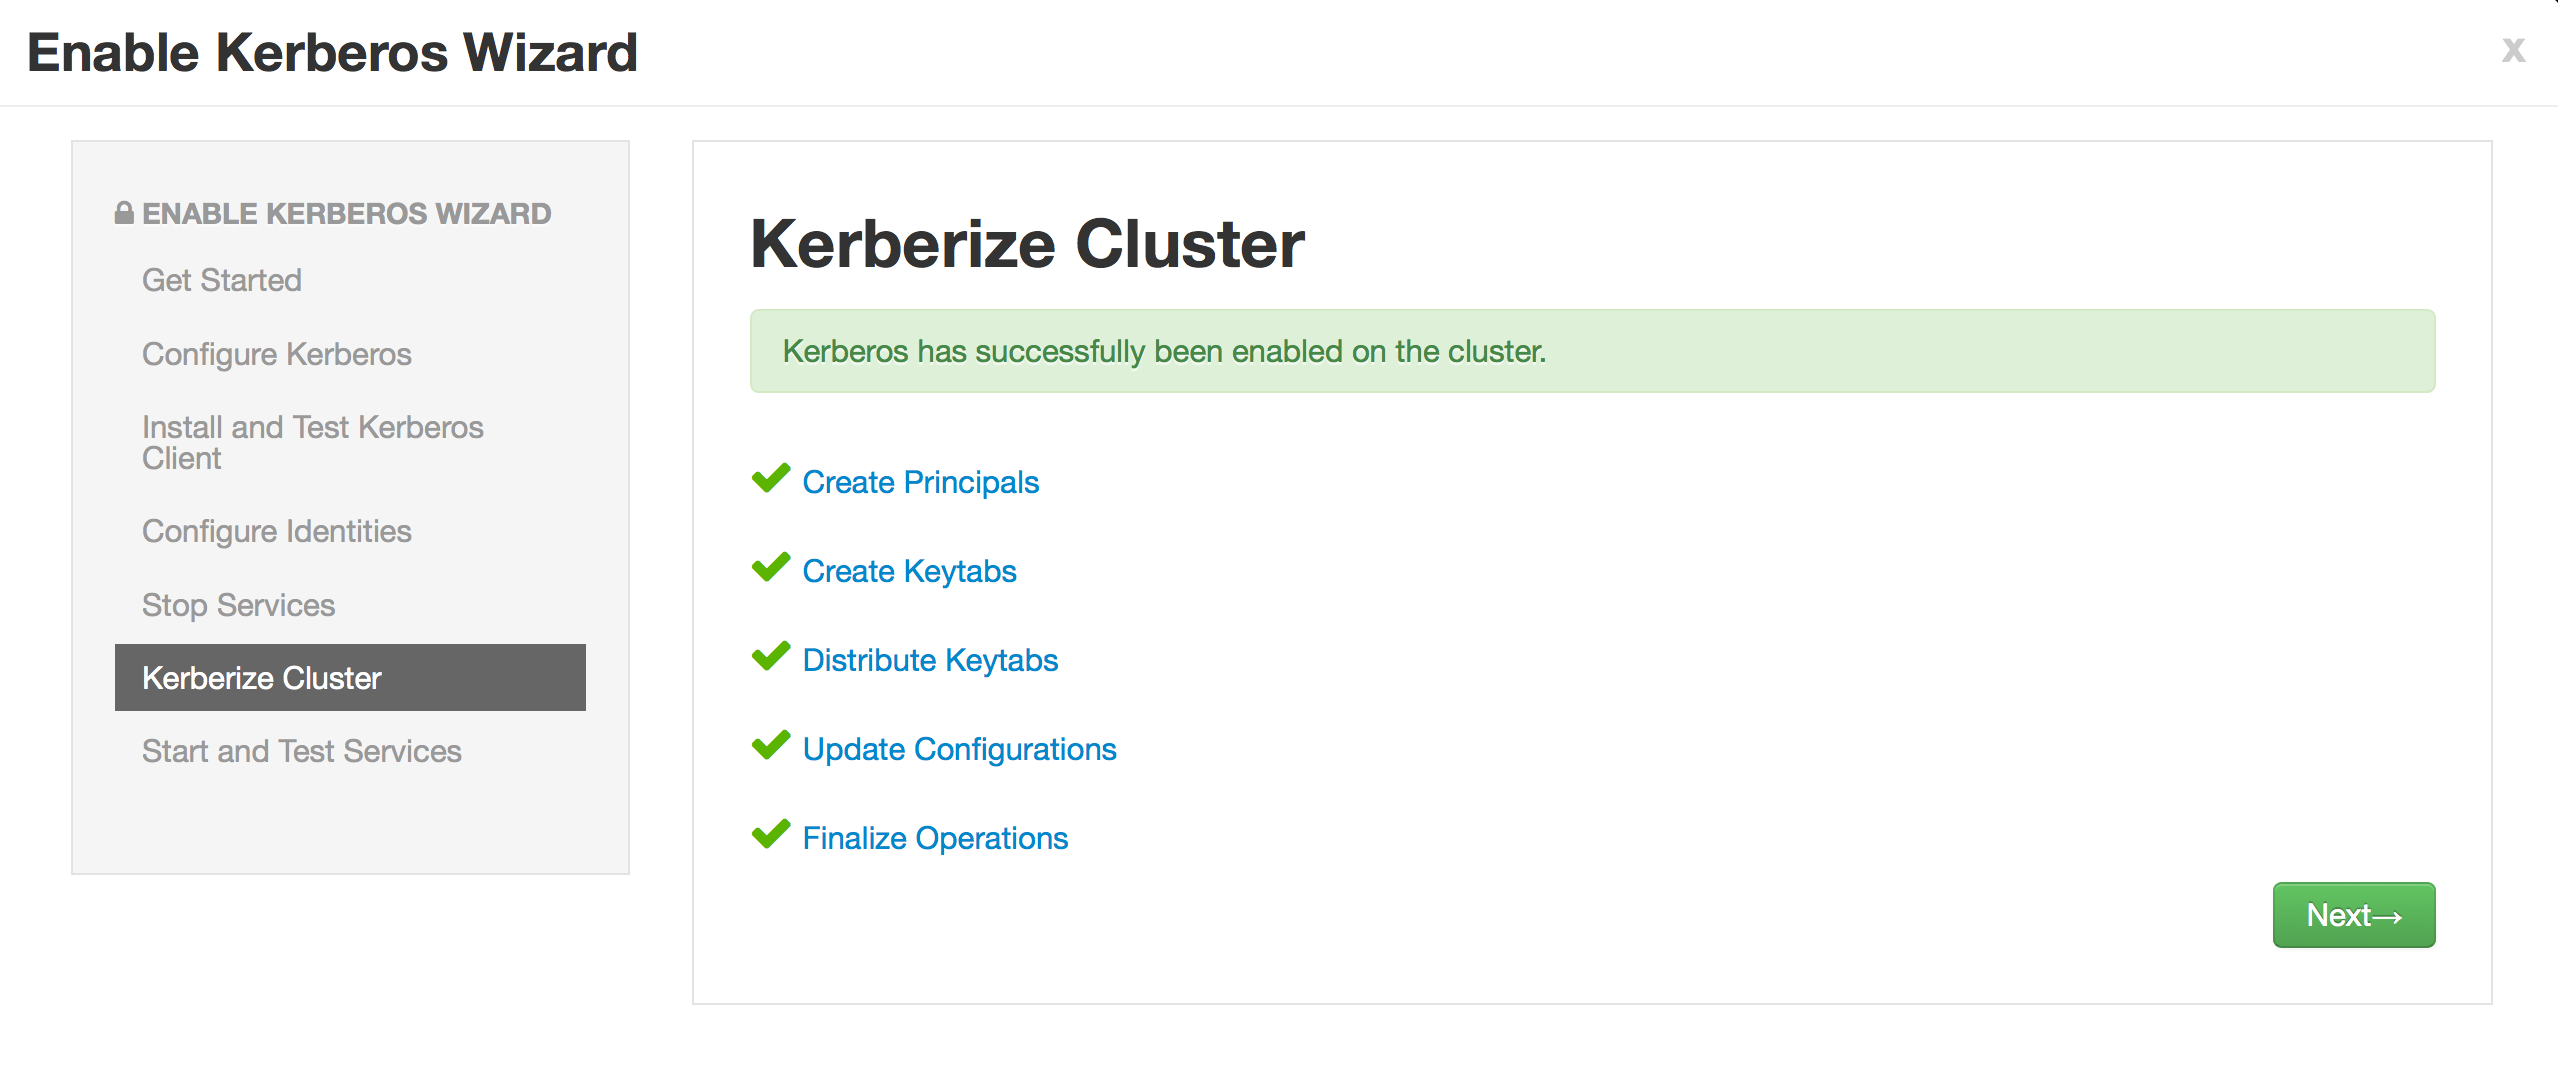
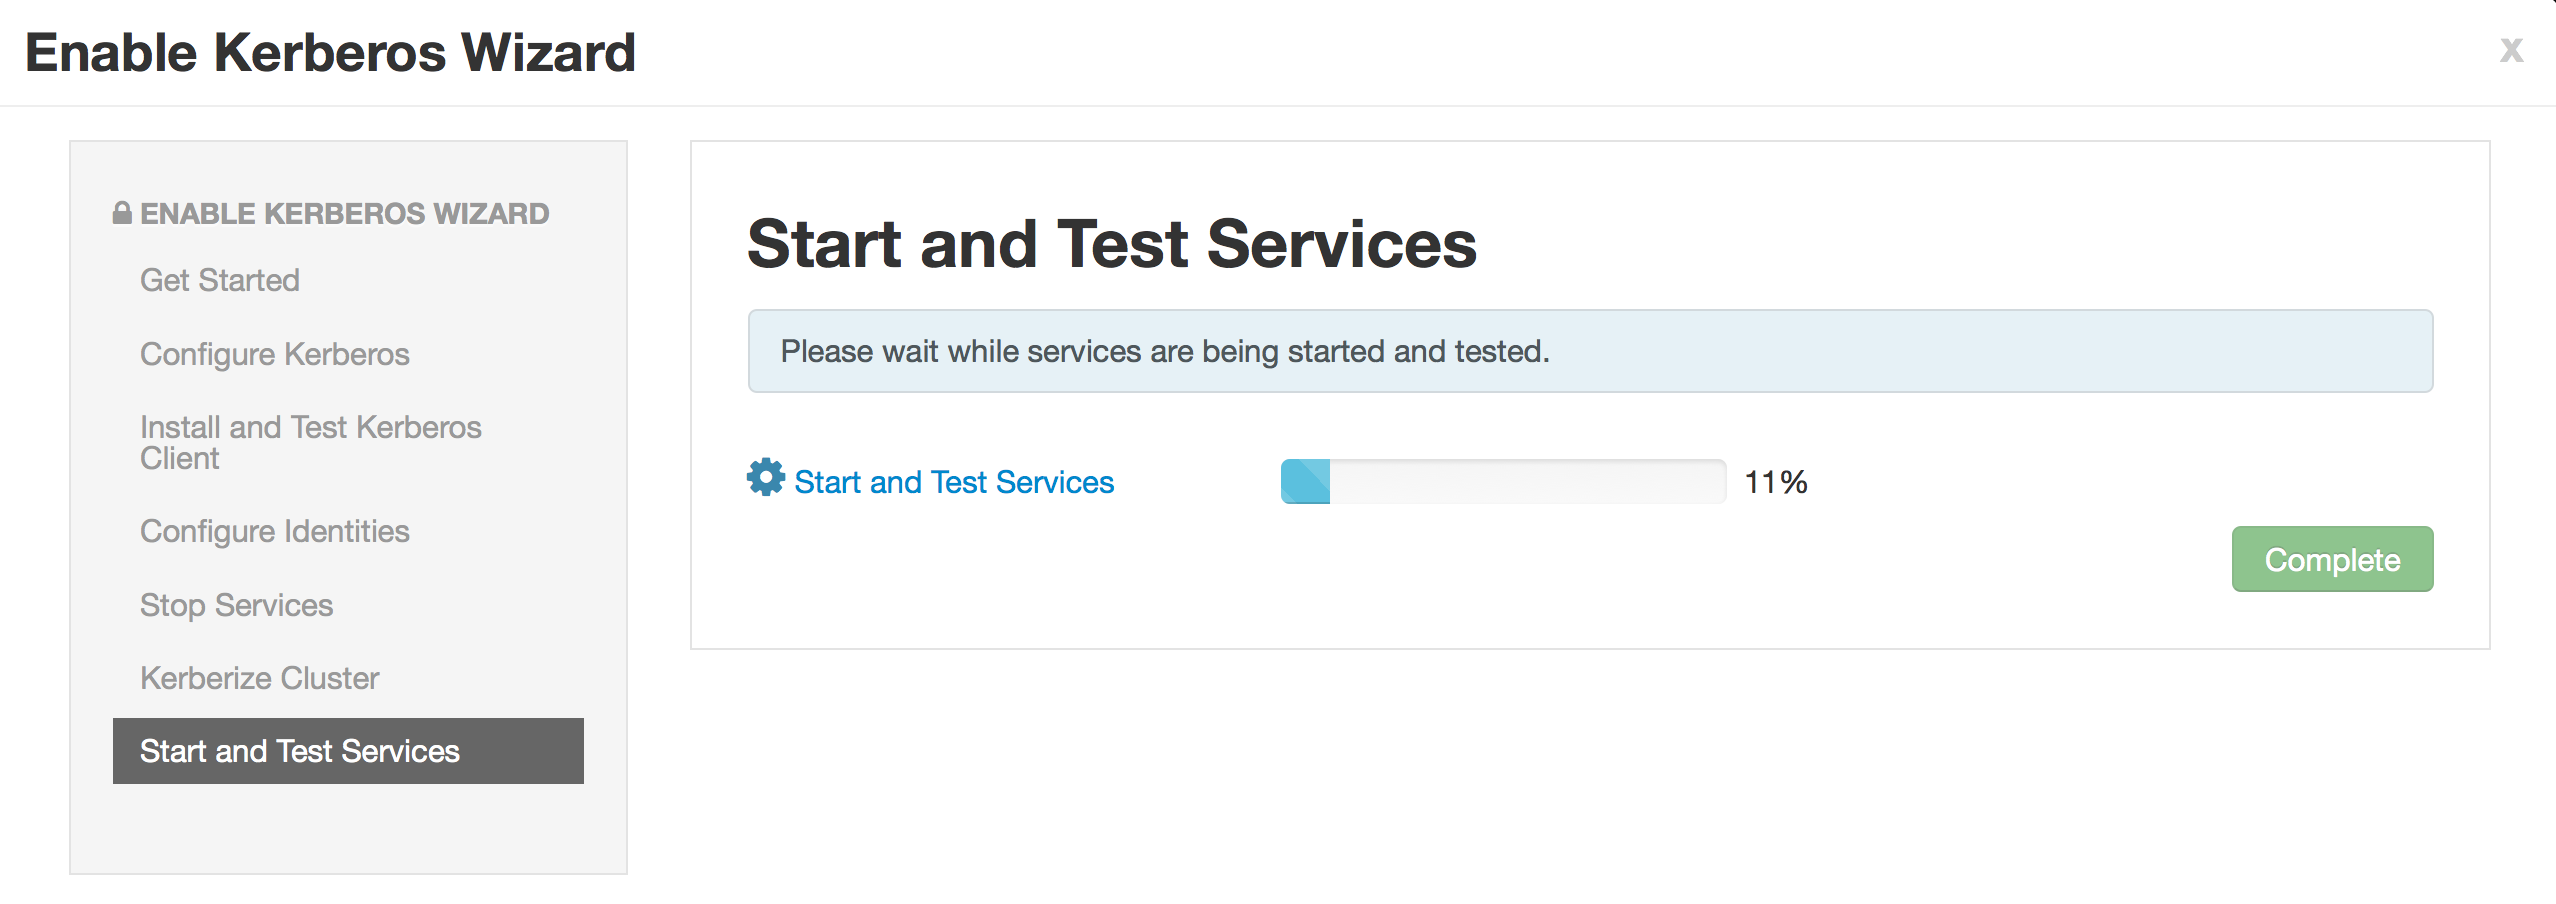
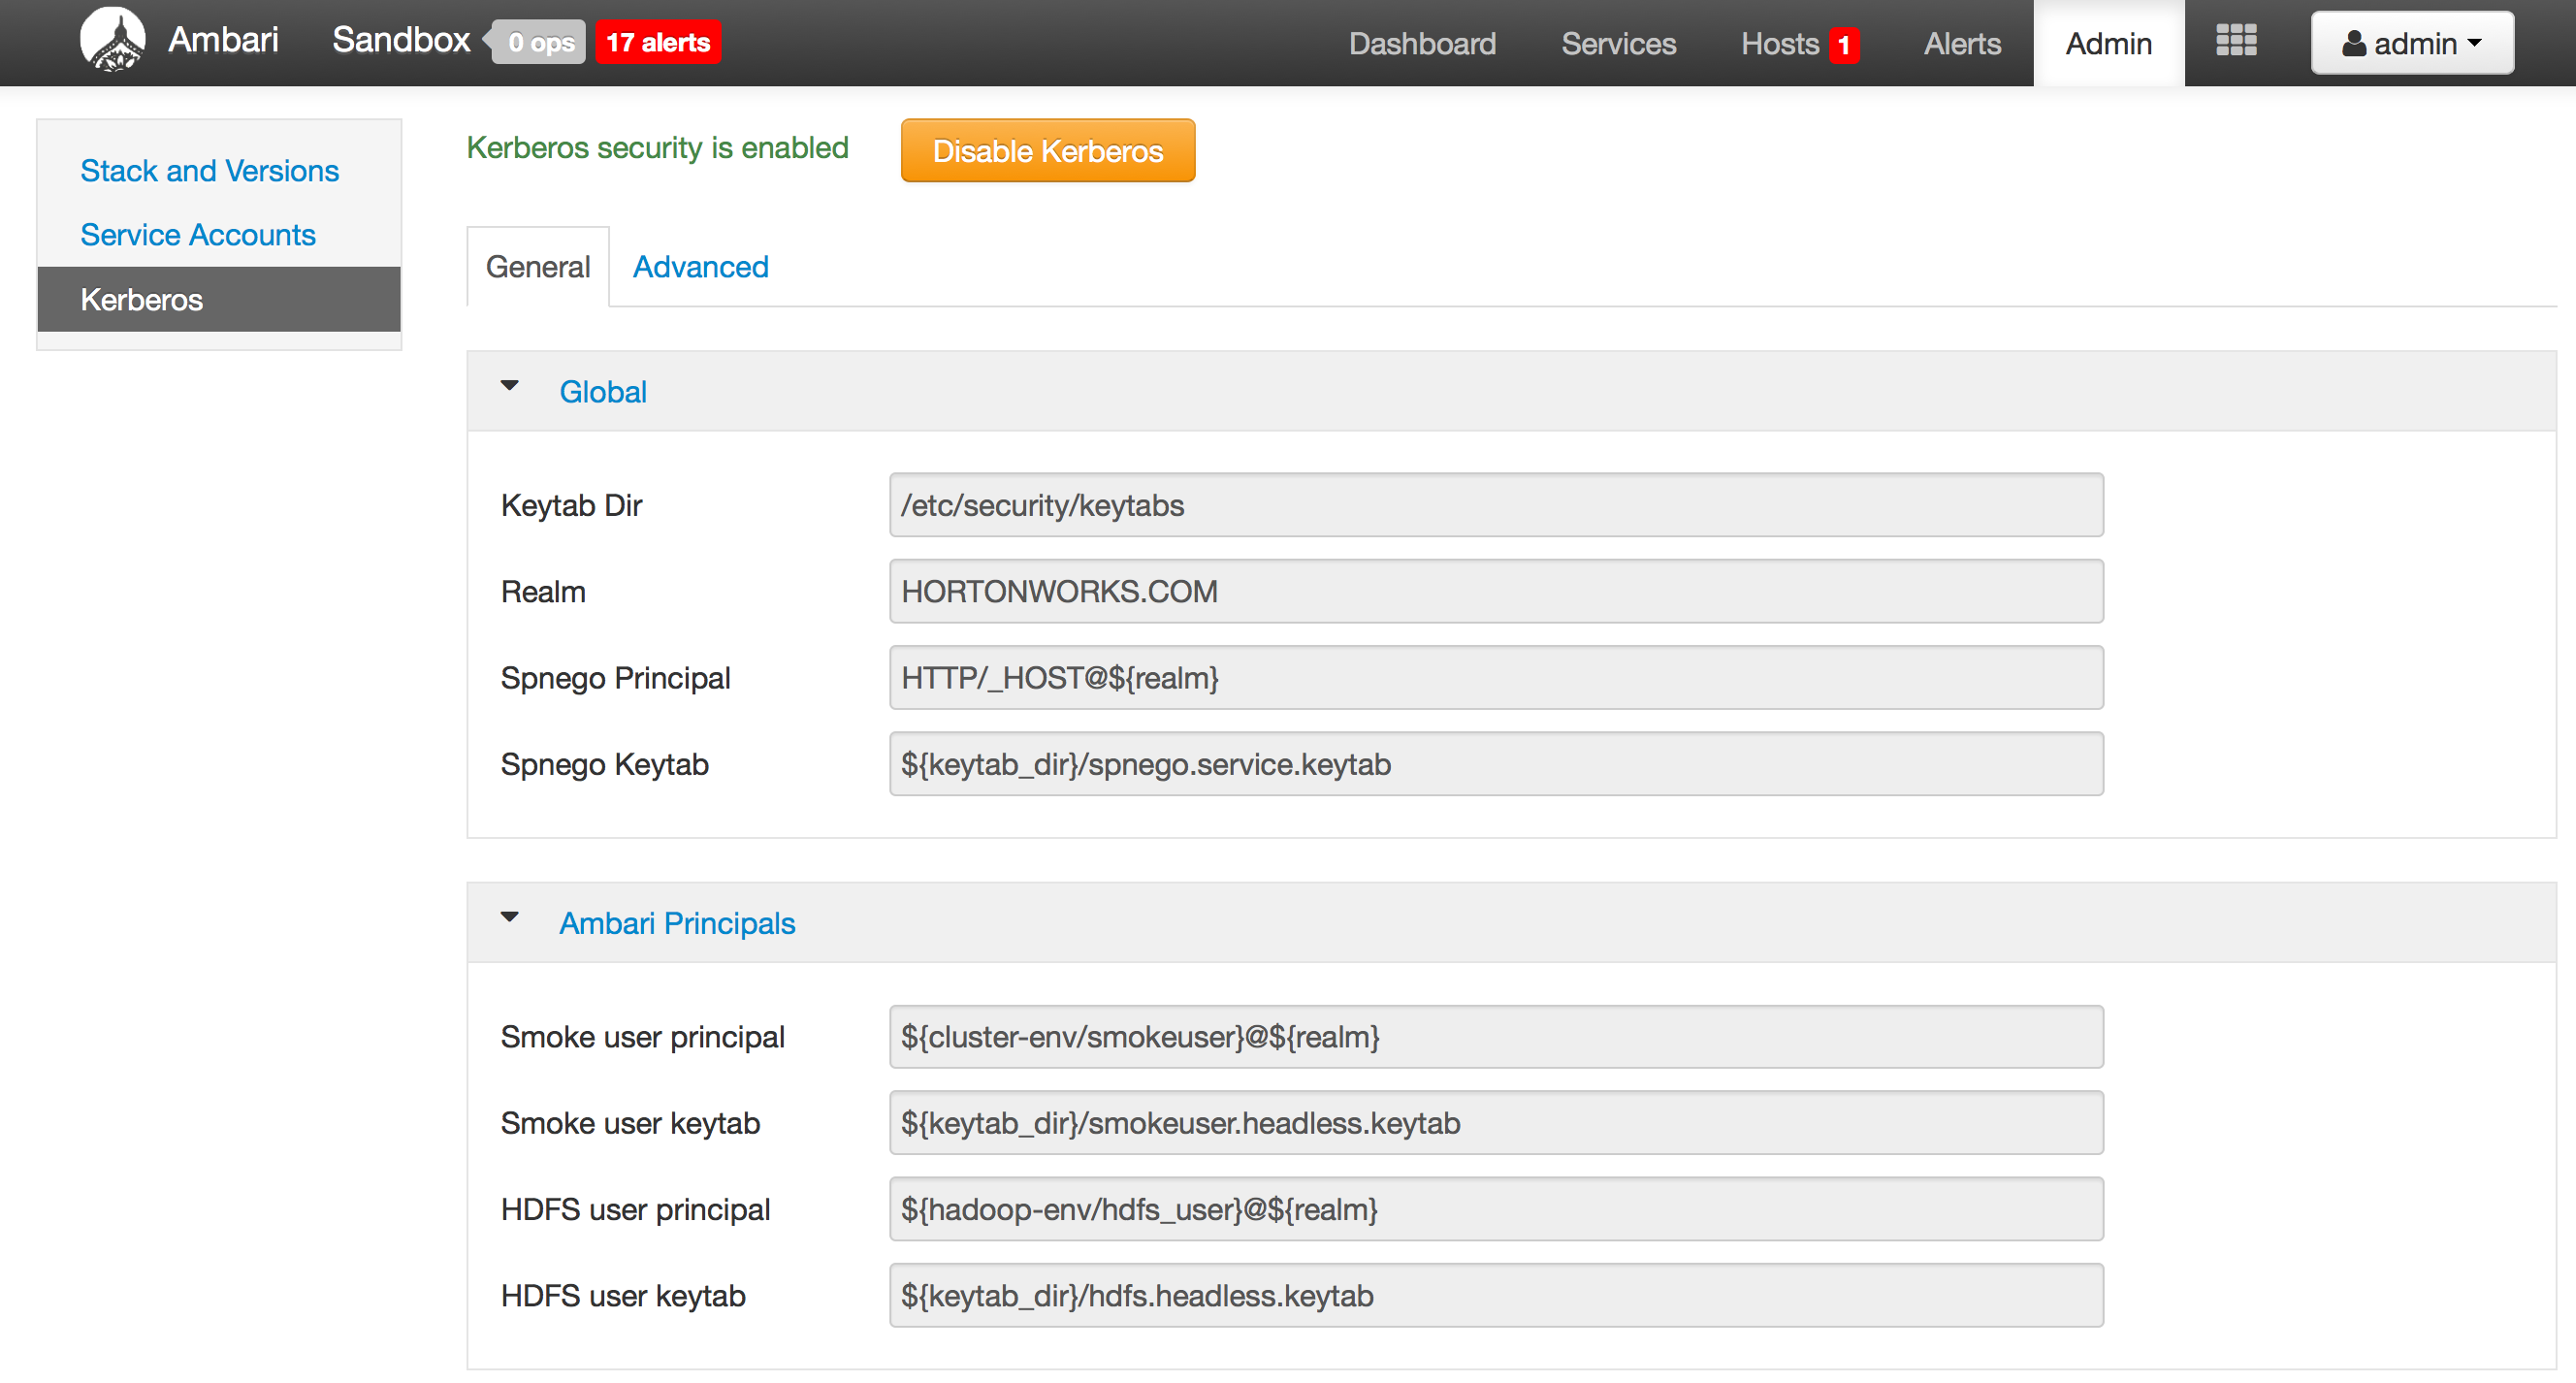
- Run Ambari Security wizard to enable kerberos
- Ranger setup via Ambari
-
Setup 4 VMs with CentOS 6.5
-
Edit hosts files on all the nodes so that they contain all 4 hosts and can ping each other.
cat /etc/hosts
- on Ambari node (node1) run pre-reqs and install/start ambari-server
export install_ambari_agent=true
export install_ambari_server=true
export ambari_version=2.0.0
curl -sSL https://raw.githubusercontent.com/seanorama/ambari-bootstrap/master/ambari-bootstrap.sh | sudo -E sh
- on node2-4 run pre-reqs and install.start ambari-agents (assuming you have a multi-node setup)
export ambari_server=node1
curl -sSL https://raw.githubusercontent.com/seanorama/ambari-bootstrap/master/ambari-bootstrap.sh | sudo -E sh
- The remaining steps will be executed on Ambari server node (node1)
yum install -y git
- Install folder for custom services for security
cd /var/lib/ambari-server/resources/stacks/HDP/2.2/services
git clone https://github.com/abajwa-hw/openldap-stack.git
git clone https://github.com/abajwa-hw/nslcd-stack.git
git clone https://github.com/abajwa-hw/kdc-stack.git
cd
-
More detail on these custom services can be found here
-
prereq for kerborizing cluster: download and unzip JCE from here
unzip -o -j -q /root/scripts/UnlimitedJCEPolicyJDK7.zip -d /usr/lib/jvm/jre-1.7.0-openjdk.x86_64/lib/security/
- Optional: if component has start dependencies on others, then add here:
vi /var/lib/ambari-server/resources/stacks/HDP/2.2/role_command_order.json
- restart Ambari
service ambari-server restart
service ambari-agent restart
- Confirm the Agent hosts are registered with the Server. Should return all 4 nodes
curl -u admin:admin -H X-Requested-By:ambari http://localhost:8080/api/v1/hosts
- ensure agent on ambari node is up
service ambari-agent status
- (Optional) - In general you can generate BP and cluster file using Ambari recommendations. In this example we are providing some sample blueprints which you can edit, so this is not needed
For more details, on the bootstrap scripts see bootstrap script git
yum install -y python-argparse
git clone https://github.com/seanorama/ambari-bootstrap.git

#optional - limit the services for faster deployment
export ambari_services="HDFS MAPREDUCE2 YARN ZOOKEEPER HIVE"

export deploy=false
cd ambari-bootstrap/deploy
bash ./deploy-recommended-cluster.bash

cd tmpdir*

#edit the blueprint to add custom COMPONENT names (not service name) e.g. XXX_MASTER and configurations. You can use sample blueprints provided below to see how to add the custom services.
vi blueprint.json

#edit cluster file if needed
vi cluster.json
- Download, edit and register BP as securityBP for either one of the 3 below blueprint examples
- These are the values you will want to change. The "nodeX" reference should be changed to point to the node where openldap will be deployed. Also modify the realm/domain/passwords for these services
#Option 1: for 4 node blueprint (all services on single master; realm is HORTONWORKS.COM)
wget https://raw.githubusercontent.com/abajwa-hw/ambari-workshops/master/blueprints/blueprint-4node-security.json
vi blueprint-4node-security.json
curl -u admin:admin -H  X-Requested-By:ambari http://localhost:8080/api/v1/blueprints/securityBP -d @blueprint-4node-security.json

#Option 2: for 4 node blueprint  (have openldap/kdc services on non-master nodes; realm is EXAMPLE.COM)
wget https://raw.githubusercontent.com/abajwa-hw/ambari-workshops/master/blueprints/blueprint-4node-security-distributed.json
vi blueprint-4node-security-distributed.json
curl -u admin:admin -H  X-Requested-By:ambari http://localhost:8080/api/v1/blueprints/securityBP -d @blueprint-4node-security-distributed.json

#Option 3: for single node blueprint (all services on single node; realm is HORTONWORKS.COM)
wget https://raw.githubusercontent.com/abajwa-hw/ambari-workshops/master/blueprints/blueprint-1node-security.json
vi blueprint-1node-security.json
curl -u admin:admin -H  X-Requested-By:ambari http://localhost:8080/api/v1/blueprints/securityBP -d @blueprint-1node-security.json
- Download, edit and deploy cluster with name securedCluster for either 4 node or 1 node (depending on your setup)
- You need to edit the json file and replace fqdn with those of your own cluster. Also you can edit the default password
#for 4 node
wget https://raw.githubusercontent.com/abajwa-hw/ambari-workshops/master/blueprints/cluster-4node.json
vi cluster-4node.json
curl -u admin:admin -H  X-Requested-By:ambari http://localhost:8080/api/v1/clusters/securedCluster -d @cluster-4node.json

#for single node
wget https://raw.githubusercontent.com/abajwa-hw/ambari-workshops/master/blueprints/cluster-1node.json
vi cluster-1node.json
curl -u admin:admin -H  X-Requested-By:ambari http://localhost:8080/api/v1/clusters/securedCluster -d @cluster-1node.json
- Optional - Troubleshooting: incase you need to re-run you can delete the cluster and BP
curl -u admin:admin  -H  X-Requested-By:ambari -X DELETE http://localhost:8080/api/v1/clusters/securedCluster
curl -u admin:admin  -H  X-Requested-By:ambari -X DELETE http://localhost:8080/api/v1/blueprints/securityBP
service ambari-agent restart
- Optional - Troubleshooting: check blueprint
curl -u admin:admin -H X-Requested-By:ambari http://localhost:8080/api/v1/blueprints/securityBP
- Optional:check status of cluster creation via REST
curl -u admin:admin http://localhost:8080/api/v1/clusters/mycluster/requests/1
- open ambari UI and monitor install: http://node1:8080 and wait until install completes
-
After OpenLDAP, KDC and NSLCD services are up...
-
check openldap install
ldapsearch -W -h localhost -D "cn=admin,dc=hortonworks,dc=com" -b "dc=hortonworks,dc=com"
-
You can access the OpenLDAP UI at http://node1/ldapadmin
- username: cn=admin,dc=hortonworks,dc=com
- password: hortonworks
-
check NSLCD
id ali
groups ali
- check KDC
kadmin -p admin/admin -w hortonworks -r HORTONWORKS.COM -q "get_principal admin/admin"
-
Now we will setup LDAP sync and kerberos using steps from official doc
-
First setup sync Ambari with LDAP
ambari-server setup-ldap
- Enter below parameters
Using python  /usr/bin/python2.6
Setting up LDAP properties...
Primary URL* {host:port} (node1:389):
Secondary URL {host:port} (node1:389):
Use SSL* [true/false] (false):
User object class* (posixAccount):
User name attribute* (uid):
Group object class* (groupOfNames):
Group name attribute* (cn):
Group member attribute* (member):
Distinguished name attribute* (dn):
Base DN* (dc=hortonworks,dc=com):
Referral method [follow/ignore] (follow):
Bind anonymously* [true/false] (false):
Manager DN* (cn=admin,dc=hortonworks,dc=com):
Enter Manager Password* : hortonworks
Re-enter password: hortonworks
- Restart Ambari and start sync
ambari-server restart
ambari-server sync-ldap --all
#login as admin/hortonworks now as LDAP sync has started
-
Login to ambari as shane/shane and notice no views
-
Login as admin and add shane as Ambari admin
-
now re-try login and notice it works. LDAP sync is now setup
- kinit as admin
kinit admin/admin
-
Launch Ambari and navigate to Admin > Kerberos to start security wizard
-
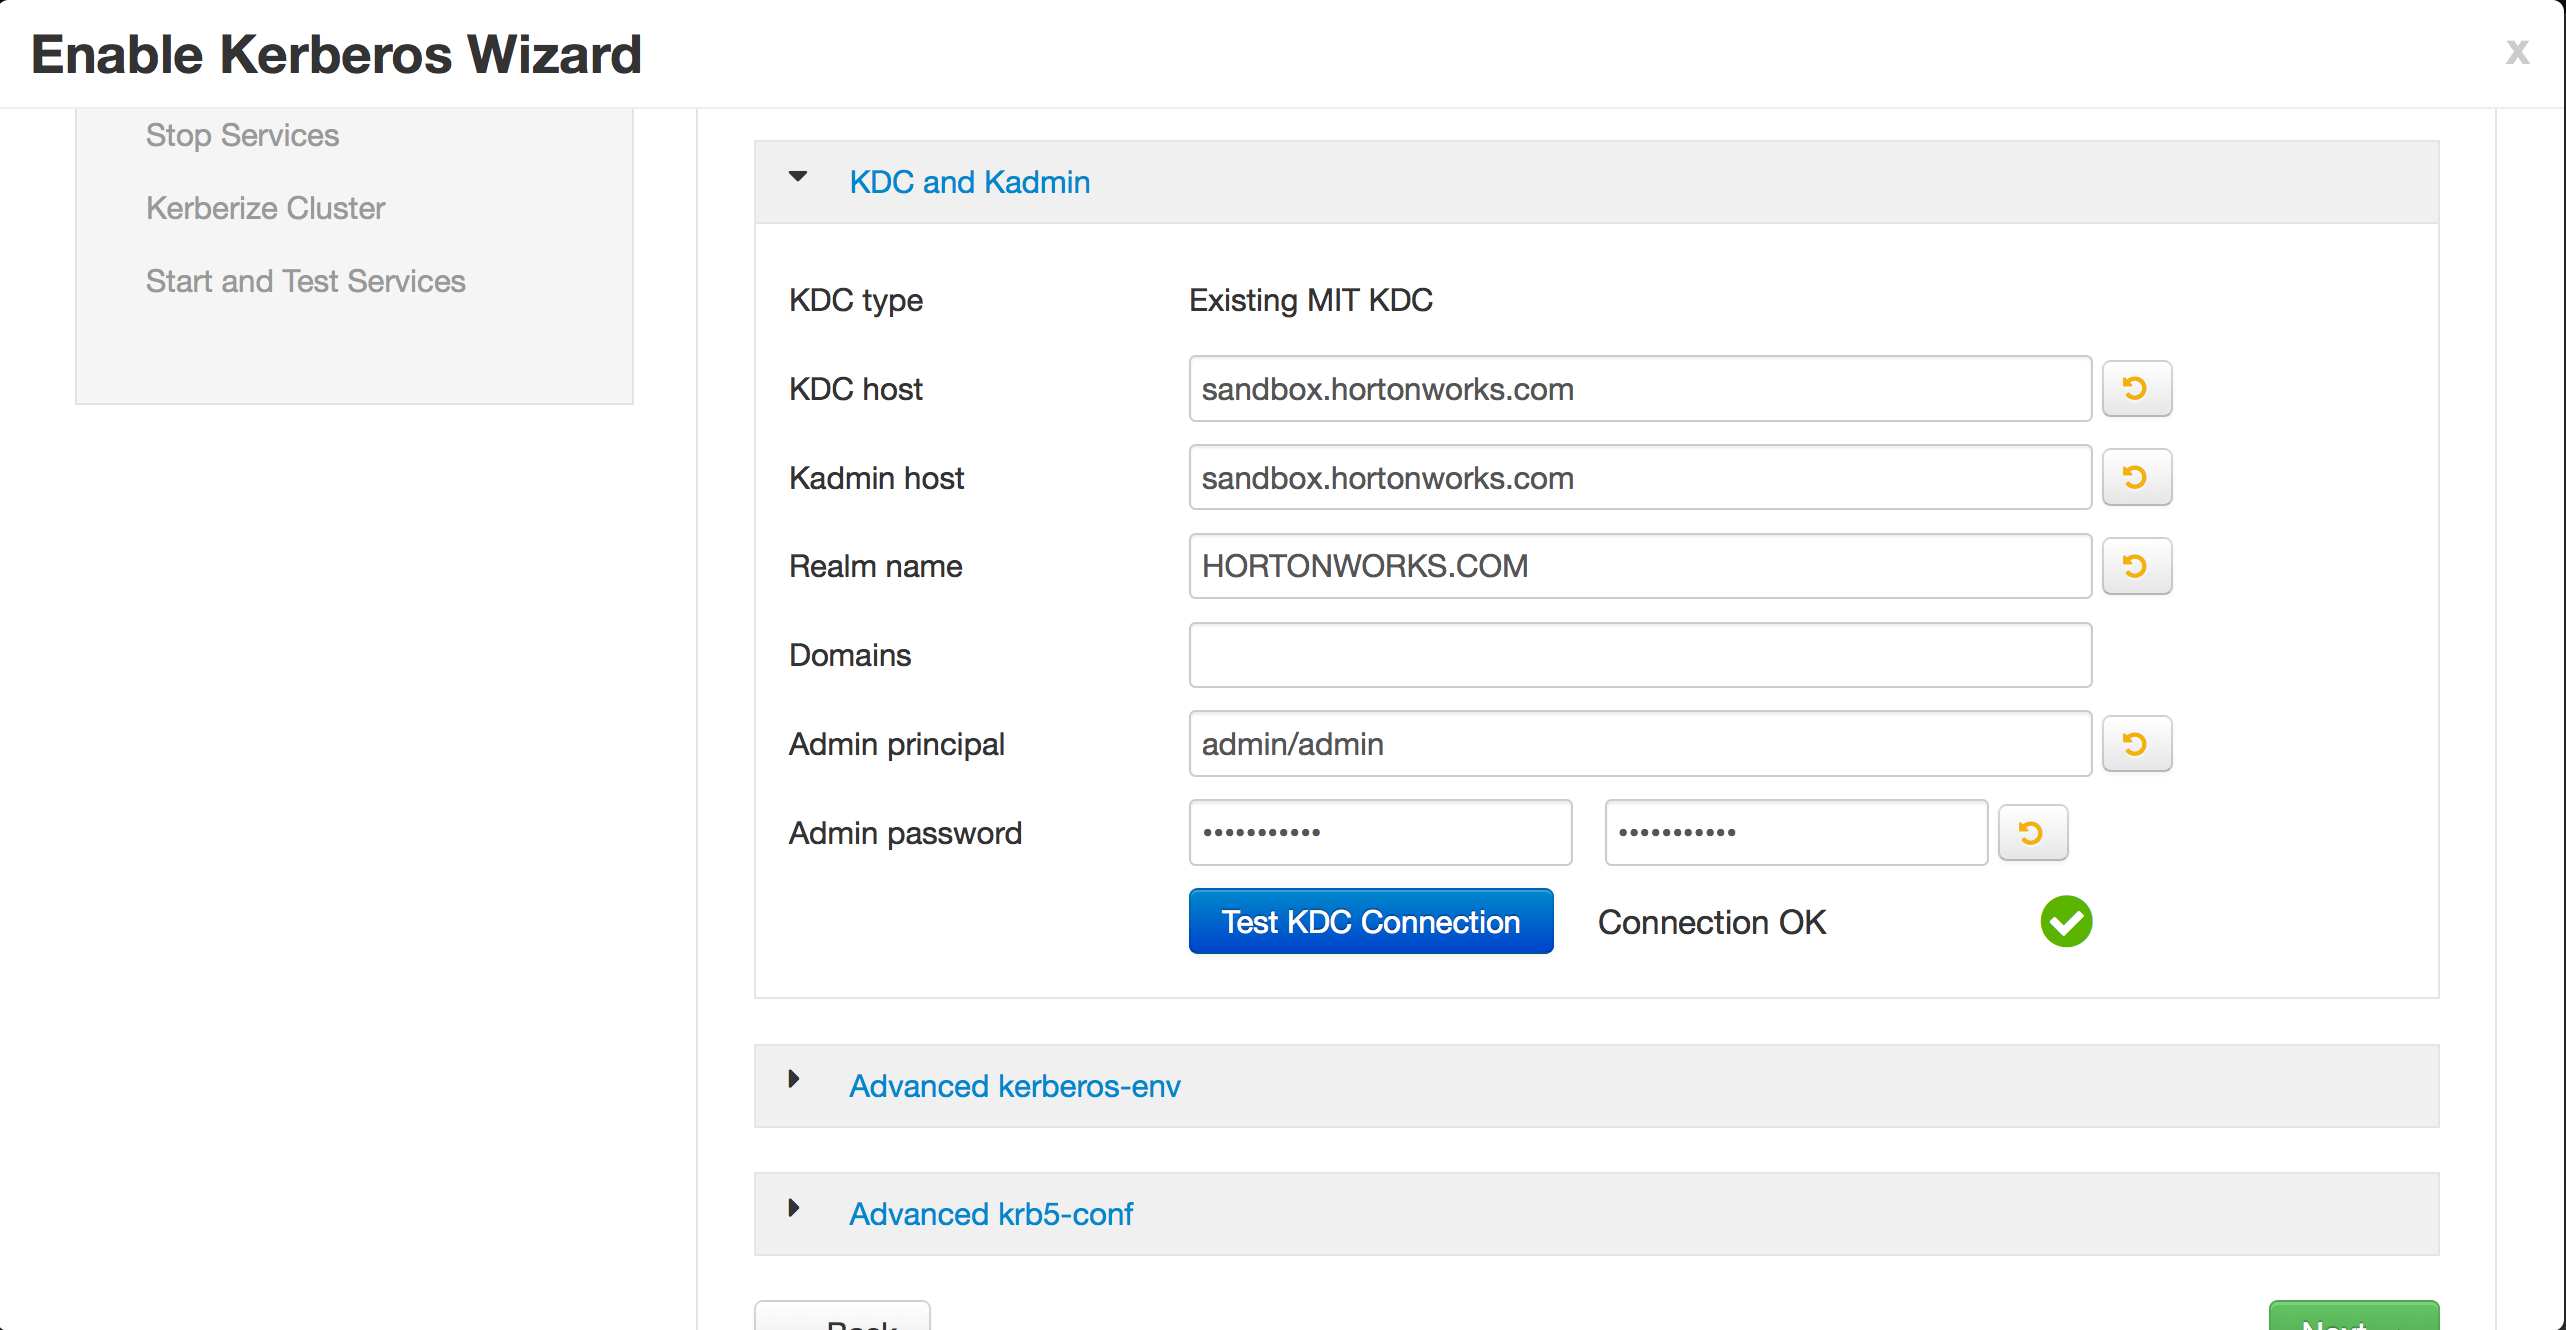
Configure as below and click Next to accept defaults on remaining screens
- KDC host: node1
- realm name: HORTONWORKS.COM
- kadmin host: node1
- princ: admin/admin
- pass: hortonworks
-
If you encounter errors (like below), restart KDC service and retry
Failed to create keytab for [email protected], missing cached file
- to restart KDC/kadmin
service krb5kdc restart; service kadmin restart;
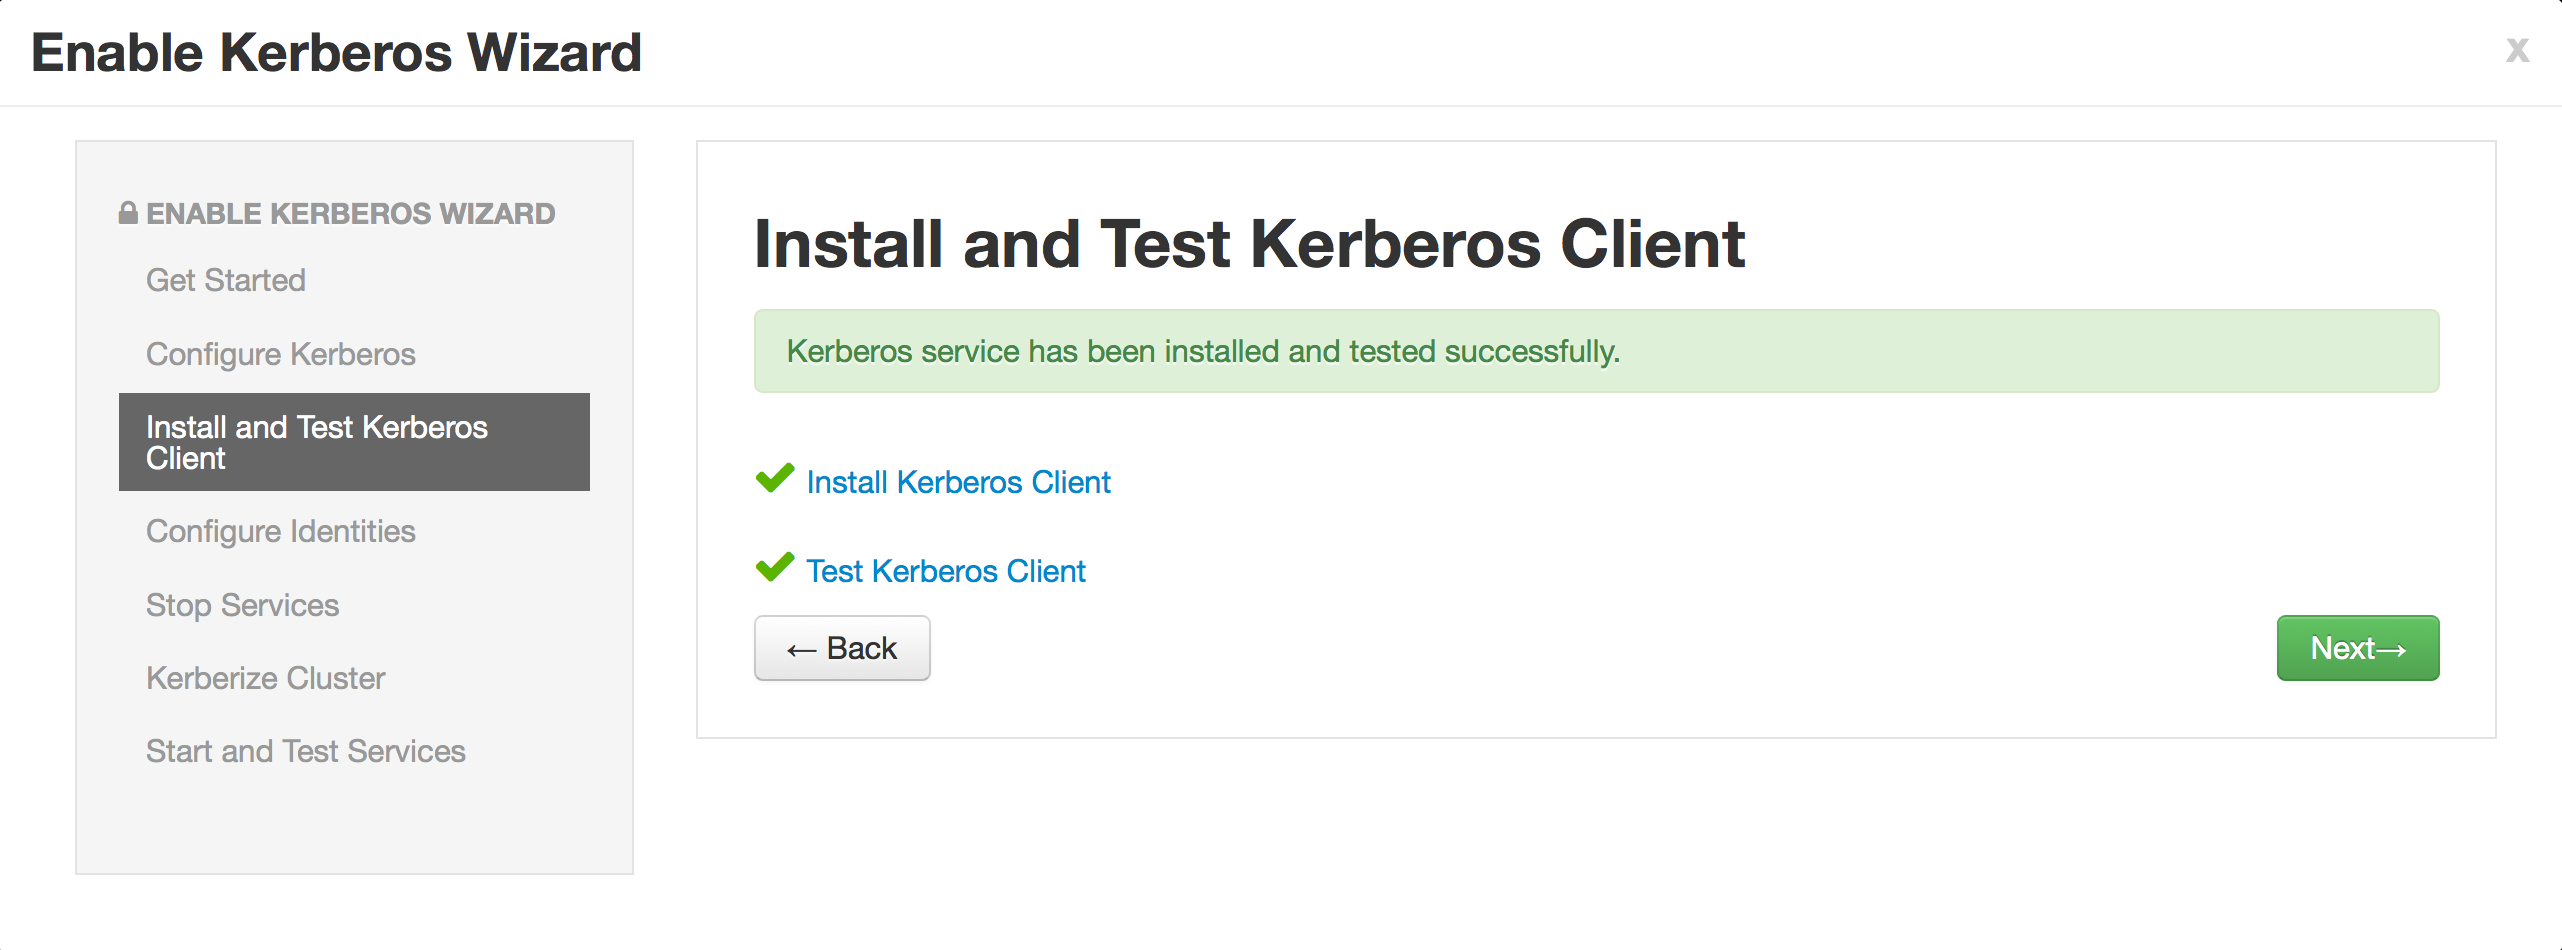
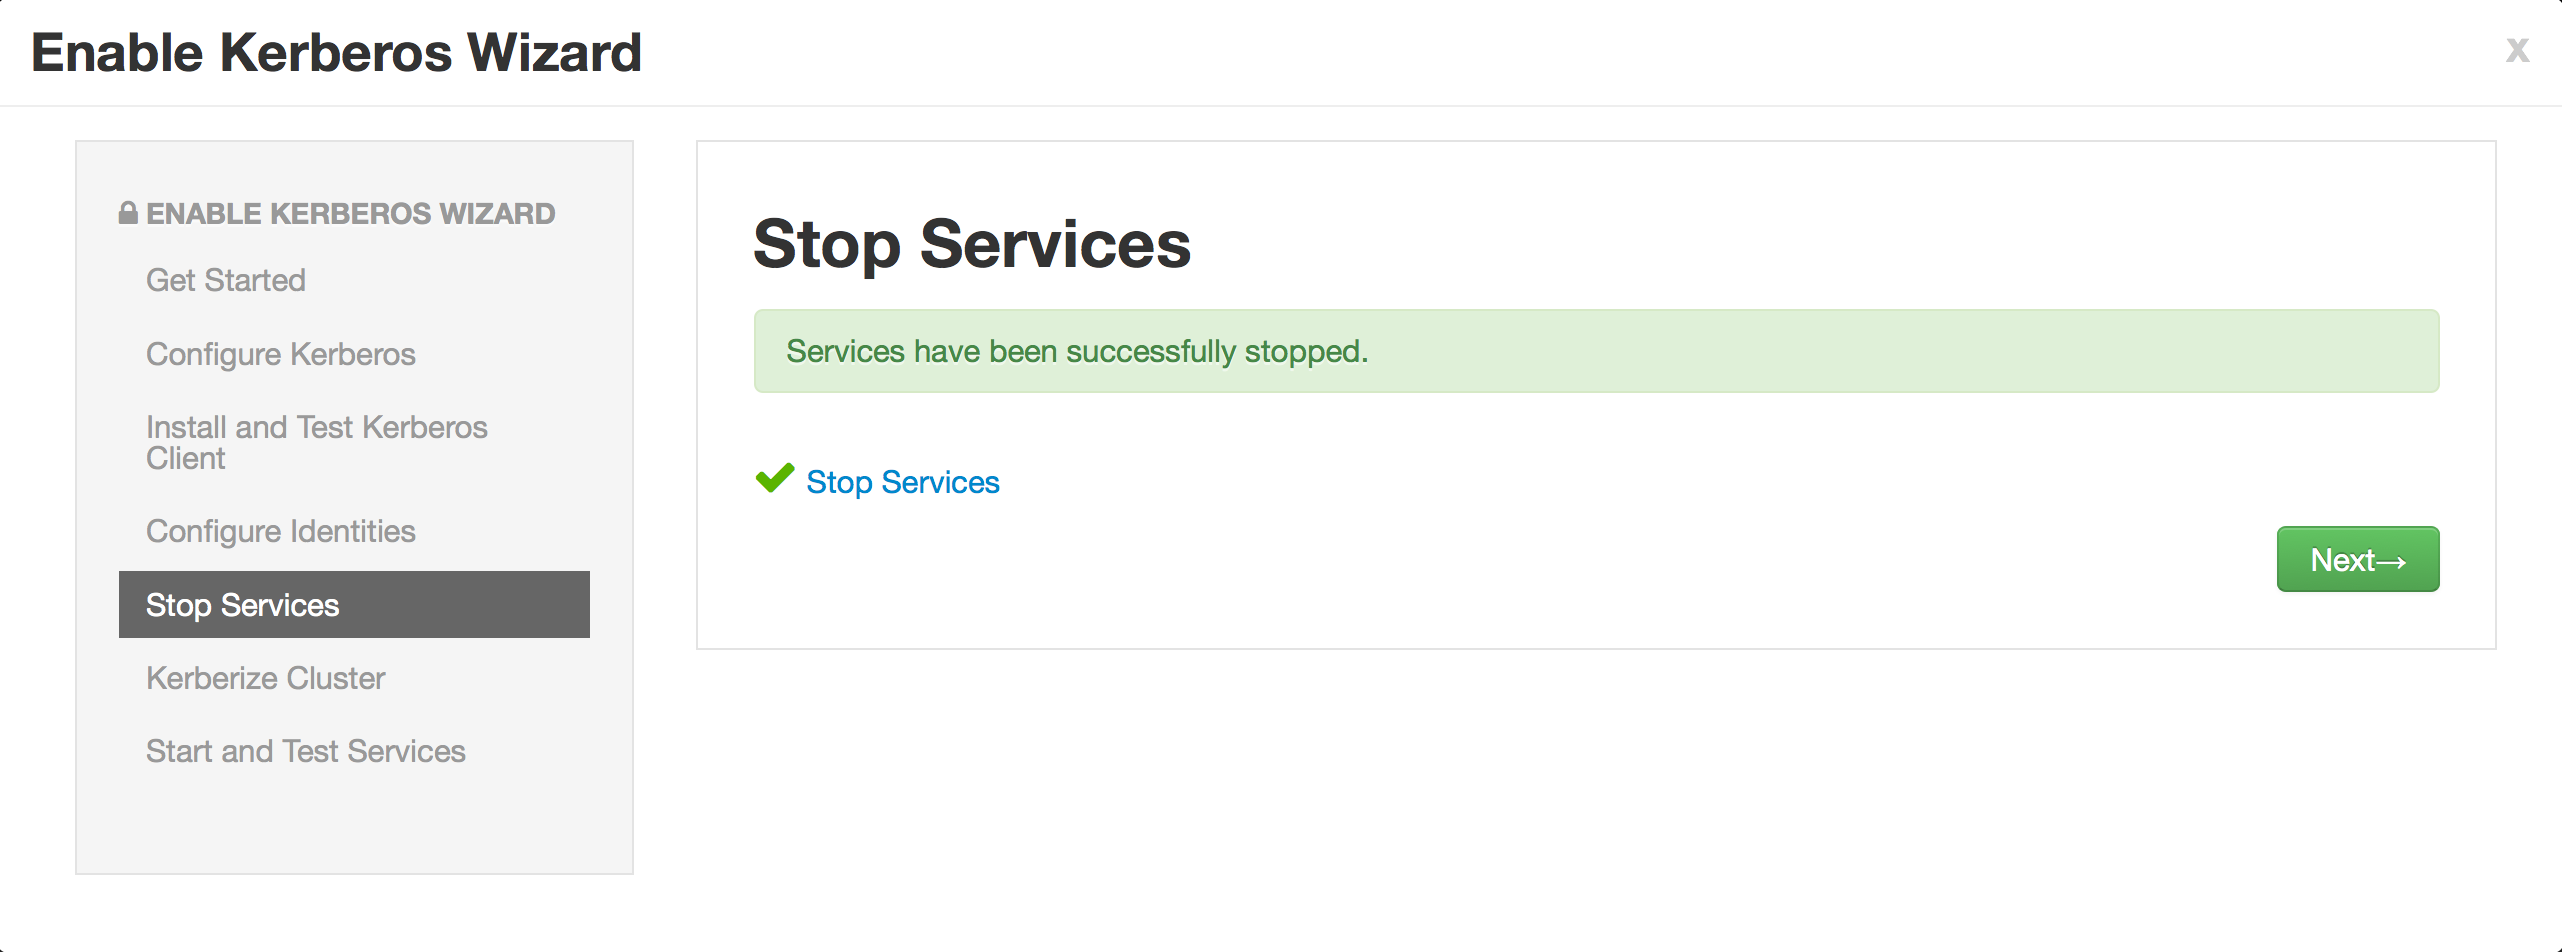 Before clicking next, you need to restart the KDC services as Ambari has stopped them
- to start KDC/kadmin
service krb5kdc start; service kadmin start;
- add principal for ali user
kadmin.local
addprinc [email protected]
#hortonworks
exit
- Test HDFS access with/without kinit to ensure authentication is working
su ali
hadoop fs -ls /
kinit
hadoop fs -ls /
- Download sample data
cd /tmp
wget https://raw.githubusercontent.com/abajwa-hw/security-workshops/master/data/sample_07.csv
wget https://raw.githubusercontent.com/abajwa-hw/security-workshops/master/data/sample_08.csv

kinit -kt /etc/security/keytabs/hive.service.keytab hive/[email protected]
- Create sample tables
hive
use default;

CREATE TABLE `sample_07` (
`code` string ,
`description` string ,
`total_emp` int ,
`salary` int )
ROW FORMAT DELIMITED FIELDS TERMINATED BY '\t' STORED AS TextFile;

load data local inpath '/tmp/sample_07.csv' into table sample_07;

CREATE TABLE `sample_08` (
`code` string ,
`description` string ,
`total_emp` int ,
`salary` int )
ROW FORMAT DELIMITED FIELDS TERMINATED BY '\t' STORED AS TextFile;

load data local inpath '/tmp/sample_08.csv' into table sample_08;
exit;

kdestroy
-
Now we will setup Ranger as Ambari service using official doc
-
setup existing MySQL for Ranger DB
mysql
select host, user, password from mysql.user;
-- only if this user does not exist create it
create user 'root'@'%' identified by 'hortonworks';
grant all privileges on *.* to 'root'@'%' identified by 'hortonworks' with grant option;
flush privileges;
set password for 'root'@'localhost'=password ('hortonworks');
set password for 'root'@'node1'=password ('hortonworks');
set password for 'root'@'127.0.0.1'=password ('hortonworks');
exit
- double check login
mysql -u root -phortonworks -h node1
- enable ambari to recognize mysql jar
ambari-server setup --jdbc-db=mysql --jdbc-driver=/usr/share/java/mysql-connector-java-5.1.17.jar
- copy mysql jar to other nodes (if any)
scp /usr/share/java/mysql-connector-java-5.1.17.jar root@node2:/usr/share/java/
scp /usr/share/java/mysql-connector-java-5.1.17.jar root@node3:/usr/share/java/
scp /usr/share/java/mysql-connector-java-5.1.17.jar root@node4:/usr/share/java/
-
Add service > Ranger > select same host where Mysql is
- Ranger admin settings:
- Ranger DB host: node1
- set passwords to hortonworks
- User sync settings
- External URL: http://node1:6080
- SYNC_LDAP_BIND_DN: cn=admin,dc=hortonworks,dc=com
- SYNC_LDAP_BIND_PASSWORD: hortonworks
- SYNC_LDAP_URL: ldap://node1:389
- SYNC_LDAP_USER_NAME_ATTRIBUTE: uid
- SYNC_LDAP_USER_SEARCH_BASE: ou=Users,dc=hortonworks,dc=com
- SYNC_LDAP_USER_SEARCH_FILTER : (space)
- SYNC_SOURCE: ldap
- Ranger admin settings:
-
Now we will setup HDFS plugin on kerborized setup
-
create a group "admins" in Ranger, if not exist
-
add user hdfsuser to Ranger as well with password hortonworks1 (if not already exists)
-
create os user hdfsuser with same password: hortonworks1 (if not already exists)
adduser hdfsuser
passwd hdfsuser
- create princpal
kadmin.local -q 'addprinc -pw hdfsuser [email protected]'
-
HDFS configs > Advanced ranger-hdfs-plugin-properties
- Enable Ranger for HDFS: true
- Ranger repository config user: [email protected]
- Ranger repository config password: hortonworks1
- common.name.for.certificate: (space)
-
HDFS configs > Custom core-site
- hadoop.proxyuser.hive.groups=users, sales, legal, admins
- hadoop.proxyuser.hive.hosts=node1,node2,node3,node4
-
restart HDFS
-
test HDFS audits before and after enabling policy to check Ranger plugin is working
su ali
hadoop fs -ls /
hadoop fs -ls /tmp/hive
-
Setup Hive plugin on kerborized setup
-
create os user hiveuser with same password: hortonworks1 (if not already exists)
adduser hiveuser
passwd hiveuser
- create princpal
kadmin.local -q 'addprinc -pw hiveuser [email protected]'
-
setup Hive repo per doc
- Enable Ranger for HIVE: true
- Ranger repository config user: [email protected]
- Ranger repository config password: hortonworks1
- common.name.for.certificate:
-
create policies that allow read access for sales group:
- sample_07 partial
- sample_08 full
-
Allow user access on /user HDFS dir
sudo -u hdfs hadoop fs -chmod 777 /user
- Run test queries using ali user
su ali
klist
kinit
beeline
!connect jdbc:hive2://localhost:10000/default;principal=hive/[email protected]

select * from sample_08;
select * from sample_07;
select code, description from sample_07;
