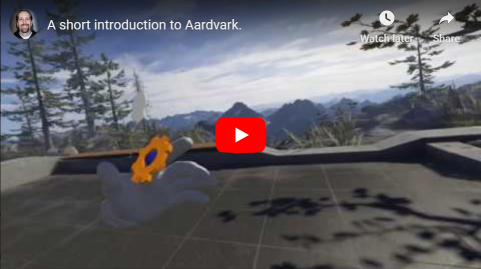
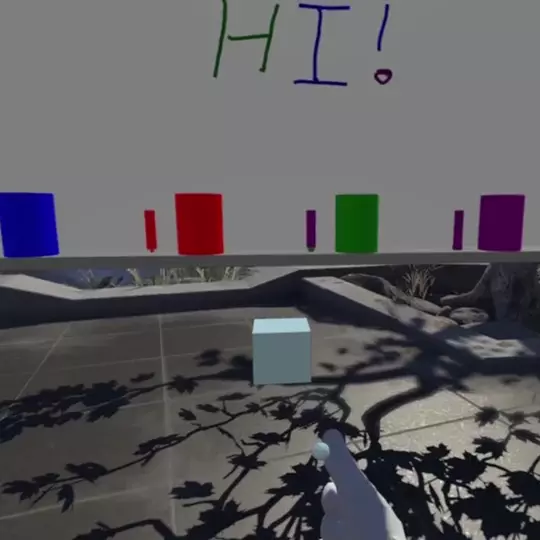
Aardvark is a framework for building augmented reality "gadgets" that run on top of virtual reality experiences. Gadgets are constructed using a bunch of custom React components (from the @aardvarkxr/aardvark-react package) and run in the Aardvark application. Gadgets use these components to show interactive models, 2D UI, or other stuff that will draw on top of any VR applications you run. You can attach these gadgets to your hands and bring them with you in your favorite VR apps.
If you just want to make gadgets, your best bet is to use a released build. Just download and run the latest released installer, then run aardvarkxr.exe from the install directory. Once you've installed you can also enable Aardvark to start automatically in the Startup/Shutdown settings in SteamVR.
You can find more documentation on how to build gadgets here.
If you need to do any development work from the source, you can also build from the source.
Aardvark is made up of "gadgets". These are 3D objects that do something useful, something fun, or maybe they just look cool. You can favorite any number of gadgets in the Aardvark browser and then use them in any SteamVR application.
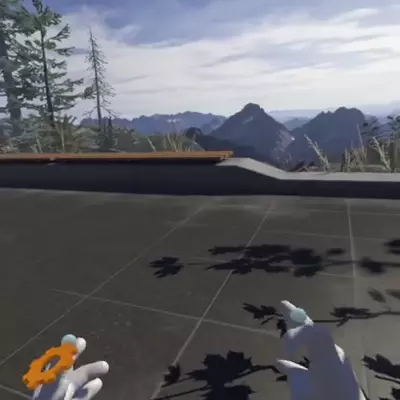
To spawn your first gadget, you first need to open the gadget menu. That's the gear icon attached to your left hand. Just move your right hand close enough to the gear for it to get a little bigger, and then pull the trigger.
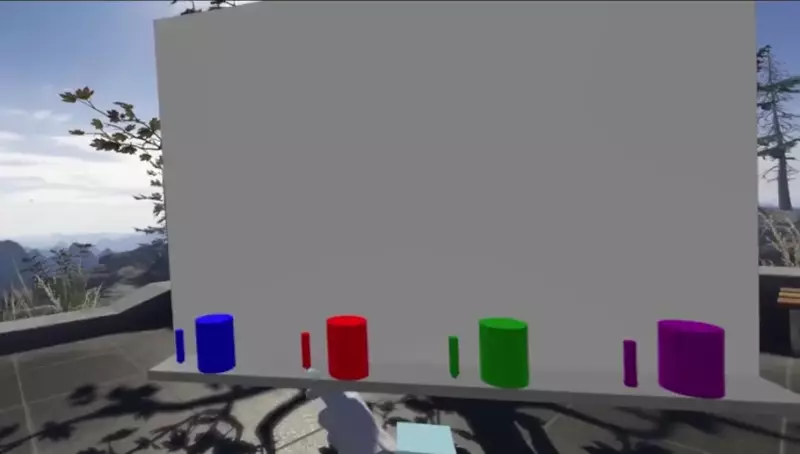
The menu that appears has four tabs, but we'll start with the second one. These are the built-in gadgets. Pick up the whiteboard icon and drag it somewhere in the world to spawn the whiteboard gadget.
The left-most icon is the list of recommended gadgets. Right now this just contains a couple of the built-in gadgets again, but it will expand once more gadgets have been created. (If you have a gadget you would like to see in this list, see the gadget registry repository.)
The third tab is your favorites. This list appears empty, but when you find a gadget you like, you can mark it as a favorite to have it show up here.
The fourth tab is a list of your desktop windows. This feature is somewhat limited at the moment, and doesn't allow you to resize or interact with the windows, but you can look at any window on your desktop.
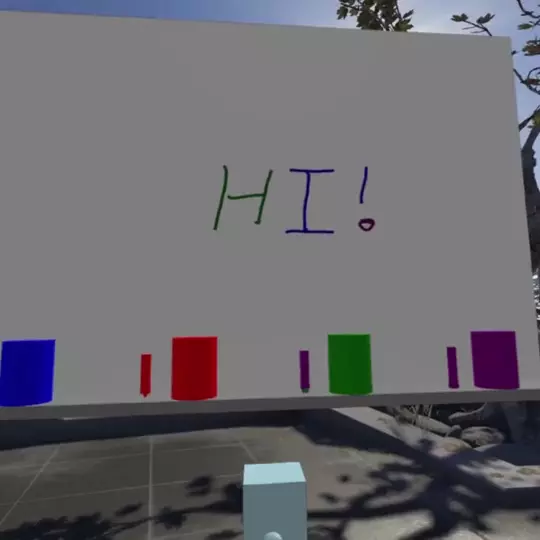
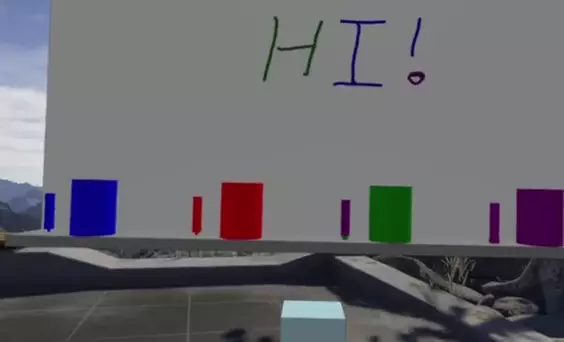
Every gadget is different, but most of them provide stuff to grab and interact with. For example, the white board lets you grab the markers, dip them in the colored cylinders, and then draw on the board itself.
There are some things you can do with anything you can grab from any gadget. The first is simply to pick it up with the trigger and move it around.
Aardvark also supports grabbing and moving gadgets and their bits at a distance. Pull lightly on the trigger and a ray will shoot out of your hand. Point that at anything to pick it up and move it around.
Once you have grabbed anything, you can move it further away from you or close to use by pushing forward or pulling backward on the thumbstick on your controller. This is moving the entire whiteboard, but the same interaction would work with the markers, or anything else you can grab in a gadget.
Aardvark provides mechanisms that let a user share their local gadgets with other people they are interacting with in VR. PlutoVR has provided the first example of this with their Aardvark gadget. Open this gadget in your desktop browser, then mark it as a favorite. Now you can spawn the Pluto gadget from the menu, and whenever you enter a Pluto call with another user that's also running Aardvark you can see each other's gadgets.
If you have a multiuser VR application in which you would like users to share gadgets, ask around in the slack for help getting that up and running. It's straightforward to do, but there isn't any documentation on the topic yet.
Aardvark entered alpha testing in September of 2020. In its current alpha state it is still very much a work in progress. If you have any feedback about the UI, the way gadgets are built, or anything else, we'd love to hear it! Join the slack and tell us what you think. Or file an issue or pull request if you find something that could be better. We want to hear from you.
Here's a short list of things that we'd like to add or work on in no particular order:
- Multiple panels in each gadget, probably through popups
- Panels for desktop applications #38
- Animation to smooth out transitions and just generally make things nicer
- Switch to using a more capable rendering engine #11
- Figure out better ways of not conflicting with the input of the host games
- Knowledge of where the user is in the VR experiences themselves so gadgets can be responsive to that
If you want to help out with any of these, please reach out.
There are a few of us working on it. Look at the commits to see a list of active participants.
Most of us work at companies that are involved in the VR space. Aardvark is not associated with any of those companies.
There are a bunch of ways you can pitch in and help with Aardvark:
- You can build gadgets and post them for other people to use. If you're looking for ideas, there is an entire channel on the Slack that's full of them.
- You can use Aardvark and tell us what you think, and how it could do more for you. Bug reports are a great way to do that. So is jumping on Slack and just talking to people.
- You can write a tutorial for how to use Aardvark or how to build gadgets. You're welcome to post these on your own site or submit them as pull requests so we can include them in the core Aardvark docs.
- You can create art assets (models, icons, and the like) for folks who are building gadgets or writing tutorials. The Slack would be a great place to find people to collaborate with.
- You can submit pull requests to Aardvark itself. Pick an issue from the existing list of open issues, or suggest something new.
- You can tell your friends!
All of this has been tested on Windows 10 with VS2019. Other platforms (including other versions of Windows) and other compilers are left as an exercise to the reader.)
Follow these steps:
- Open a command prompt to your cloned repro directory. I'll call that d:\aardvark below, but it can be wherever you like.
- Build web code
- cd d:\aardvark\websrc
- npm install
- npm run build
- Unzip the following CEF libs into the same directories the gz files are located in (These are over the 100MB Github file size limit when unzipped)
- unzip d:\aardvark\src\thirdparty\cef_binary_78\Debug\libcef.dll.gz
- unzip d:\aardvark\src\thirdparty\cef_binary_78\Debug\cef_sandbox.dll.gz
- unzip d:\aardvark\src\thirdparty\cef_binary_78\Release\libcef.dll.gz
- Build aardvark C++ code
- cd d:\aardvark\src
- mkdir build
- cd build
- cmake -G "Visual Studio 16 2019" -A x64 ..
- VS 2017 will probably still work too: cmake -G "Visual Studio 15 2017 Win64" ..
- Open Aardvark.sln
- Build in debug
- Run it!
- Open a command prompt in d:\aardvark\data and run "node server\server_bundle.js"
- Right-click on "aardvarkxr" in the Solution Explorer and select "Set as StartUp Project" in Visual Studio
- Start Debugging from the Debug menu
