Table of Contents
This platform allows multiple users to maintain an expense tracker. The user should register first to access the application. The platform allows users to add trips and provides the possibility to calculate all the expenses done by each member in the group for a specific trip. When creating a trip the user should specify the group size and will have the option to add other users to the trip. Each member of the trip will have the possibility to add expenses, update expenses and add other members. There are two types of expenses: personal and group expenses. Group Expenses should be divided between all members or specific subsets. When a user adds a group expense, the system will notify the other users the amount they have to pay to the user registering the expense. Expense tracking application will generate reports as and when required to show the expenses.
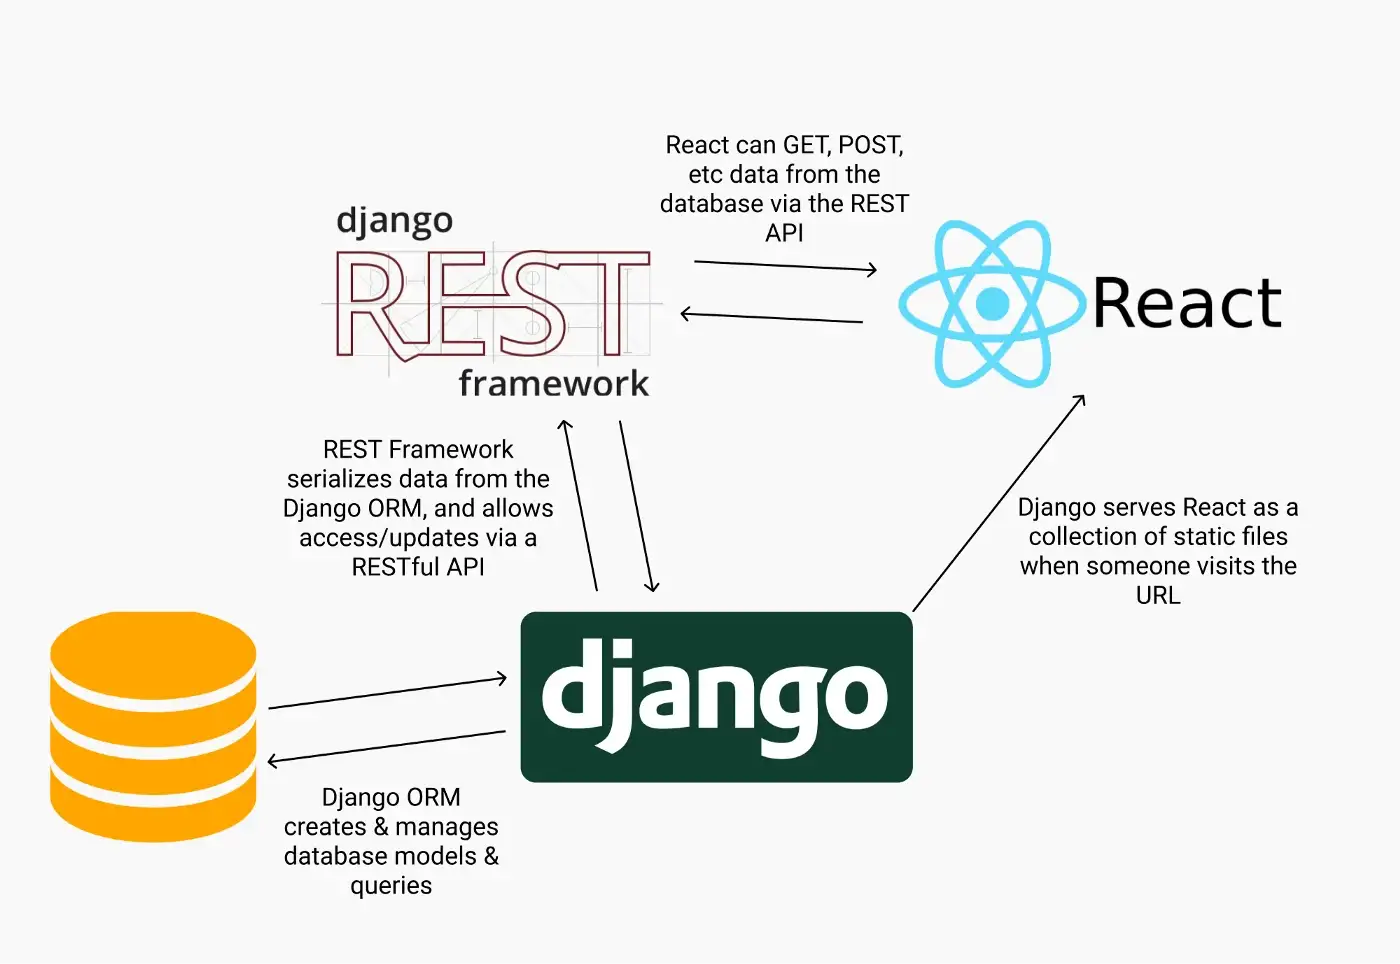
This section should list any major frameworks/libraries used to bootstrap your project.
python3npmnpxNode.js - at least v. 15.0
Use a terminal for the following steps:
- Clone the repo
git clone [email protected]:Homeify/Home-management-platform.git
- Install pip packages
pip install -r requirements.txt
- Run migrations
python manage.py makemigrations
python manage.py migrate
- Open django admin app
Open server in a browser (optional).
python manage.py runserver
To access adminhomeify pannel (contains info about all modules) access /admin from django server and add admin credentials.
-
cd frontend - Install NPM packages
npm install
- Open react app
npm run start
Visit swagger folder for HTML documentation for each endpoint.
python manage.py create superuser- creates an admin that can access administration backend platform (can see/add/edit entities)pip freeze > requirements.txt- add local requirements in requirements.txt file
python manage.py testscoverage run manage.py testcoverage run manage.py test
Contributions are what make the open source community such an amazing place to learn, inspire, and create. Any contributions you make are greatly appreciated.
If you have a suggestion that would make this better, please fork the repo and create a pull request. You can also simply open an issue with the tag "enhancement". Don't forget to give the project a star! Thanks again!
- Fork the Project
- Create your Feature Branch (
git checkout -b feature/AmazingFeature) - Commit your Changes (
git commit -m 'Add some AmazingFeature') - Push to the Branch (
git push origin feature/AmazingFeature) - Open a Pull Request
Iuga Paula - [email protected]
Project Link: https://github.com/Homeify/Home-management-platform
Use this space to list resources you find helpful and would like to give credit to. I've included a few of my favorites to kick things off!

