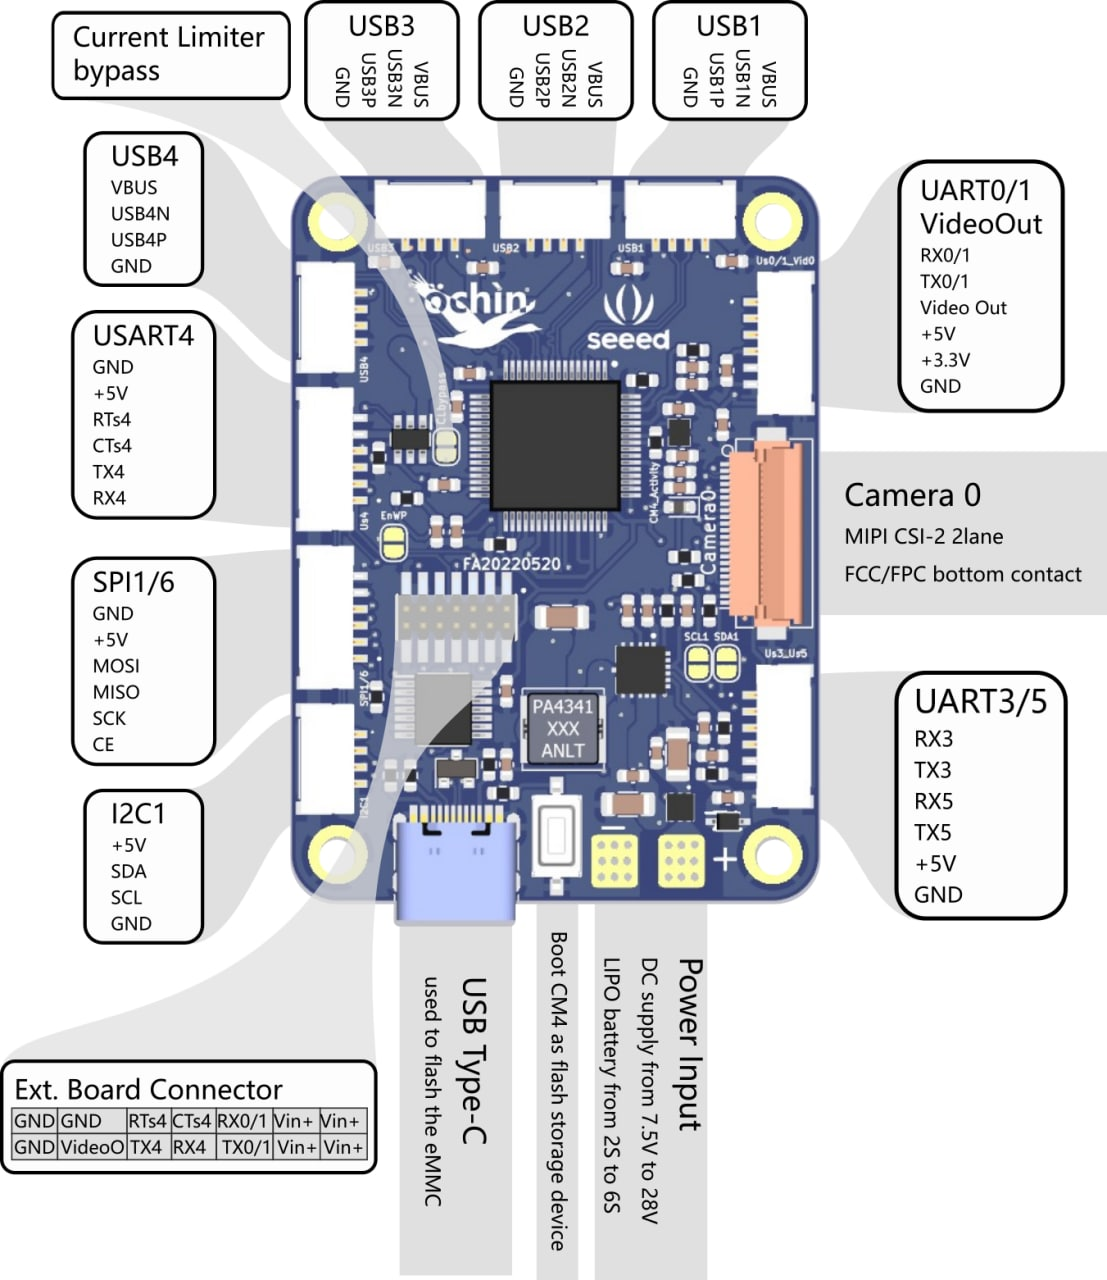
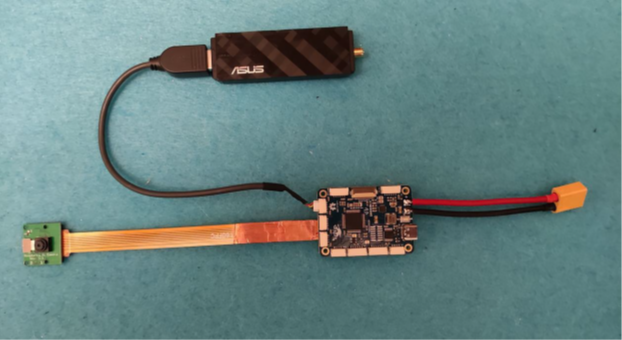
The ochin_CM4 board is a carrier board for the Raspberry Pi CM4 module and is meant to expose the connections to the peripherals made available by the CM4 module.
• 4x USB 2.0 480Mbps (4x SM04B-GHS-TB(LF)(SN) connectors)
• 1x USB Type-C (for flashing eMMC)
• 2x CSI camera (2x FH12-22S-0.5SH (55) connectors)
• I2C1 (SM04B-GHS-TB(LF)(SN) connector)
• SPI1 / 6 (SM06B-GHS-TB(LF)(SN) connector)
• UART0 / 1 + Video Out (SM06B-GHS-TB(LF)(SN) connector)
• UART3 / UART5 (SM06B-GHS-TB(LF)(SN) connector)
• USART4 (SM06B-GHS-TB(LF)(SN) connector)
- The ochin_CM4 has no video output, it is designed to be used on the “air” side only.
- The ochin_CM4 does not have a slot for the microSD, it is therefore mandatory to use Raspberry Pi CM4 modules with eMMC (not lite).
- The Raspberry Pi CM4 module get pretty hot very quickly, please use an adequate heatsink.
- The ochin_CM4 cannot be powered via the USB-C connector. The Type-C connector is only used for writing the eMMC.
- The CSI flat cable is very close to the USBs and it prone to RF noise. It’s suggested to shield the flat cable with copper tape (or at least alu tape);
- The USB WiFi dongle will drawn some Amps, please use supply cables of adequate size between the ochin_CM4 board and the USB dongle.
The ochin_CM4 board is equipped with a 5VDC switching regulator, necessary to power the CM4 module and all the peripherals connected to it.
The regulator is able to accept input voltages from 7.5VDC to 28VDC (LiPo from 2S to 7S) and provide output currents up to 7A.
Thanks to the great power supplied by the regulator, it is possible to use the VBUS of the USB ports also to power the WiFi module, which is not normally recommended due to the large currents required by these modules.
However it should be noted that, to protect the CM4 module from any problems on the VBUS, the board is equipped with a current switch, which cuts the VBUS for currents higher than 3A.
This allows you to keep the CM4 module running even in the event of a short on the VBUS.
For this reason it is good to be sure to never exceed 3A on the VBUS (it is rare for a module to reach this limit, in fact 3A at 5V are 15W of power drawn).
However, it is possible to bypass the current switch in case you need more current on the VBUS, waiving the VBUS safety (see the ochin_CM4 board manual).
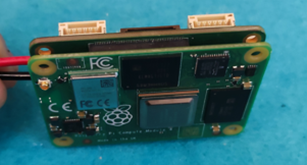
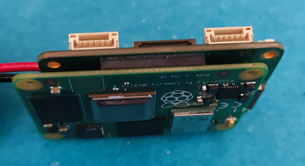
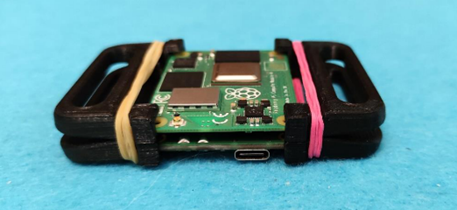
The CM4 connectors are quite delicate and very dense, so you need to be careful.
Before positioning the CM4 module, it is advisable to check that there are no specks of dust or other things that could prevent contact of the pins, if necessary clean with a brush and air.
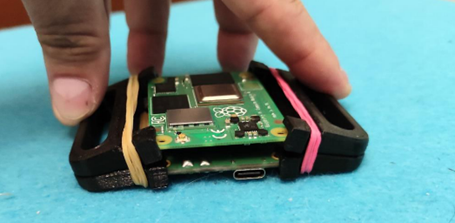
Place the module gently on the connectors until you feel they are seated in each other (there is a first zero force step where they snap into). When you are sure that the two boards are perfectly aligned and the connectors engaged, press the two long edges of the CM4 module until the connectors are fully inserted.
It is advisable to limit the disassembly of the CM4 module as much as possible to avoid damaging the connector contacts.
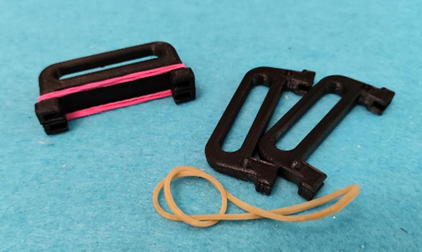
To remove the CM4 module from the ochin board is always suggested to use the proper extractor.
You can find the .STL files to print here.
The procedure to flash the CM4 eMMC it’s straightforward, what you need to do in synthesis is the following:
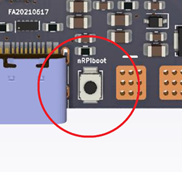
- Power up the board with boot configuration as “mass storage device”. • To do so you need to power off the board (no Vin connected) • Press the “nRPiboot” button and, keeping it pressed power up the board using the “Vin” Connector. • Connect the board to your PC using the USB Type-C port
- Run the “RPiboot” software, downloaded from the Raspberry Pi website. After the software starts, the PC will see the partition of the eMMC like if it would an SD into the SDcard reader.
- Flash the eMMC using the OpenHD imageWriter.
OpenHd already includes the dt-blob.bin file, and 'dtoverlay=dwc2,dr_mode=host' has been enabled in 'boot/config.txt'.
The CSI camera can be connected to one of the two FFC connectors.
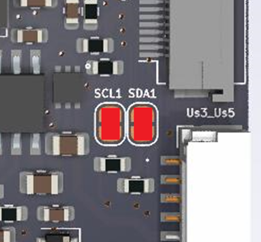
If you want to use the "Camera0" connector, make sure that the two jumpers of the I2C (used for the camera config) are shorted.
The WiFi dongle can be connected to one of the 4 USB connectors on the board.
In order to minimize the problems associated with connecting a "fast bus" such as USB, it is advisable to cut a USB extender and solder it to a GHS connector, leaving the wires on the connector side as short as possible.
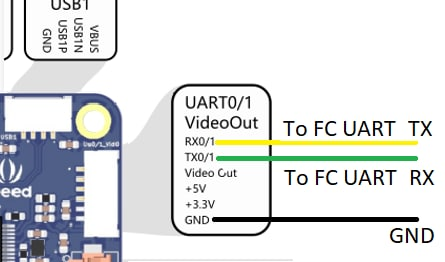
To connect the telemetry to the FC it is possible to use one of the available UART ports, the UART used by default is UART0 / 1.
It is important to keep in mind that the GPIOs of the CM4 module are not 5V tolerant, it is therefore important to be sure that the logic levels of the FC UART are 0V-3V3.
