This project contains the source code for this blog post or you can watch a video instead.
The quickest way to getting started with WebViewer in Salesforce is to follow the instructions below.
- [Optional] - PDFTron WebViewer (Download
WebViewer.zip) - Salesforce CLI
- Node and NPM
-
Install Salesforce DX. Enable the Dev Hub in your org or sign up for a Dev Hub trial org and install the Salesforce DX CLI. Follow the instructions in the Salesforce DX Setup Guide or in the App Development with Salesforce DX Trailhead module. The steps include:
-
Clone the
webviewer-salesforcefrom Github repo:
git clone [email protected]:PDFTron/webviewer-salesforce.git
cd webviewer-salesforce
- [Optional] - If you do not need to upgrade/downgrade to a different version you can skip to step 5. Otherwise, extract
WebViewer.zip,cdto the directory the contents were extracted
$ npm run optimize

Optimize: Do you want us to backup your files before optimizing? [y/n]:  y

Optimize: Will you be using WebViewer Server? See https://www.pdftron.com/documentation/web/guides/wv-server/ for more info. [y/n]:  n

Optimize: Will you be converting all your documents to XOD? See https://www.pdftron.com/documentation/web/guides/optimize-lib-folder for more info. [y/n]:  n

Optimize: Do you need client side office support? [y/n]:  y

Optimize: Do you need the full PDF API? See https://www.pdftron.com/documentation/web/guides/optimize-lib-folder for more info (most users dont need this option). [y/n]:  y

Optimize: Do you want to use the production version of PDFNet.js? The production version does not have type checking and console messages, but is much smaller than the development version. [y/n]:  n

Optimize: Do you need to deploy to Salesforce? See https://www.pdftron.com/documentation/web/guides/optimize-lib-folder for more info (most users dont need this option). [y/n]:  y
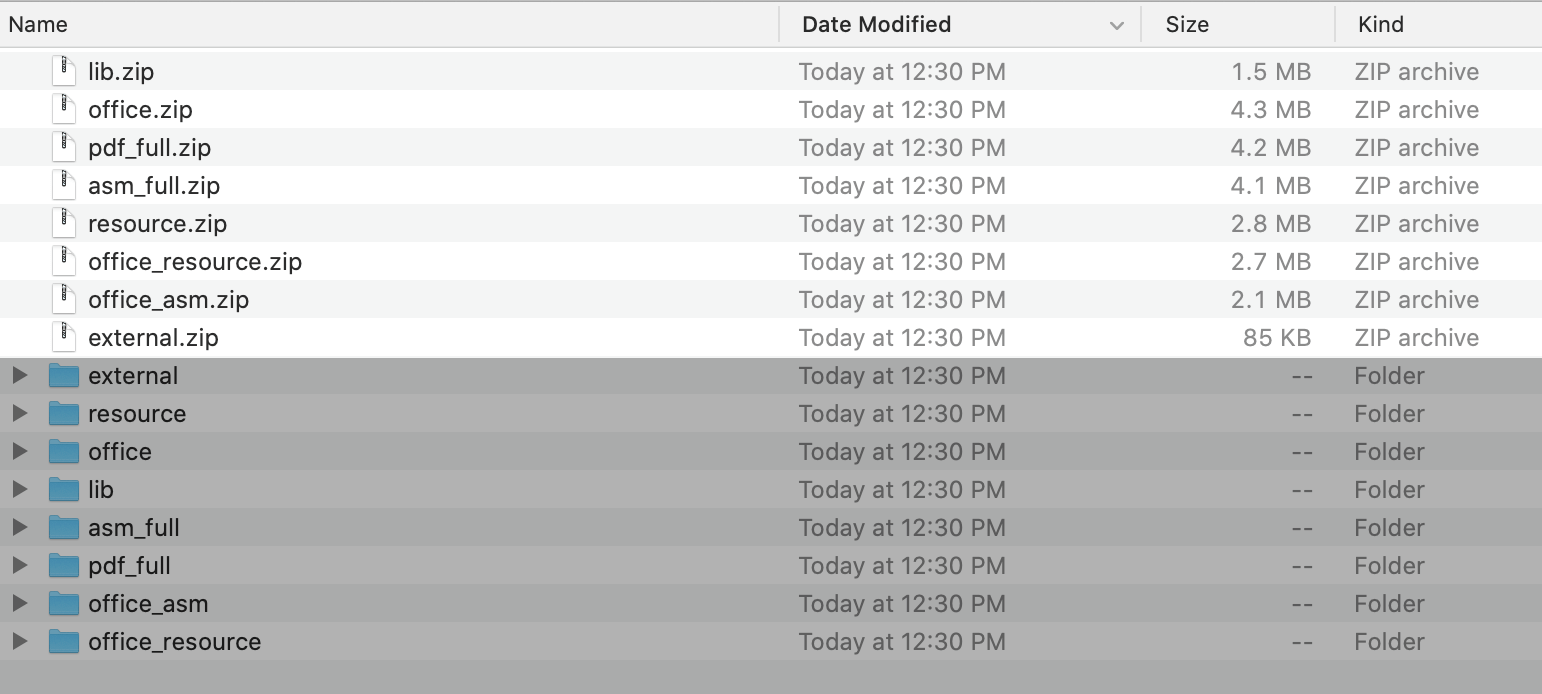
This optimization process produces zip files of size 5 MB or less, which enables you to safely upload to the Salesforce platform.
Note that in certain circumstances, you may need the full PDF API. For more details on when you may need to enable it, see:
https://www.pdftron.com/documentation/web/guides/full-api-overview/
- [Optional] - Copy all the zip files from
webviewer-salesforcefolder, which were generated after running above npm optimization script, intoforce-app/main/default/staticresources.
Every *.zip file should have a corresponding *.resource-meta.xml file, where
the contents of each .xml file are the same.
-
If you have a paid license key, you can remove the watermark from rendered documents by adding the key to the
PDFTron.WebViewerconstructor here./force-app/main/default/lwc/webViewer/webViewer.js. -
If you haven’t already done so, authenticate with your hub org and provide it with an alias (DevHub in the command below):
sfdx force:auth:web:login --setdefaultdevhubusername --setalias DevHub
- Enter your Dev Hub org credentials in the browser that opens. After you log in successfully, you can close the browser. Create a scratch org using the
config/project-scratch-def.jsonfile, set the username as your default, and assign it an alias.
sfdx force:org:create --setdefaultusername -f config/project-scratch-def.json --setalias my-scratch-org
- Push the app to your scratch org:
sfdx force:source:push -f
- Open the scratch org:
sfdx force:org:open
Note: Include the following to your profile .xml for application and tab access
    <applicationVisibilities>
        <application>PDFTron</application>
        <default>false</default>
        <visible>true</visible>
    </applicationVisibilities>
    <tabVisibilities>
        <tab>File_Browser</tab>
        <visibility>DefaultOn</visibility>
    </tabVisibilities>
    <tabVisibilities>
        <tab>WebViewer</tab>
        <visibility>DefaultOn</visibility>
</tabVisibilities>On the Salesforce platform, Lightning Web Component have limits accessing to WebViewer’s iframe due to LockerService requirements. Lightning Component can use limited communication mechanism between components using postMessage. You can find more information about LockerService here.
Here is implementation of the postMessage mechanism used in our sample github project and you can use this similar approach to communicate with the iframe’s contentWindow.
Inside config.js file, use following:
window.addEventListener('message', receiveMessage, false);

function receiveMessage(event) {
  if (event.isTrusted && typeof event.data === 'object') {
    switch (event.data.type) {
      case 'OPEN_DOCUMENT':
        instance.loadDocument(event.data.file)
        break;
      default:
        break;
    }
  }
}
and in the Lightning Web Component send messages with postMessage as following:
import { LightningElement, track, wire } from 'lwc';
import myfilesUrl from '@salesforce/resourceUrl/myfiles';
import libUrl from '@salesforce/resourceUrl/lib';

export default class WebViewer extends LightningElement {

  handleFileSelected(file) {
    this.iframeWindow.postMessage({type: 'OPEN_DOCUMENT', file: file})
  }

  initUI() {
    const myObj = {
      libUrl: libUrl,
      fullAPI: false,
      namespacePrefix: '',
    };

    const viewerElement = this.template.querySelector('div');
    const viewer = new WebViewer({
      path: myObj.libUrl,
      fullAPI: myObj.fullAPI,
      custom: JSON.stringify(myObj),
      initialDoc: 'file.pdf',
      config: myfilesUrl + '/config.js',
    }, viewerElement);

    viewerElement.addEventListener('ready', () => {
      this.iframeWindow = viewerElement.querySelector('iframe').contentWindow
    });
  }
}


